Changing Site Management Tools to Use a Different Hosting Root
When you create a website, the Website Setup record sets the HTML Hosting Root. When you implement Site Management Tools (SMT) on that site, it uses the same HTML Hosting Root as your website. If you move the site to a different HTML hosting root, you also need to create a new CMS SSP application. This application will use the new HTML Hosting Root so that SMT can continue to function and your content continue to display. This is required because Site Management Tools and the website must use the same HTML hosting root.
For example, the following procedure uses Custom Hosting Root as a sample folder name, but you can name yours differently.
To configure SMT to use a different HTML hosting root:
-
Publish any unpublished changes to your site. See Create and Publish Content in Site Management Tools for more information.
-
Make a copy of your SSP application in the new HTML hosting root folder. This process includes:
-
Creating the directories in the file cabinet, for example, Custom Hosting Root/SSP Applications.
-
Copying the SSP application to the new SSP Applications folder.
-
Creating the new SSP application record and pointing it to the copy of the SSP application. See Create a SuiteScript 1.0 SSP Application Record
.
-
-
Copy the NetSuite Inc. - CMS folder to the Custom Hosting Files/SSP Applications folder in the file cabinet.
Important:The folder must be named NetSuite Inc. - CMS. Do not rename this folder or any of its subfolders.
-
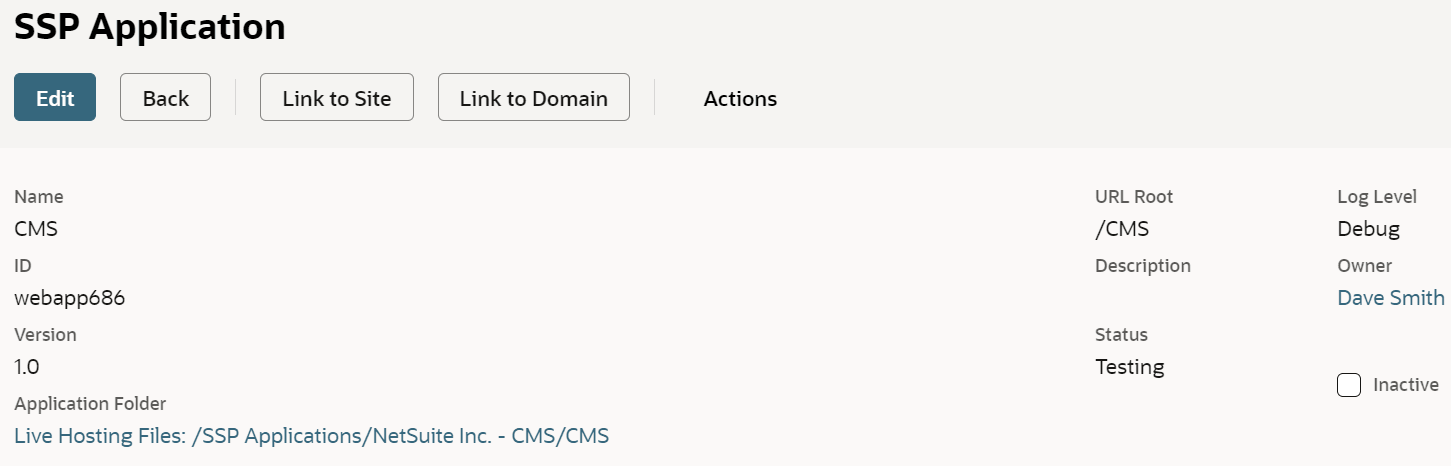
Create a new SSP application record for SMT. See Create a SuiteScript 1.0 SSP Application Record. Use the original SSP application record as your model:
-
Give the application a unique, CMS-related name.
-
Give the application a unique ID or leave the ID empty to use a system-generated ID.
-
Set the Application Folder to Custom Hosting Root: /SSP Applications/NetSuite Inc. - CMS/CMS.
-
Set the URL Root to /CMS.
-
Enter a description of the CMS SSP application. The description should provide enough information to prevent confusion.
-
Save the new application.
-
-
Edit the Website Setup record to change the Default Hosting Root to Web Site Hosting Files: Custom Hosting Files.
-
Link the new SSP application record to your site.
-
Clear the website cache.
-
Go to your site and log in to Site Management Tools.
Important:This is a crucial step so don't forget it.
-
Add simple text content to any page on your site and publish the change.
-
After you confirm that the text content published correctly, delete the text content and publish the change to remove the text from your site.
Related Topics
- Site Management Tools Configuration
- Site Management Tools Templates and Areas
- Site Management Tools Custom Preview Screen Sizes
- Working with Site Management Tools Landing Pages in a Sandbox Account
- Configuring Escape to Log In
- Internationalization of Site Management Tools Administration
- Site Management Tools Custom Content Type
- CMS Records for Site Management Tools