Step 4 Set Preferences
On the Set Preferences page of the Bundle Builder, you can review the bundle objects, including objects you select and any objects they reference, and save the bundle. For customization bundles, set preferences for objects to be applied during bundle installation and update. You can also lock certain objects to prevent target account users from making changes.
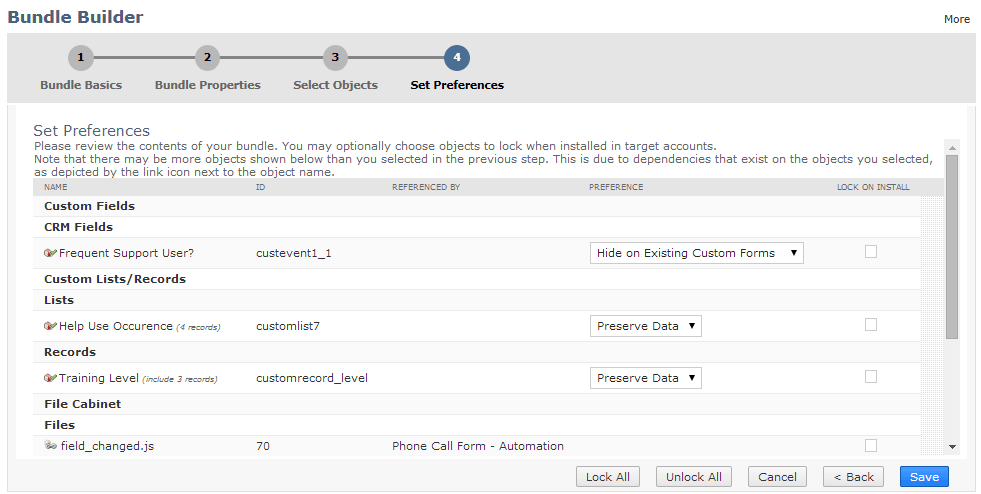
The following screenshot shows the Set Preferences page:
To complete Step 4 Set Preferences in the Bundle Builder:
-
If you have not already done so, complete Step 3 Select Objects.
-
Review your bundle's contents. You can take the following actions for the objects included in the bundle:
-
To add or remove objects, click Back to return to the Select Objects page and make changes.
-
For dashboards, custom fields, custom lists, custom records that include data, custom forms, and SuiteScript files, review the settings in the Preference column, and change as desired. These settings are applied for managed bundles and other push installations and updates, and are defaults for other bundle installations and updates. See Bundle Object Preferences.
-
If you are creating a customization bundle, check boxes in the Lock on Install column to lock selected bundle objects, or click Lock All to lock all lockable objects in the bundle. See Locking Objects in Customization Bundles.
For example, an independent software vendor (ISV) may distribute a customization bundle to its customers. To minimize the potential for support and upgrade issues, the ISV may choose to lock objects in the bundle. Locking also protects the ISV's customers from changing objects in a bundle and then discovering they cannot upgrade the bundle without breaking the changed objects.
You cannot lock some objects in customization bundles. Non-lockable objects don't have a box in the Lock on Install column.
Locking an object only prevents editing, not viewing. To hide bundle objects in target accounts, see Hiding Bundle Components in Target Accounts. To prevent target account users from seeing code in bundled server SuiteScripts, see Protecting Your Bundled Server SuiteScripts.
-
After you are done making changes, click Save.
To continue creating a bundle in the Bundle Builder, go to Finish the Bundle Builder.