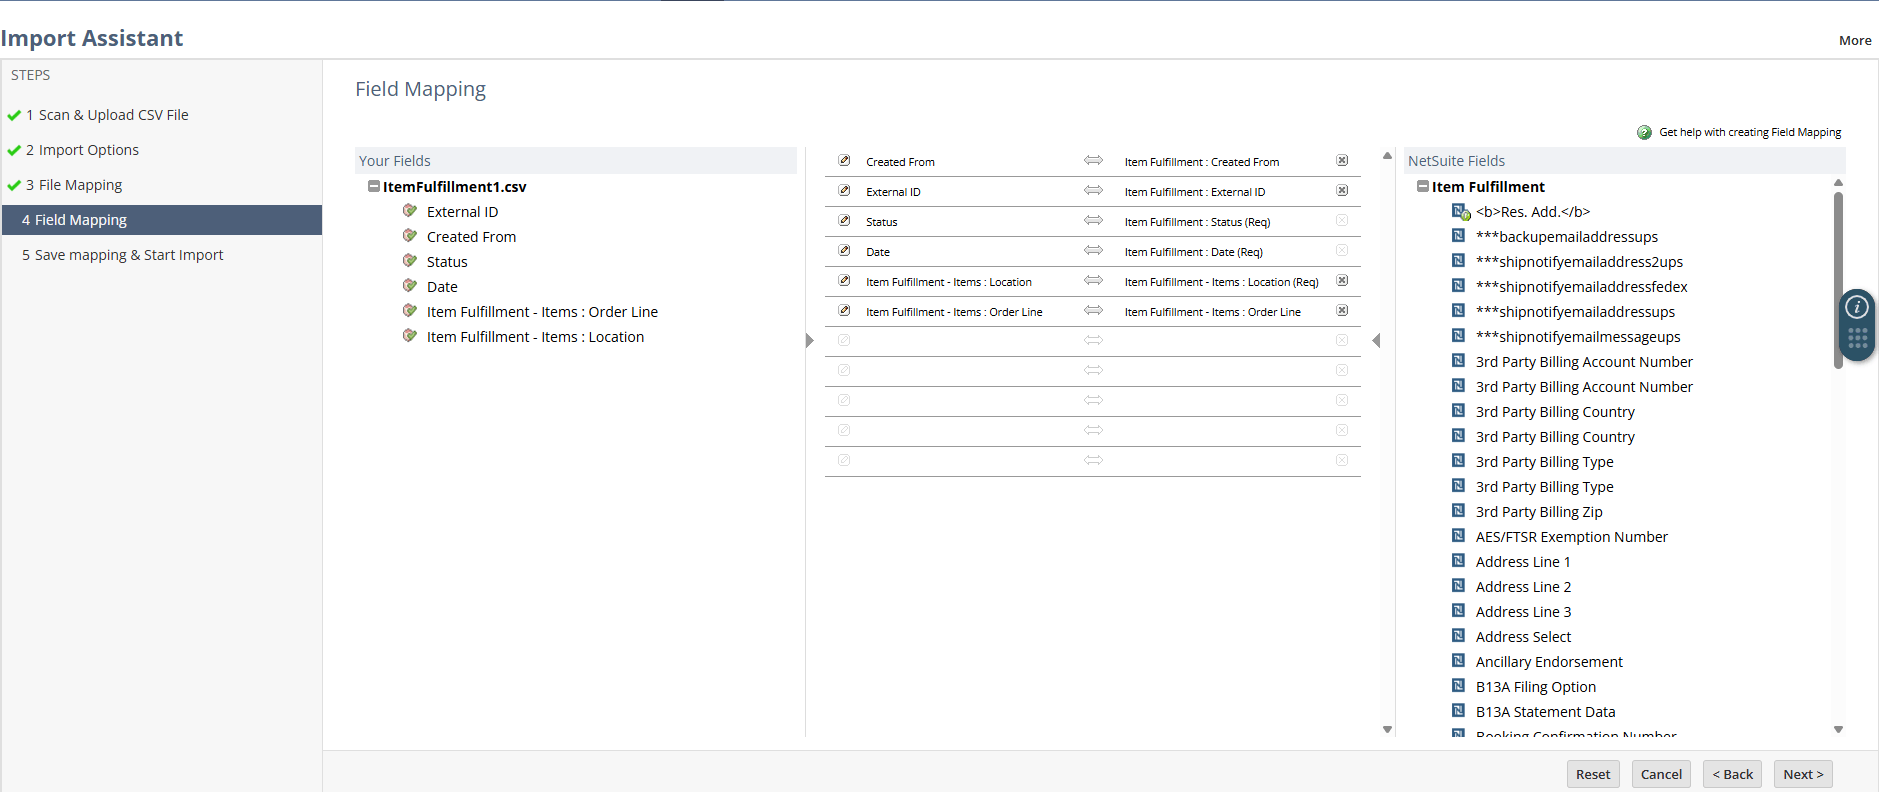
Step Four Field Mapping
Step four of the Import Assistant shows how your CSV fields are automatically mapped to NetSuite fields. For details on what to do in this step, see CSV Field Mapping Tasks.
-
You see your CSV fields in the left pane.
-
The center pane shows your field mappings. Blank spaces mean you still need to map those fields.
Required fields are marked with ( Req ). You must map these fields or set default values for them.
-
NetSuite fields are listed in the right pane.
-
Fields that have already been mapped appear dimmed.
-
Fields you can still map are in darker text.
-
Custom fields are marked with a special icon. (
 )
) -
Key fields are marked with a special icon. (
 )
)
-
You can only map NetSuite fields that are editable on your preferred form for that record type.
To get a better understanding of the NetSuite fields, you can do the following:
-
Carefully review the NetSuite user interface form for the selected record type. You can click the field label for help that describes the field.
-
See the SOAP Schema Browser for more descriptions of each field. For information about working with this tool, see SOAP Schema Browser.
By default, you can map any NetSuite fields that are on your preferred form and not hidden or disabled. If you need more fields, pick a custom form with the fields you want in Advanced Options. This will update the list of NetSuite fields you can map. See Set Advanced CSV Import Options.
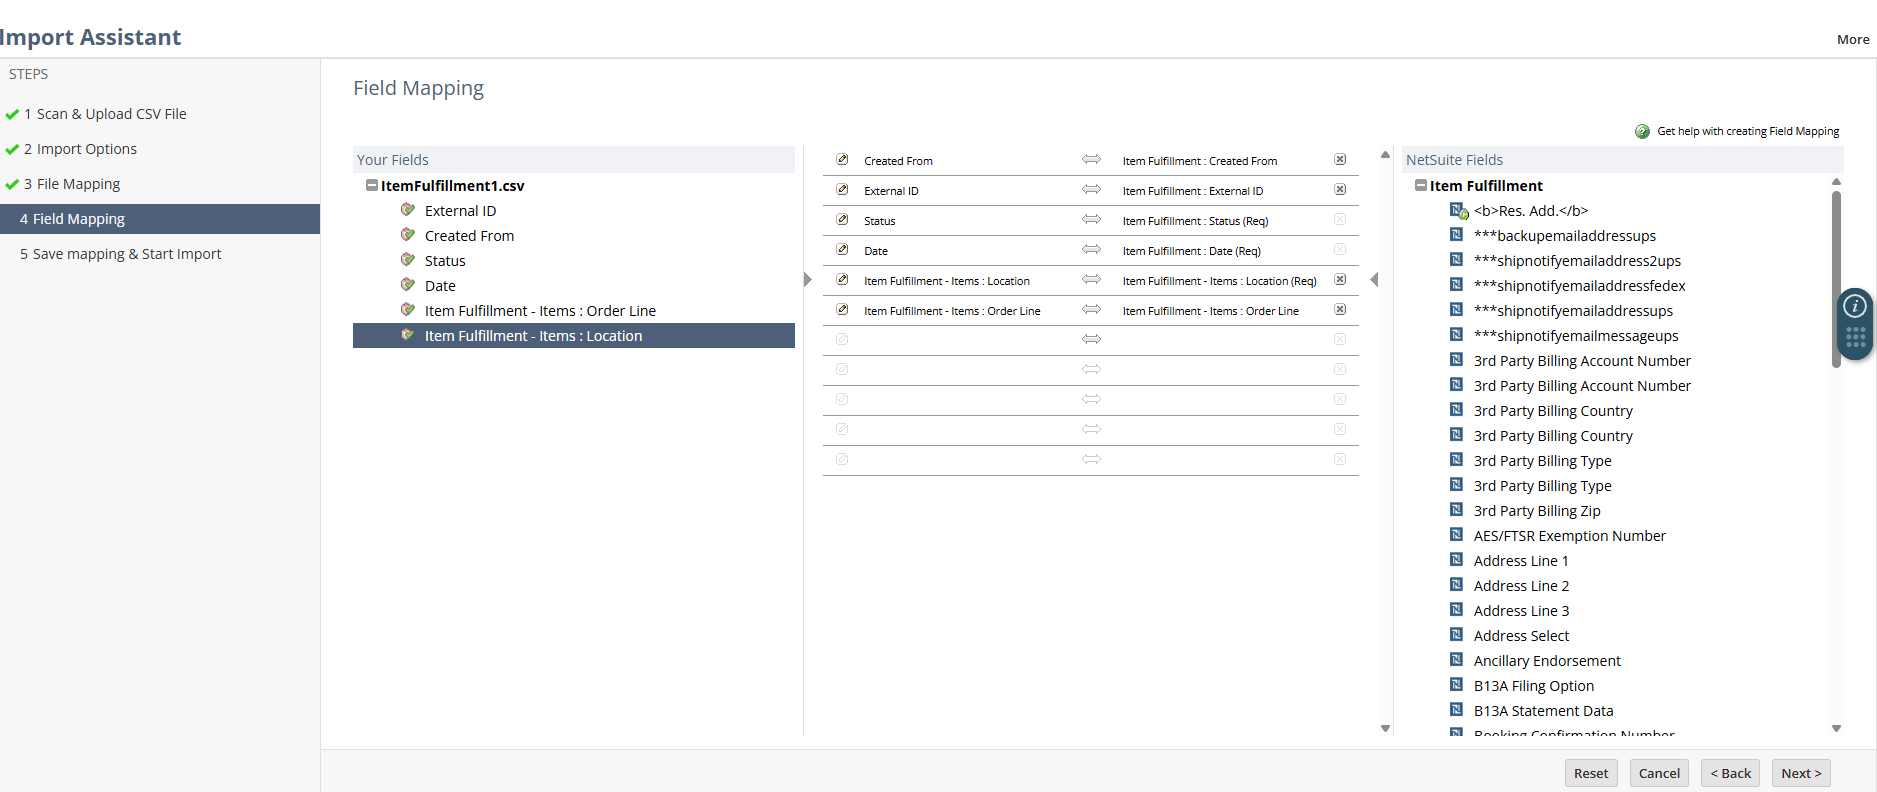
To manually map fields:
-
Click the first empty row in the center pane. The arrows on each side show which row you're editing.
-
Click the CSV file field you want to map in the left pane.
-
Click the NetSuite field in the right pane to map it with the CSV file field.
For help with step four, review these guidelines.
If you make mistakes during mapping, click the Reset button to go back to the automatic or the last saved mappings.
When you have completed field mapping, click Next to go to Step Five Save Mapping & Start Import.
-
If you haven't mapped all fields, you'll see an error popup and the problem fields will get a red X. Add the missing mappings and click Next again.
-
If there are mapping errors, you get an error page. You can download a ZIP of your CSV files with an extra column showing the errors. Fix them, then relaunch the Import Assistant and upload your files again.