Communications
Use this feature to create and modify store messages and employee tasks.
Figure 6-32 Communications Options Page

-
To create or edit a store message and target it to a location, or a location and register combination, click Store Messages. See Store Messages below.
-
To create or modify tasks for a store or for specific employees within a store, click Employee Tasks. See Employee Tasks.
Store Messages
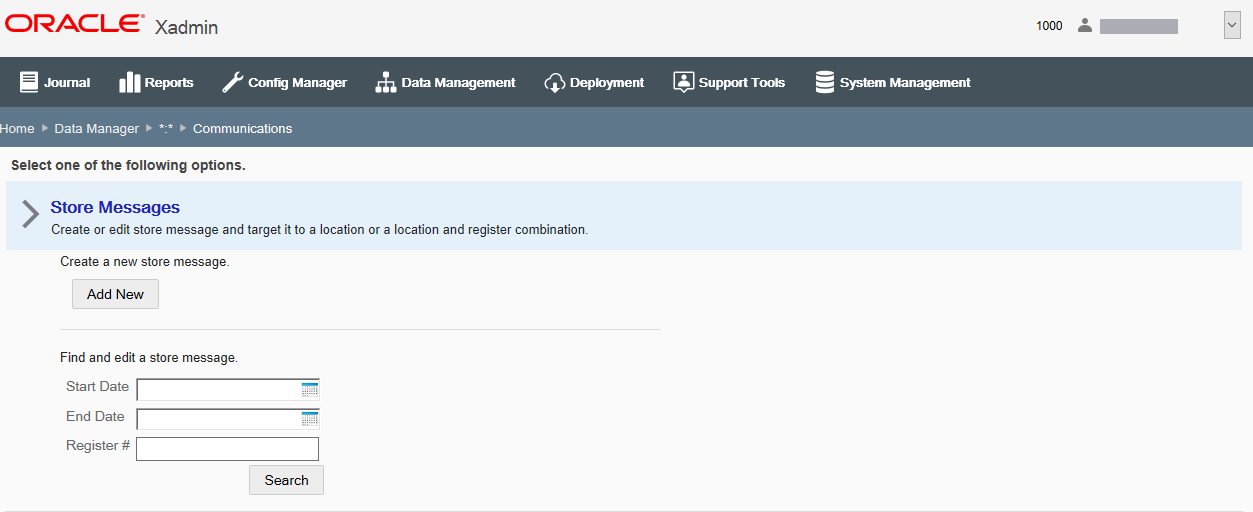
Use this feature to create or edit a store message and target it to a location, or a location and register combination.
Figure 6-33 Store Messages Page

If adding a new message:
-
At the Store Messages page, click Add New to create a new message.
-
Complete the fields as required, then click Save.
If editing an existing message:
-
Enter search criteria and click Search to find/edit a store message in your organization. If you do not enter any criteria before selecting Search, all messages in your organization will be returned in the search.
-
To edit information for an existing message, select the row from the search results list and edit the information as needed. You also have the option here to create a new message by clicking Add New at the search results page.
-
Complete the fields as required, then click Save.
Note:
To delete an existing message, click the Delete icon associated with the record at the search results list. When prompted, click Yes to confirm the deletion.
See step 6 for additional procedural information.
The following Store Messages fields are available:
Table 6-31 Store Messages Attributes
| Field | Description |
|---|---|
|
Message Scope |
Identifies the scope and number of stores that will be receiving this message. The message scope is the node selected for the Data Manager session and cannot be changed here. |
|
Register Specific check box |
Select this option if the message is targeted to a specific register and enter the register number in the Register # field when prompted. Note: If you select this option, the message displays on only the specified workstation. If you do not select this option, the message displays on all workstations. |
|
URL check box |
Select this option if there is a URL associated with this message and enter the URL when prompted. The hyperlink will display with the message in Oracle Retail Xstore Point of Service. |
|
Priority [REQUIRED] |
Select the message priority: High, Medium, Low. |
|
Start Date [REQUIRED] |
Enter the date the message is to be displayed. |
|
End Date [REQUIRED] |
Enter the date the message is no longer displayed. |
|
Message [REQUIRED] |
Enter the message text. |
Employee Tasks
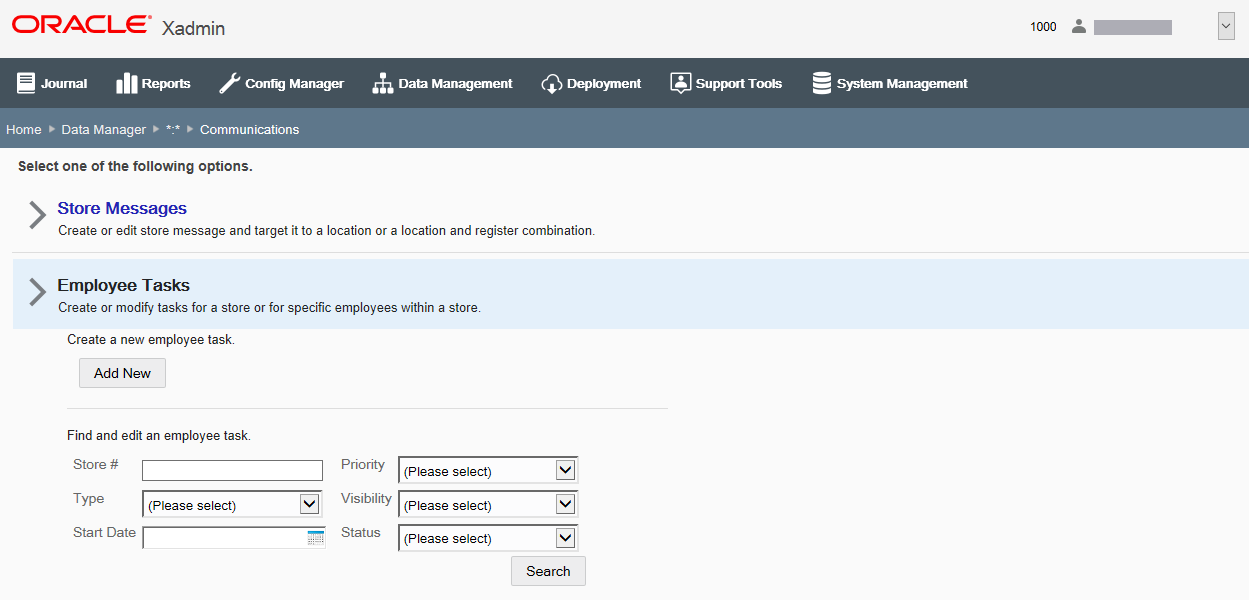
Use this feature to create or modify tasks for a store, or for specific employees within a store.
Note:
If the store is integrated with Customer Engagement, it becomes the system of record for Employee Tasks. Therefore, Employee Tasks should be assigned from Customer Engagement, not using Xstore Office Employee Tasks functionality. If changes are completed in Xstore Office, they will be disregarded.
Figure 6-34 Employee Tasks Page

If adding a new employee task:
-
At the Employee Tasks page, click Add New to create a new employee task.
-
Complete the fields as required, then click Save.
If editing an existing employee task:
-
Enter search criteria and click Search to find/edit an existing employee task in your organization. If you do not enter any criteria before selecting Search, all employee tasks in your organization will be returned in the search.
-
To edit information for an existing employee task, select the row from the search results list and edit the information as needed. You also have the option here to create a new task by clicking Add New at the search results page.
Note:
To delete an existing employee task, click the Delete icon associated with the record at the search results list. When prompted, click Yes to confirm the deletion.
-
Complete the fields as required, then click Save.
See step 6 for additional procedural information.
The following Employee Tasks fields are available:
Table 6-32 Employee Tasks Attributes
| Field | Description |
|---|---|
|
Status |
This field cannot be changed. Indicates the status of the task (Open, In Process, Cancelled, and Closed). |
|
Store # [Required] |
Enter the store number. This value can only be edited in Add mode. |
|
Task Title [Required] |
Enter a short summary description of the task. |
|
Priority [Required] |
Select the task priority: High, Medium, Low. |
|
Type [Required] |
Select the type that best fits the task (General, Mailing, Display, Housekeeping, Receiving, Shipping, or Count). |
|
Start Date [Required] |
Enter the date the task should be started. |
|
End Date [Required] |
Enter the date the task should be completed. |
|
Start Time [Required] |
Enter the time the task should begin. |
|
End Time [Required] |
Enter the time the task should end. |
|
Visibility [Required] |
Select who can view this task: Store, Employee Group, or Employee. |
|
Assignee |
If the visibility selection is Employee Group or Employee, select the target assignee from the drop-down list. [REQUIRED] Note: The visibility field determines the drop-down list for the Assignee field. If you select Store for visibility this field will not be available. |
|
Description [Required] |
Enter a detailed description of the task. |