About this Chapter
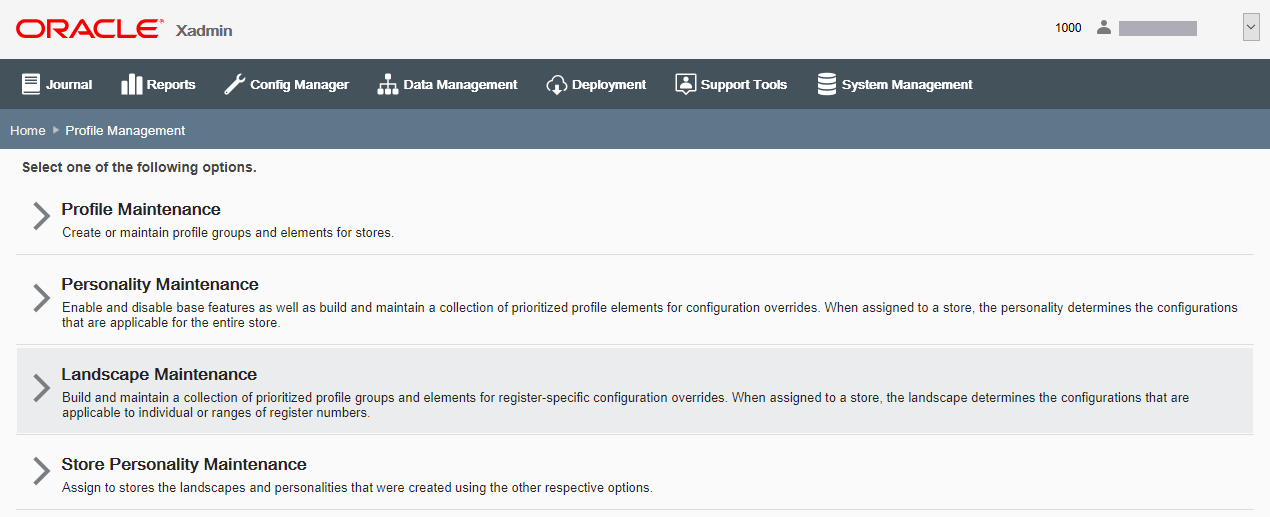
Profile Management includes functions for creating and maintaining profile groups and elements for stores and registers, creating and maintaining the personalities that determine the prioritized profile elements for configuration overrides, and creating and maintaining the store landscapes used for machine (register) configurations. After setting up this information, you can assign Store Personalities to your stores.
Figure 4-1 Profile Management Page

Setup Overview
-
First, create Profile Groups and their associated Elements. Follow the steps outlined in Profile Maintenance to set up and maintain the Profile Groups.
-
Next, after creating the Profile Group and Element combinations, set up your Personalities and Landscapes.
-
A Personality is a grouping of at least one or many Profile Group and Element combinations in an ordered list that work together to define a store. For example, using the Profile Groups and Elements you set up previously (step 1 above), you can identify a personality as being Canadian, Banner, Outlet, in addition to another personality defined as US, Banner, Flagship, Retail, and so on.
-
A Landscape is a collection of prioritized profile groups and elements for register-specific configuration overrides. When assigned to a store, the landscape determines the configurations that are applicable to individual register numbers or ranges of register numbers (for example, "22-Managers Terminal", "44-Lead Register", and so on).
Follow the steps outlined in Personality Maintenance and Landscape Maintenance to create Personalities and Landscapes.
-
-
Finally, set up each Store Personality by assigning the Personalities and Landscapes you created (step 2 above) to your stores. Follow the steps outlined in Store Personality Maintenance to create Store Personalities.