| Skip Navigation Links | |
| Exit Print View | |

|
Oracle Java CAPS FTP Binding Component Tutorial Java CAPS Documentation |
| Skip Navigation Links | |
| Exit Print View | |

|
Oracle Java CAPS FTP Binding Component Tutorial Java CAPS Documentation |
Understanding the FTP Binding Component
Software Needed for the Tutorial
FTP Binding Component Project in a Nutshell
Starting the GlassFish Application Server
To Start the GlassFish Application Server
Working With JBI Runtime Environment
FTP Binding Component Runtime Configuration Properties
Creating a BPEL Module Project : SendInventory
To Create a BPEL Module Project
Creating a WSDL Document : Using FTP
To Create a WSDL Document : ftpTransfer
To Modify ftp:message Properties
Poll Request Wizard Properties
FTP MessageActivePassive Element (<ftp:messageActivePassive>)
FTP Binding Component Extensibility Elements
FTP Operation Element (<ftp:operation>)
FTP Binding Element (<ftp:binding>)
FTP Transfer Element (<ftp:transfer>)
FTP Address Element (<ftp:address>)
FTP Message Element (<ftp:message>)
Creating a WSDL Document : Using FILE
To Create a WSDL Document : fileTrigger
To Add Web Services and Basic Activities
To Edit Web Service : Receive1
To Edit the Web Service : Invoke1
To Edit the Basic Activities : Assign1
Creating a Composite Application
To Create a Composite Application
Working With Various Binding Types
To Add a Complex and a Global Complex Type to the XML Schema
Add the JBI module to the BPEL Module project before deploying the Composite Application. Deploying the project makes the service assembly available to the application server, thus allowing its service units to execute.
The New Project wizard appears.
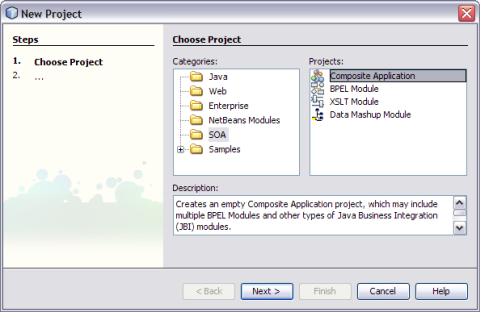
The Projects window now contains a project node for a Composite Application project called SendInventoryCompAppl.
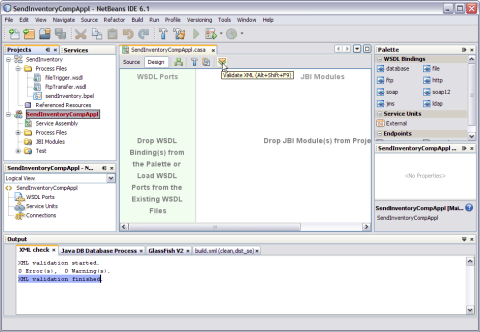
This action displays a message in the Output console.
XML validation finished
The Project JAR Files is build/SEDeployment.jar.
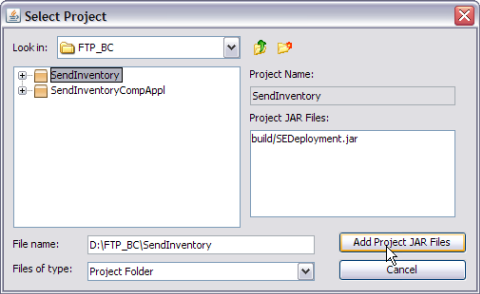
The SendInvetory.jar is added to the project.
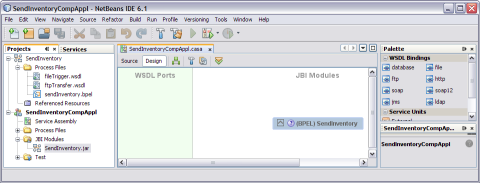
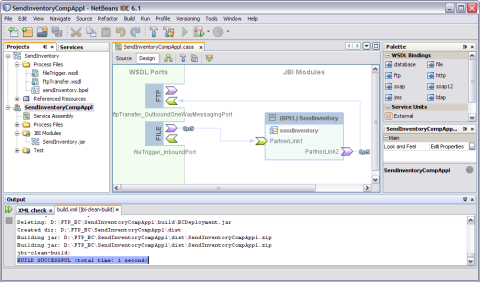
This action displays a message in the Output console:
BUILD SUCCESSFUL (total time: 1 seconds)
The File Binding Component picks up messages from a local directory. The FTP Binding Component transports messages between the consumer and the provider using FTP.
For example, use a folder name of c:/temp and file name of inventory%d.xml.
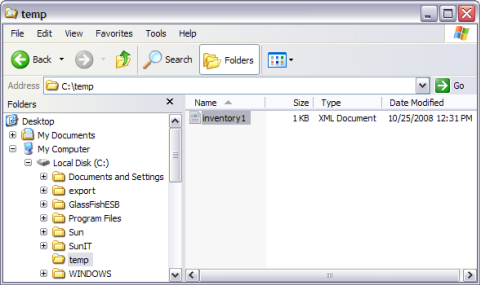
The folder is empty before deployment.
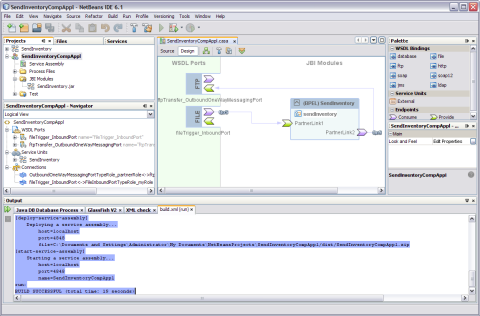
After deployment of the project, the following message appears in the Output window:
BUILD SUCCESSFUL (total time: 18 seconds)
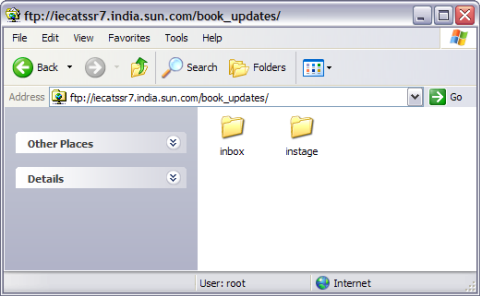
Two folders are created under SendInventoryCompAppl_FileInboundService_fileTrig-45609436–4:
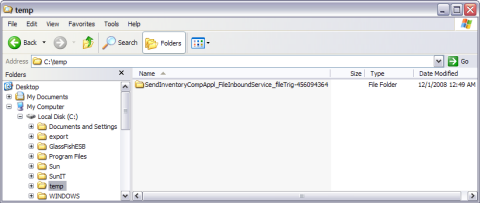
After deployment, inbox and instage folders are created.
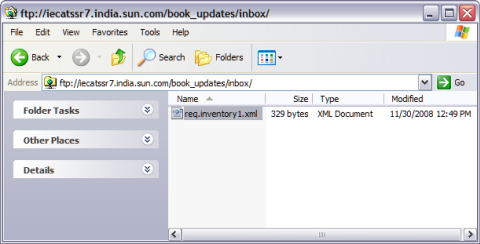
The message routing starts with the consumer invoking a service (INVOKE in BPEL script). On the other side of the NMR, FTP BC OutboundProcessor accepts the request message, de-normalizes the message and labels the message body (which is the payload to a FTP file) with name as req.
