BEA Logo BEA Tuxedo Release 7.1

  Corporate Info  |  News  |  Solutions  |  Products  |  Partners  |  Services  |  Events  |  Download  |  How To Buy


   Tuxedo Doc Home   |   Installation   |   Topic List   |   Previous   |   Next   |   Contents

   Installing the BEA Tuxedo System

Installing the BEA Jolt Software

To install the BEA Jolt software, complete the following 16-step procedure.

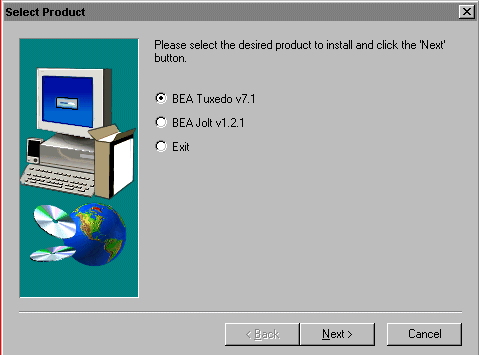
  1. Select the BEA Jolt v1.2.1 radio button from the Select Product screen and select Next.

    Note: If the Select Product screen is not displayed, see Invoking the BEA Tuxedo Software Installation Program.

    The Setup screen is displayed, followed by the Welcome screen, which prompts you to shut down all running Windows processes before proceeding.
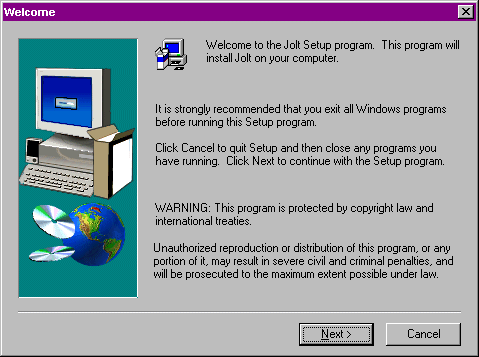
    If you have not already exited from all Windows programs, we strongly recommend that you select Cancel, exit all Windows programs, and then restart the BEA Jolt Software Installation program.
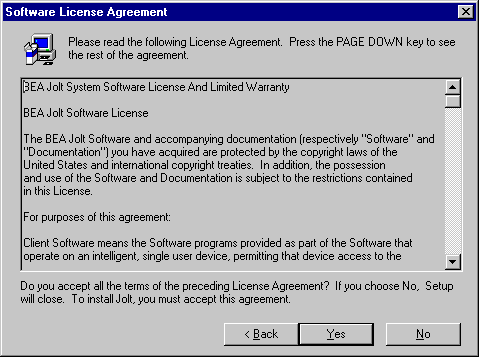
  2. Select Next to advance to the Software License Agreement.

  3. Review the license agreement and select Yes to accept the terms described.

    If you are installing BEA Jolt on a server machine, the BEA Tuxedo User Registration screen is displayed. If you are installing BEA Jolt on a client only machine, such as Windows 95/98, you are not prompted to enter registration information. Instead, the Select Components screen is displayed as shown in step 5.

  4. Enter your name and company name in the fields provided on the User Registration screen and select Next.

    The Registration Confirmation screen is displayed.

  5. Verify that the information on the Registration Confirmation screen is accurate and select Yes.

    The Select Components screen is displayed, as follows.
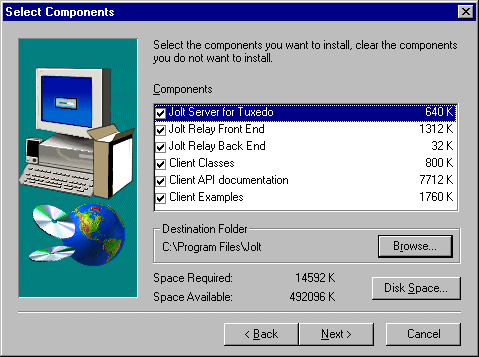
    Note: The Jolt Server for Tuxedo component is displayed only if the BEA Tuxedo Core System is installed on the system on which you are installing BEA Jolt.
  6. Select the components that you would like to install and the desired destination folder, and select Next.

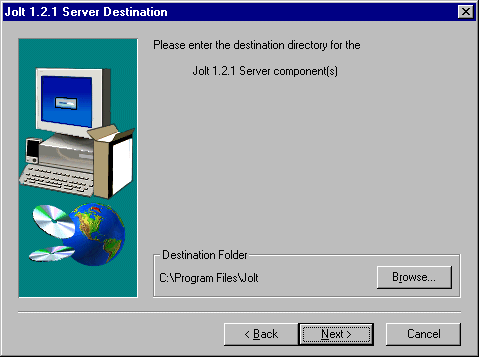
  7. If you chose to install the Jolt Server for Tuxedo, the Jolt 1.2.1 Server Destination screen is displayed, prompting you for a destination for this component.

    Specify a destination directory for the Jolt Server for Tuxedo component, and select Next.
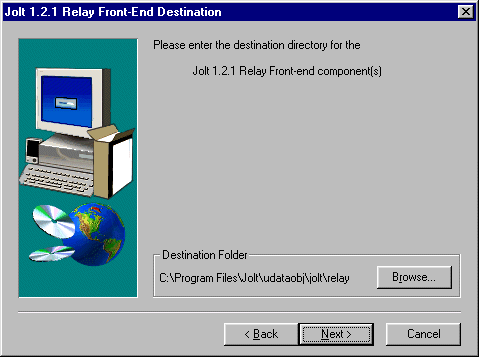
  8. If you chose to install the Jolt Relay Front-End, the Jolt 1.2.1 Relay Front-End Destination screen is displayed, prompting you for a destination for this component.

    Specify a destination directory for the Jolt Relay Front-End component and select Next.
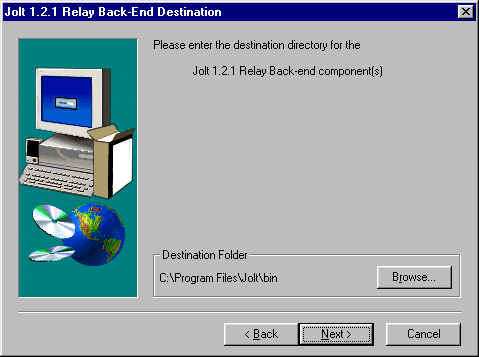
  9. If you chose to install the Jolt Relay Back-End, the Jolt 1.2.1 Relay Back-End Destination screen is displayed, prompting you for a destination for this component.

    Specify a destination directory for the Jolt Relay Back-End component and select Next.
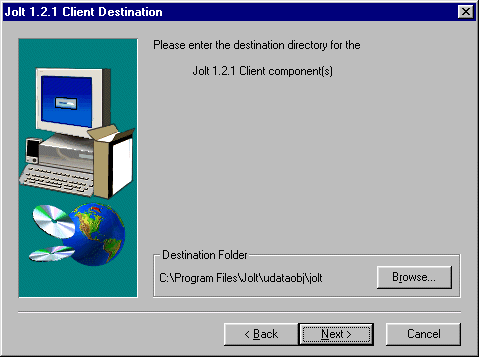
  10. If you chose to install the Jolt Client, the Jolt 1.2.1 Client Destination screen is displayed, prompting you for a destination for this component.

    Specify a destination directory for the Jolt Client components and select Next.
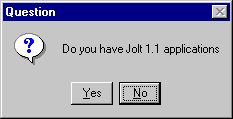
  11. The installation script asks whether you have Jolt 1.1 applications.

    Select Yes if you have Jolt 1.1 applications on your system. In addition to the client class .jar files, you get client classes in .zip file format and all Jolt client classes in the classes\bea\jolt directory. Select No if you do not have Jolt 1.1 applications on your system.

    The BEA Jolt software installation process is started.
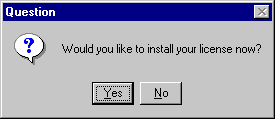
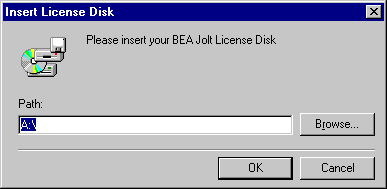
  12. If you have installed the Jolt Server for Tuxedo component, you are prompted to install your BEA Jolt license.

    1. Select Yes to install your license. The Insert License Disk screen is displayed, prompting you for the path name for the license file.

      Specify the appropriate path name and select OK.

    2. Select No to install your license at a later time. A warning reminds you that your license has not been installed.

      Note: You can install your license at a later time using the BEA License Utility. See Installing the Product License After You Install the BEA Tuxedo Software for details.
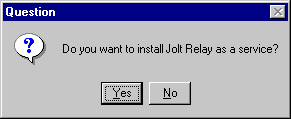
  13. If you chose (in step 6) to install the Jolt Relay Front End, a prompt asks whether you want to install Jolt Relay as a service.

    1. Select Yes to install the Jolt Relay as a service.

      Note: If you are installing BEA Jolt on a Windows 95/98 platform, select No. Jolt relay is not supported on a Windows 95/98 platform.

      The Enter Information screen is displayed, prompting you to specify the full path name of the configuration file.
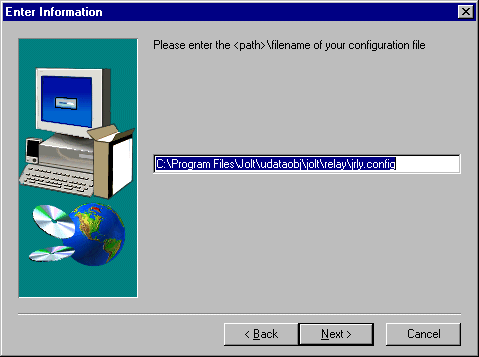
      Specify the appropriate path and select Next.

      The BEA Jolt Relay process is installed as a service and the installation completes.
    2. Select No if you do not want to install Jolt Relay as a service. The installation completes.

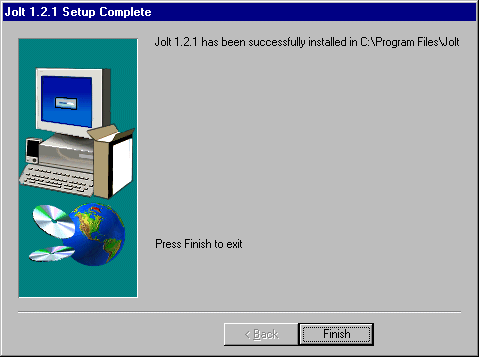
  14. The installation script displays the Jolt 1.2.1 Setup Complete screen.

  15. Select Finish to end the BEA Jolt Installation process. The Select Product screen is displayed.

    Installation of the BEA Jolt software is complete!

  16. To exit from the BEA Tuxedo Software Installation process, select the Exit radio button from the Select Product screen and select Next. Or, to install the BEA Tuxedo Release 7.1 software, refer to Installing the BEA Tuxedo Release 7.1 Software on a Windows NT System or Installing the BEA Tuxedo Release 7.1 Software on a Windows 95 or Windows 98 System.

    Note: If you have finished installing the BEA Tuxedo Release 7.1 software and have not yet restarted the system, we recommend that you restart the system now.