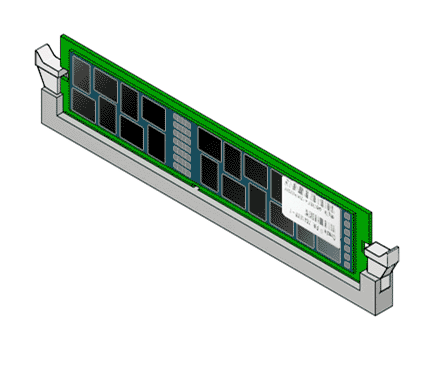
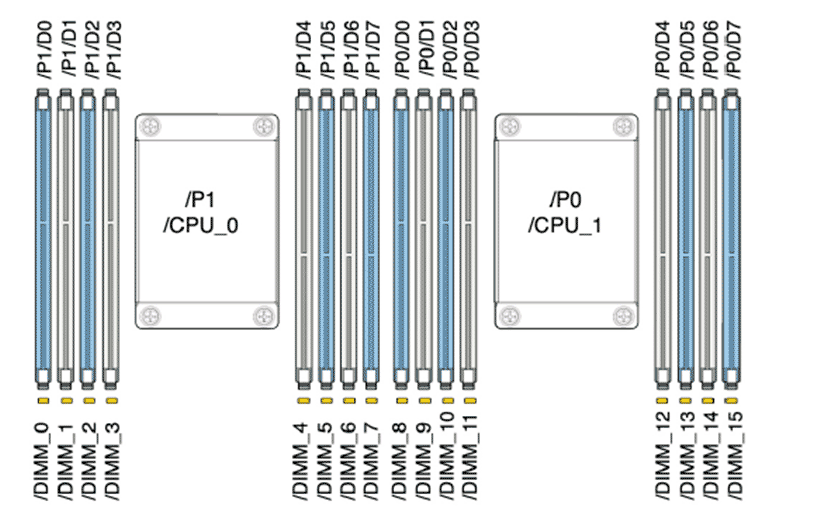
Dual in-line memory modules (DIMMs) provide random access memory (RAM) for the central processing units (CPUs) configured in the Controller. DIMMs are connected to the DIMM slots located on both sides of the central processing unit (CPUs) and heat sinks on the Controller motherboard. A failed DIMM might cause the Controller to be brought offline and must be replaced as soon as possible.
- Prerequisites:
Ensure that you have a Phillips Number 2 screwdriver with at least a 4-inch shaft.
Before handling a component, touch a grounded surface to discharge any static electricity.
Attach an electrostatic discharge (ESD) wrist strap to your wrist, and stand on an ESD mat while replacing components.
Fail over the Controller before replacing the component using Guided Maintenance.
Note: The Controller must be failed over to prevent data loss or data corruption during the component replacement process.Ensure that all DIMM slots are filled with either filler panels or DIMMs to ensure proper airflow.
A basic Oracle FS1 Flash Storage System has two standard DIMMs and a performance Oracle FS1 Flash Storage System has 12 standard DIMMs. The DIMMs in the Oracle FS1 Flash Storage System have 16 GB memory.