Viewing data object records
Learn more by watching the video!
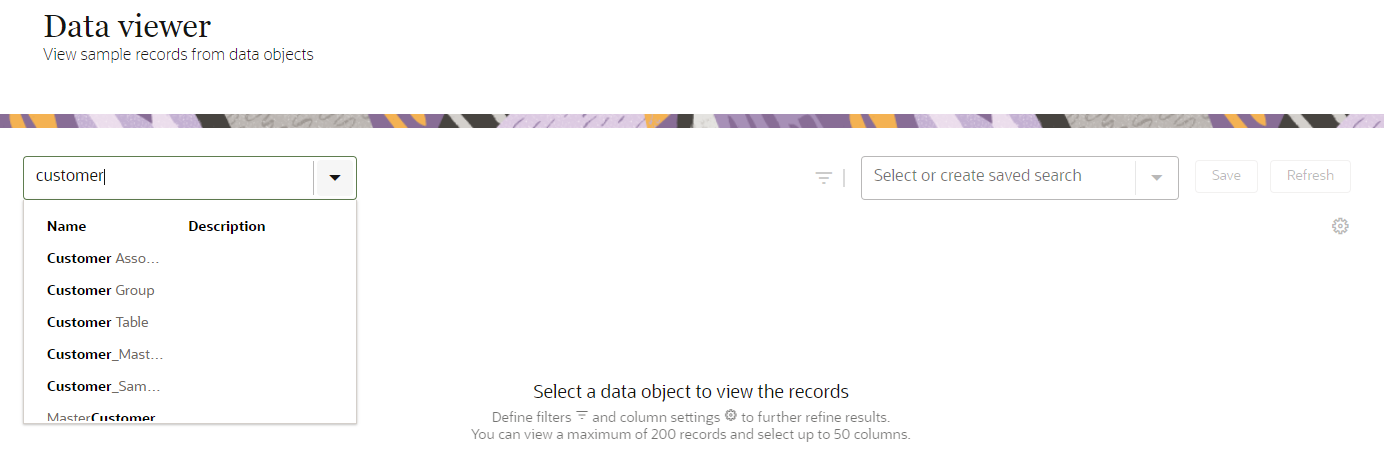
You can view records of data objects from the Data viewer page.
- For masked attributes, all user roles, except for the Instance admin user role, will see as the value for a masked attribute. Instance admin users will view the attribute's real value. Learn more about Masking data.
- If an attribute is masked and has an empty/null value, it will still show as a masked value "****".
- When viewing timestamp values, please note the times are converted from the imported timestamp value, which are based on Coordinated Universal Time (UTC), into your local time zone.
To view data object records:
-
Click the Oracle icon
 in the bottom-right corner to open the navigation menu.
- Click Data viewer. The Data viewer page opens.
- Use the drop-down list to select or search for a data object by name or description.
Note: You can also visit the Data viewer page by clicking the the Action menu (![]() ) for the data object on the Data model page and selecting View records.
) for the data object on the Data model page and selecting View records.
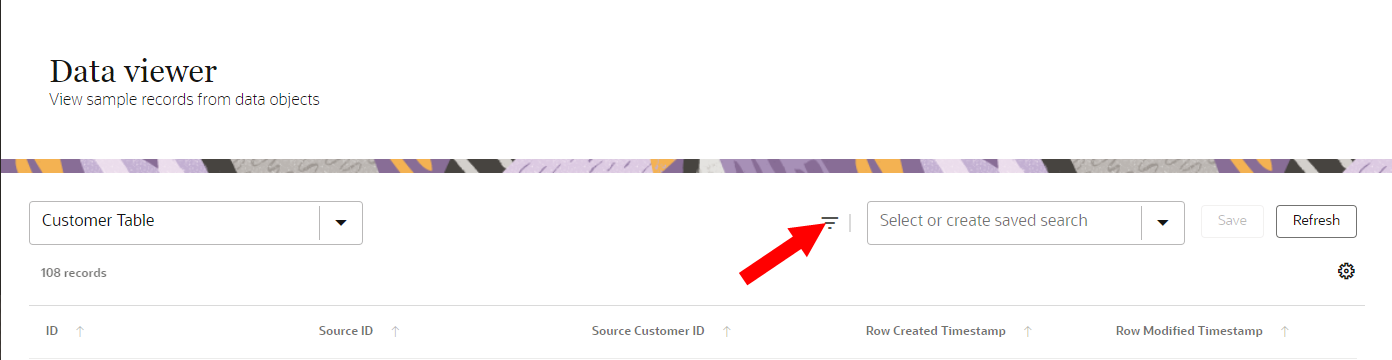
The records for the data object will display. You can then create filters and define column settings to narrow your search results.
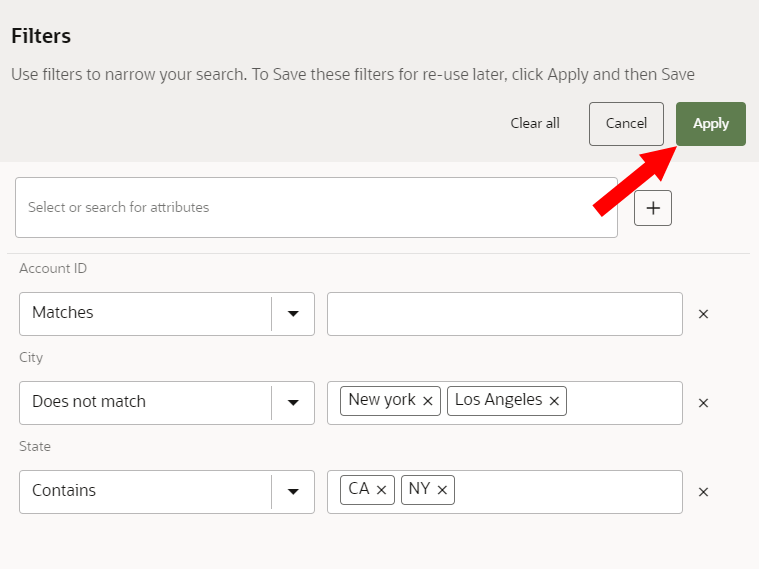
Creating filters
You can create filters to define conditions on the records you want to view. You can view a maximum of 200 records.
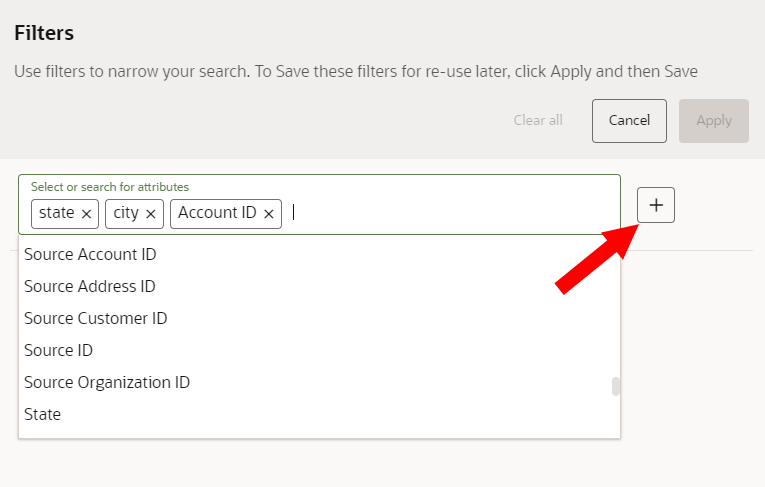
- Click Filters
 . The Filters dialog displays.
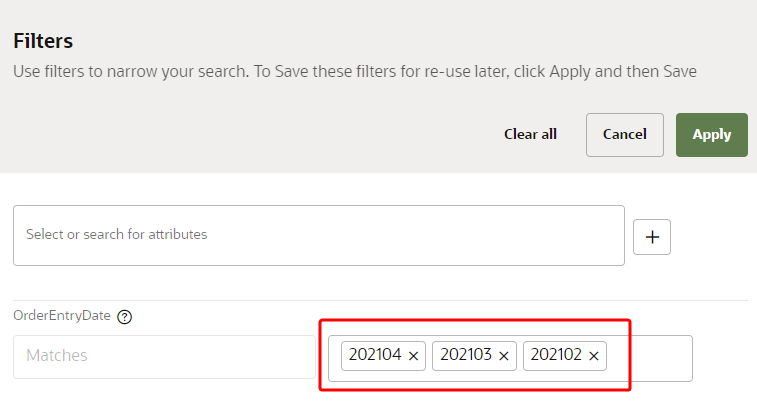
 - If you are viewing a partitioned data object such as Order, you have the option of filtering records based on monthly partitions. We recommend configuring this filter as it improves query performance. The default value will filter records that have matching partition values depending on the partition strategy of the data object: The past three months for monthly partition strategies or the last year for yearly partitions. You can update the default values by selecting from available partitions or entering partitions in the format: yyyyMM (monthly partions) or yyyy (yearly partitions). Learn more about Partitioning.
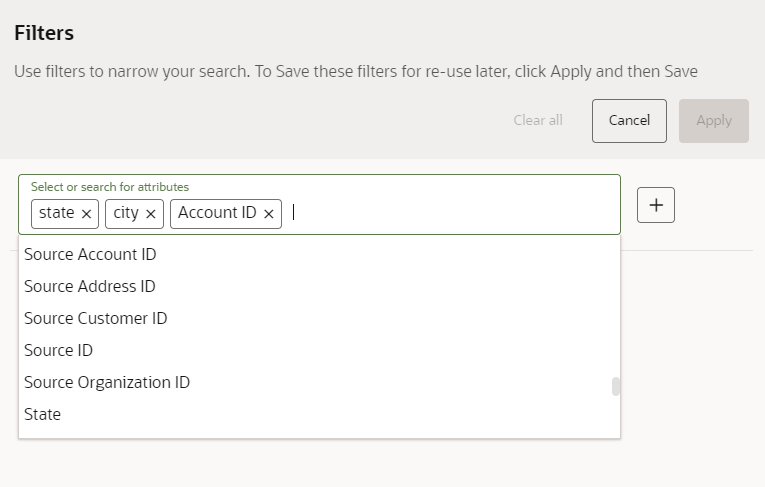
- Use the drop-down list to select or search for attributes by name or description.
- When done selecting attributes, click Add
 .
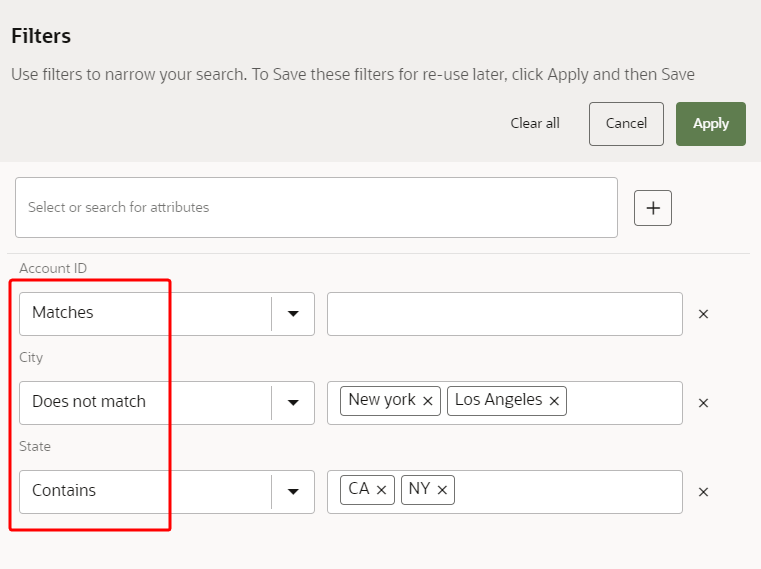
. - For each attribute, select an operator to define a filter. Learn more about Data viewer operators.
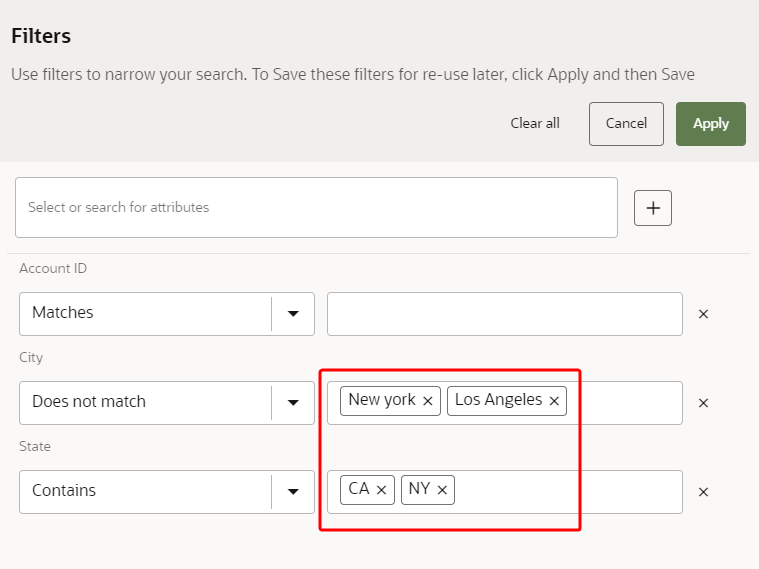
- After selecting an operator, define conditions for each attribute. You can use characters from all languages supported in the language settings. If the attribute has lookup enabled and you select an applicable operator (Matches, Does not match, Contains, Does not contain), you can select values from a list instead of having to enter them manually, eliminating the possibility of entering values incorrectly. Learn more about Attribute lookups.
- If the filter has more than one filter criteria, then it will meet "all" of the conditions for each attribute.
- If an attribute has more than one condition value, then the filter will meet "any" of the condition values.
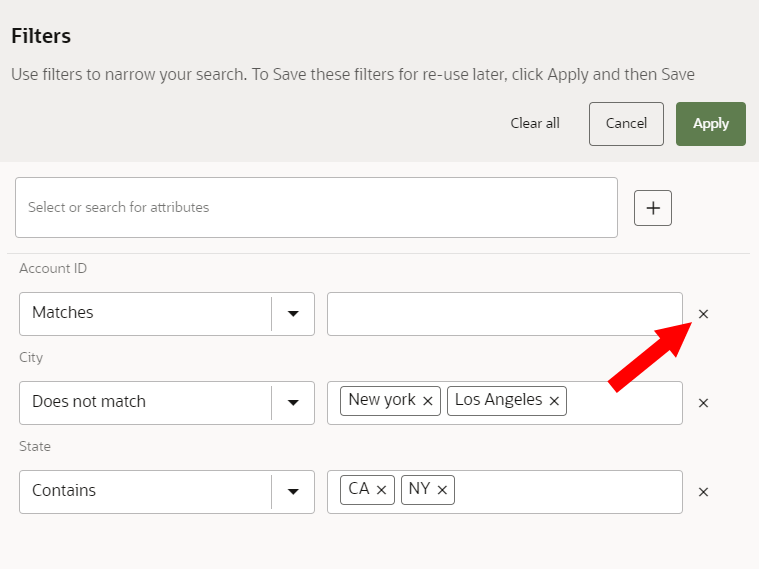
- To remove an attribute or condition, click X.
- When done creating filters, click Apply.
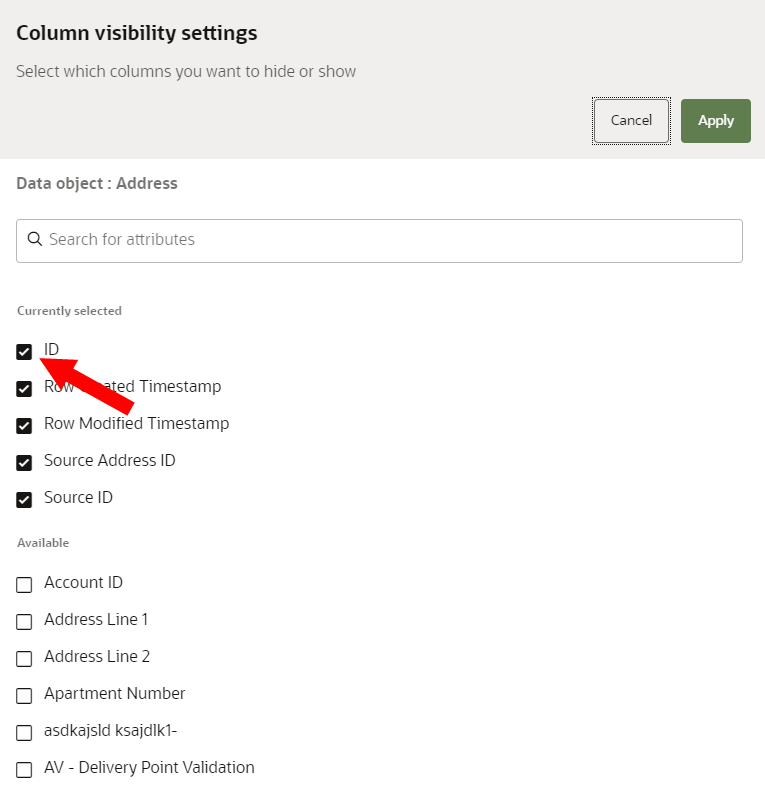
Managing column settings
After selecting a data object, the following columns (attributes) will display by default: ID, Source ID, Source (name of data object) ID, Row Created Timestamp, Row Modified Timestamp. You can update these settings to view any attributes from the data object. You can select to view up to 50 columns (attributes).
To manage column settings:
- Click Column settings
 . The Column visibility settings dialog displays.
 - Click the checkboxes for columns you want to view. If needed, use the search field to look for columns.
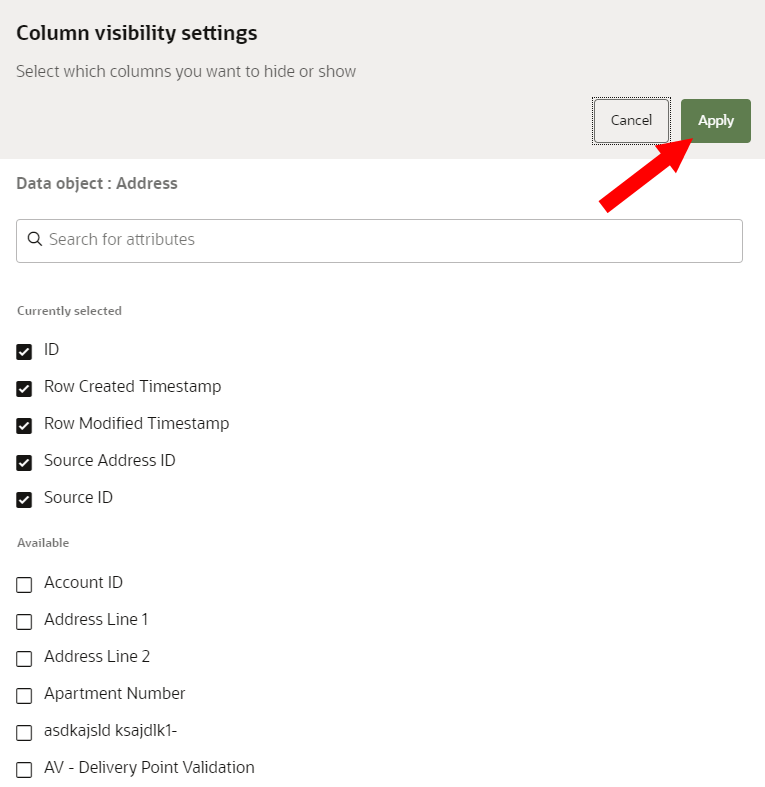
- When done selecting columns, click Apply.

When done defining filters and column settings, click Refresh to refresh the list of records.
Saving filter and column settings
After configuring the filters and column settings for the data object, you can save these settings as saved searches.