Administrator Steps
Administrator Prerequisites
You need the Application - Create role to register the application. After you register an application you are automatically assigned the Owner permission for the application and the default view.
A dimension export from your external application is required when using the Universal application wizard. You must prepare a dimension export that includes the data for the dimension you want to import and manage in Oracle Fusion Cloud Enterprise Data Management.
-
Export dimension data from your external application.
-
Prepare the data into a .CSV file format for import into a Universal application in Cloud EDM, see Import and Export File Format for User Defined Dimensions.
Administrator Process
-
Register your Universal application, see Registering a Universal Application.
-
Import the dimensions, see Importing a User Defined Dimension.
-
Provide your users with the appropriate access to the data chain elements needed to manage the dimensions for the Universal application, see Working with Roles and Permissions.
- Export dimensions to files that can be imported into your external application, see Exporting a User Defined Dimension.
Administrator Detailed Steps
Step 1: Register Your Universal Application
To register your Universal application:
-
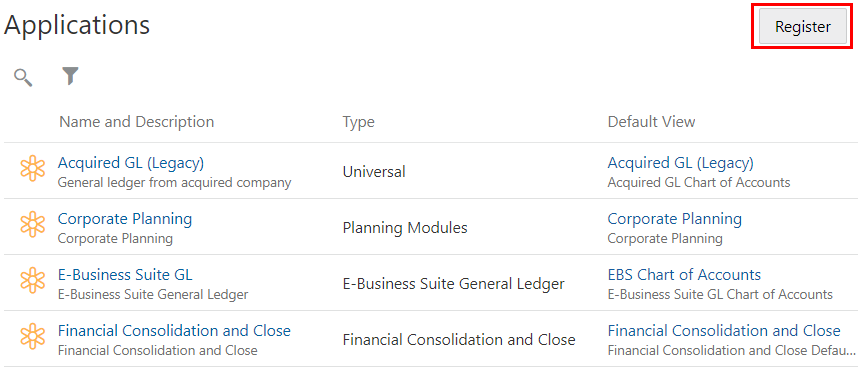
In Applications, click Register.
-
Select the Universal application type.

-
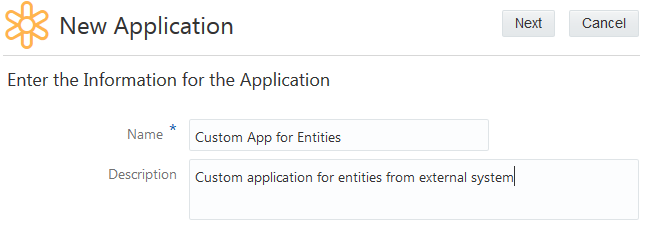
Enter a name and description for the application and click Next.
-
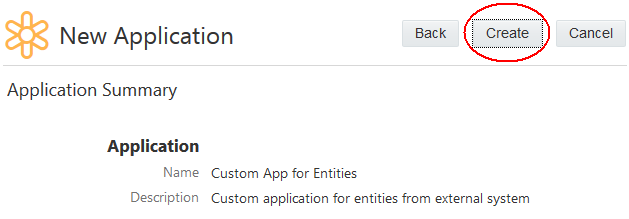
Review the application summary and click Create.
-
Click Add to define a dimension for the application, see Adding, Removing, or Modifying a User Defined Dimension.

-
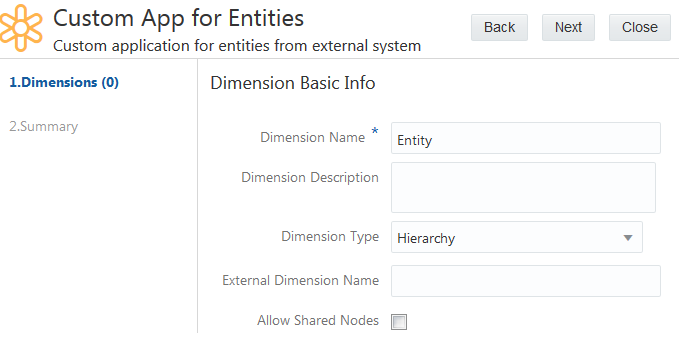
Enter dimension information, such as whether the dimension type is a hierarchy or list, and then click Next.
-
Click Add to define node types for the dimension, see Adding or Modifying a Node Type for a User Defined Dimension.

-
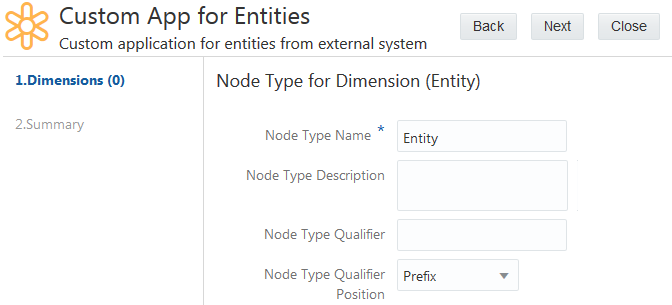
Enter node type information and click Next.
-
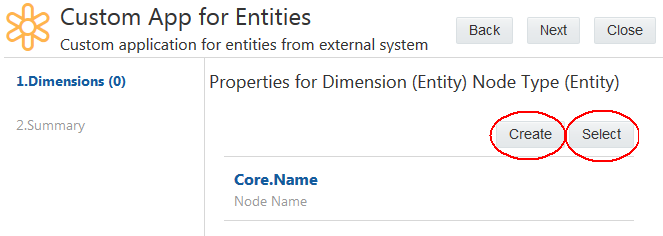
Click Create to define a new property or click Select to select an existing property for a node type. After all properties have been configured for the node type, click Next. See Adding an Existing Property to a Node Type for a User Defined Dimension and Creating a Custom Property.
-
Define more node types for the dimension or click Next to continue.
-
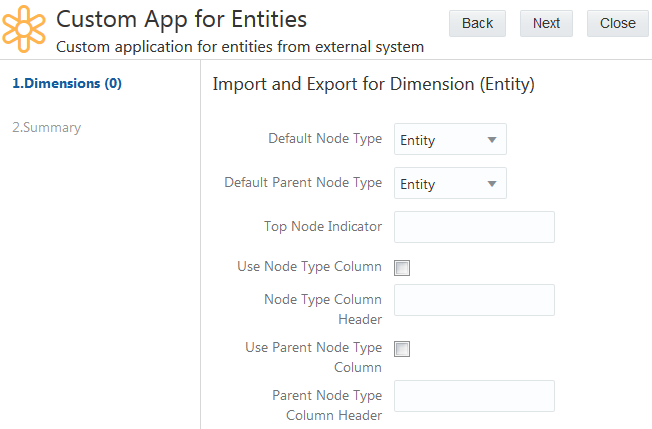
You can optionally define import and export settings for the dimension based on node types configured and the expected contents of import and export files. Click Next to continue.
-
Repeat steps 5-10 to add more dimensions to the application and then click Next.
-
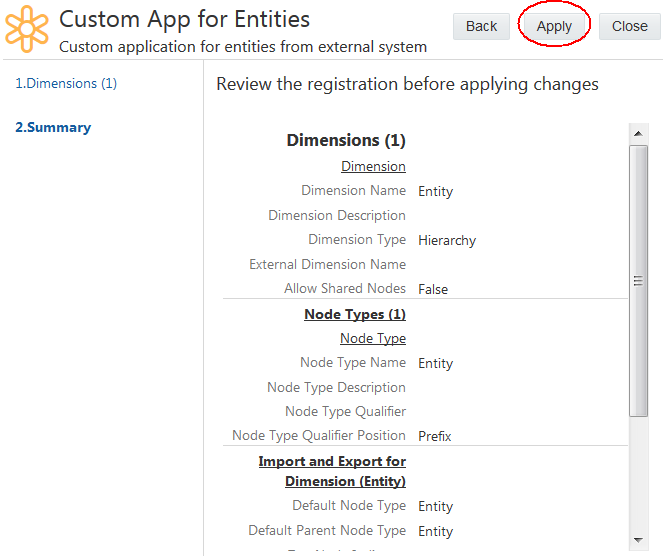
Review all the registration information you have entered and click Apply to complete registration of your Universal application.
Step 2: Import Data for Registered Dimensions
-
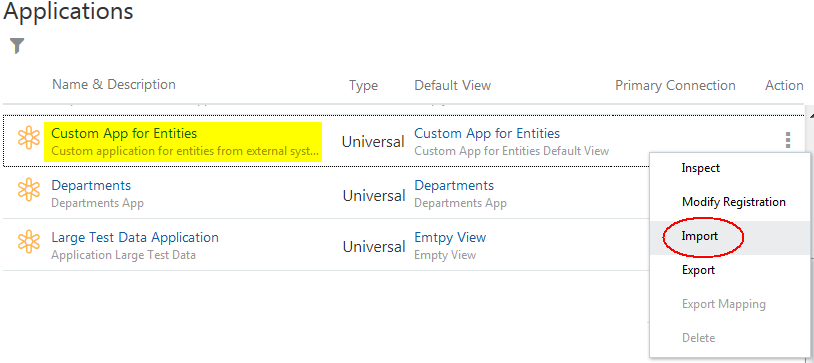
From Applications, find the application that you registered, click
 and then select Import.
-
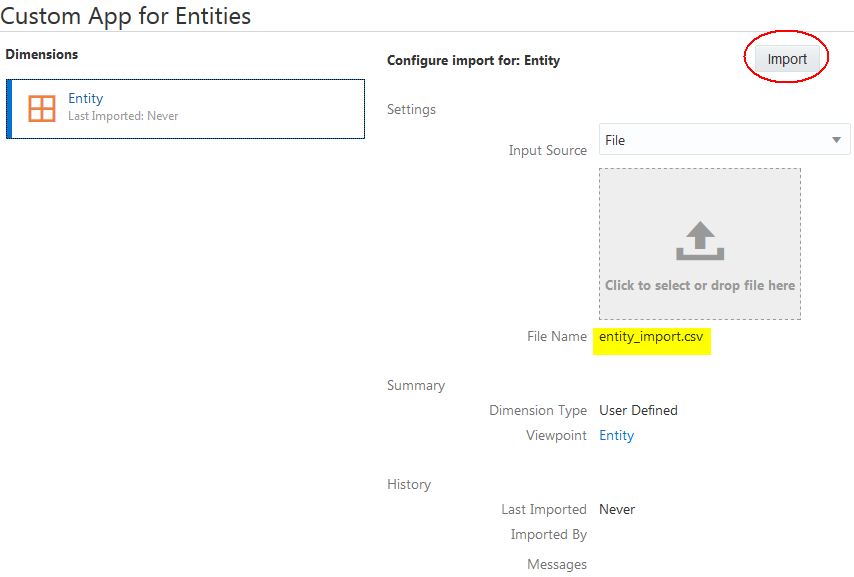
Browse and select the file that you created earlier and then click Import.
-
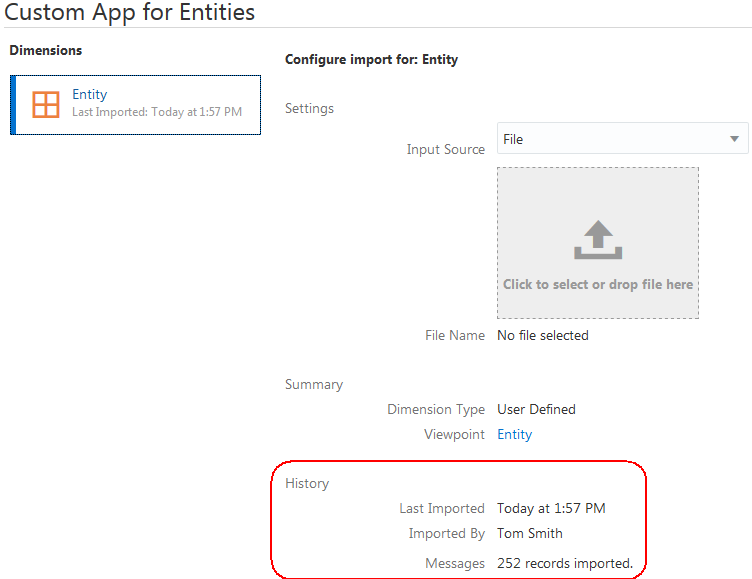
After the import, you can view the number of records that were imported.
Step 3: Make Changes to Enterprise Data
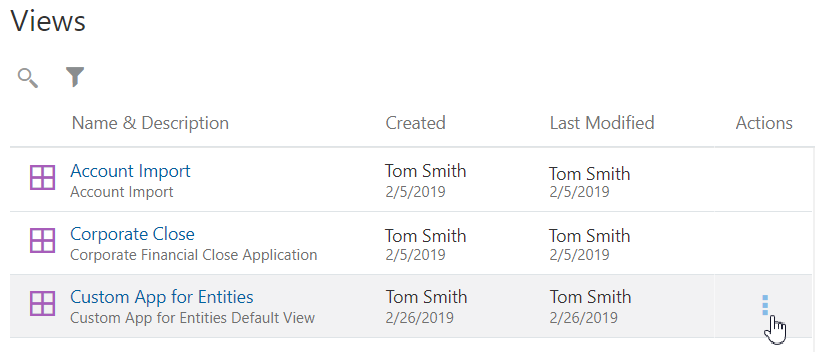
In this step, your users make changes to the enterprise data that was imported. Provide the users with the name of the default view that was created for the Universal application during registration.
Step 4: Export Dimensions Back to Your External Application
After your users are done making changes, you can export the enterprise data to files which can then be imported into your external application.
-
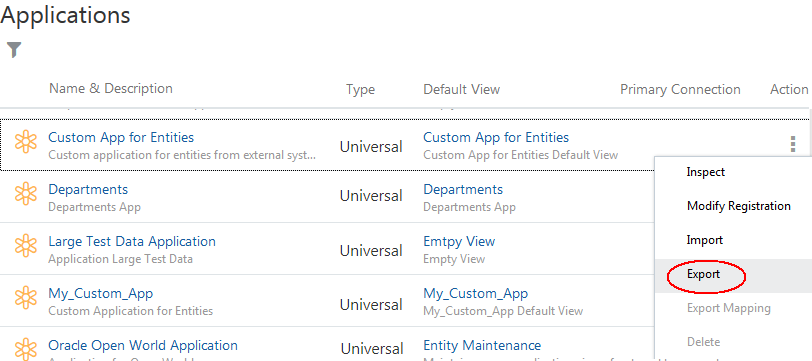
In the Applications worklist, find the application, click
 and then select Export.
-
Select the dimension to export and then click Export.
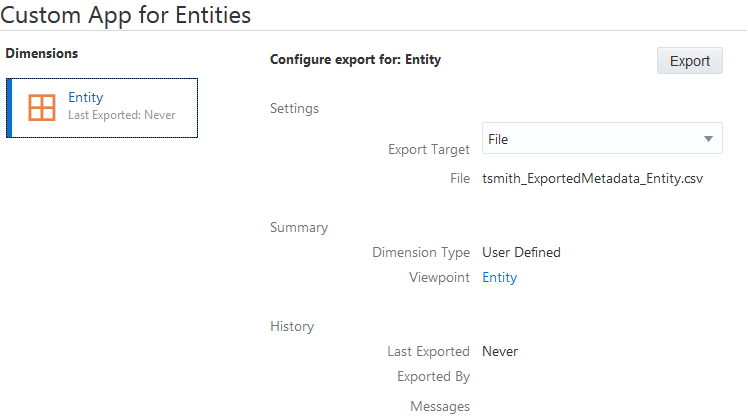
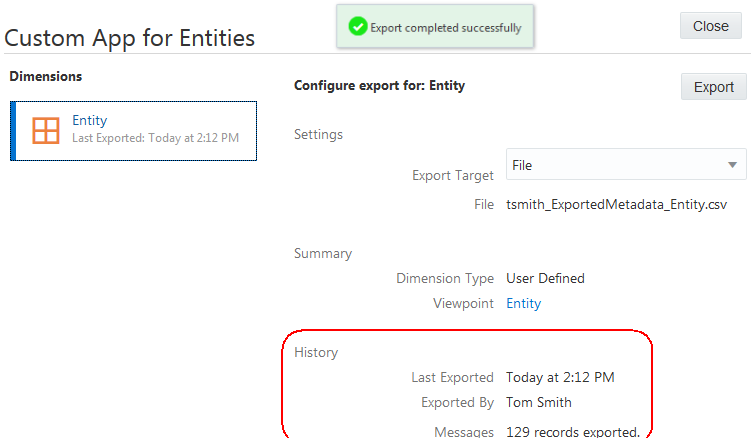
The export file is downloaded and saved to a local file system. After the export, you can view the number of records that were exported.
