Creating real-time segments
Use our real-time loyalty engine to further customize your loyalty program experience by providing members with custom activities and rewards based on where and when they register in real-time.
You can segment on member custom data by creating custom attributes.
Operations on both profile based and member custom data attributes will depend on the data type of the attribute.
-
For profile attributes, the data type is set internally based on the attribute.
-
For member custom data, the data type is determined by Control center selections in the self service tool for the custom data.
Real-time segments can be linked to:
The following permissions are required for Control Center users to create real-time segments:
-
Write permissions for Segmentation
-
Read permissions (or greater) for Limits
Warning: Currently there is no edit functionality offered with real-time segments. Once a segment is created it cannot be changed.
Note: You are allowed a maximum of 10 real-time segments. Only active (enabled) segments count against the limit. Contact your account representative to purchase additional segments.
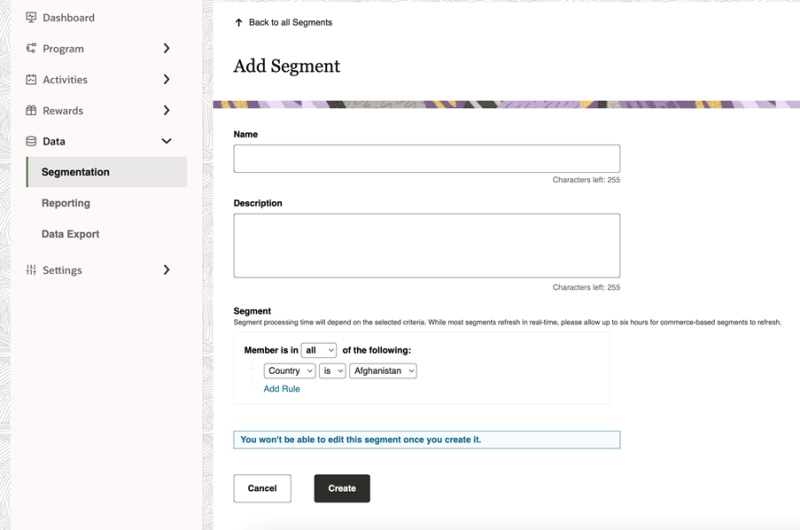
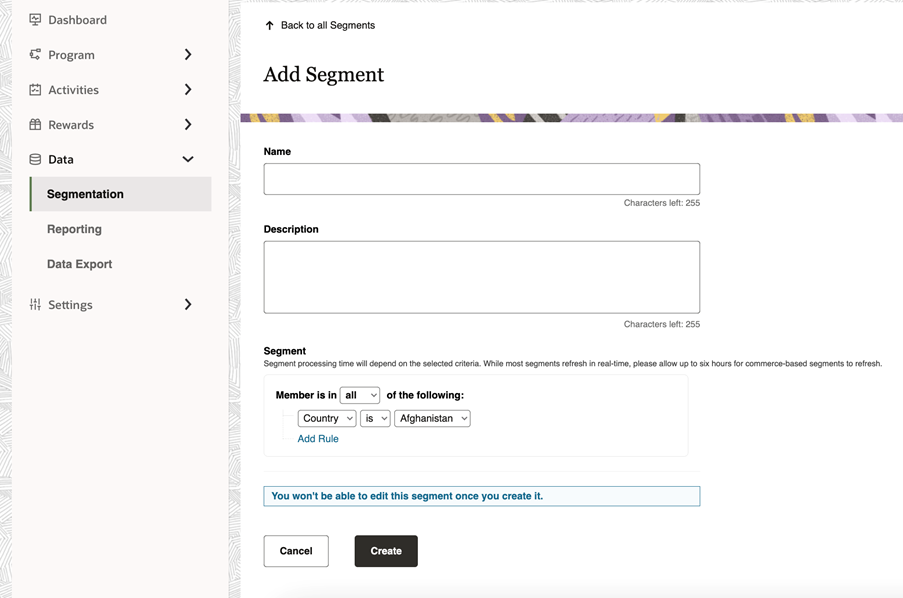
To create a real-time segment:
-
In Control Center, navigate to Data > Segmentation.
-
Click Add Segment.
-
Configure the details for the segment:
-
Name: Specify a name for this segment. For example, "New York Members Born in July."
-
Description: Add details about the segment.
-
Segment: Select Real-time segment. Build your segment by adding user profile attributes and operators. There is currently no limit on how many attributes can be added.
The following user profile attributes are available:
The following operators are available: -
Gender
-
Date of Birth
-
Month of Birth
-
Language Preference
-
Location - Country and US States
-
Date last logged in
-
Date created
-
is
-
is not
-
is unset
-
is any value
-
is after
-
is before
-
is on or after
-
is on or before
-
-
-
Click Create.
Once segments have completed processing existing members and are enabled, they will be visible in the Segment drop down under the Segments (Real-Time) section.