Personalizing your message
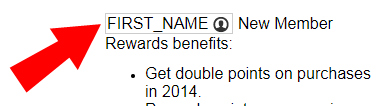
You can personalize an email's subject line or content using subscriber's data by inserting personalization tokens. A personalization token is the selection of a column whose value should be dynamically inserted in the email with the subscriber’s unique values. Data from columns in a PET, supplemental table, segment group, or dynamic variable can be used for personalization as well.
You can personalize the campaign further using dynamic content. Learn more about working with dynamic content .
To add a personalization token with the classic user interface:
Note: If your account has the classic personalization token user interface, learn how to configure your token with the classic user interface.
- With the email open in the Email Message Designer, choose an option:
- To personalize the body of the email message, click the content you want to personalize. Click Edit
 .
. 
- To personalize the subject line, click Edit subject line
 .
.
- To personalize the body of the email message, click the content you want to personalize. Click Edit
- Place your cursor where you want to place the personalization token and click Insert personalization token
 .
. - Choose the list you want to use. If a profile list is not assigned to the campaign, Oracle Responsys will prompt you to select a profile list. After you select a profile list, a personalization token can be created based on the list columns.
- Locate the column from the list and drag it to the right pane.
Tip: If the column isn't showing in the list, click Add columns
 . To add a data source, click Add table. For more information about adding columns and data sources, see Email Message Designer - Working with Data Sources.
 - Optionally, select a formatting style from the Style drop-down list.
- Click OK.
To add a personalization token with the new user interface:
Note: If your account has the classic personalization token user interface, learn how to configure your token with the classic user interface.
Important: The new personalization token user interface simplifies the user experience for marketers.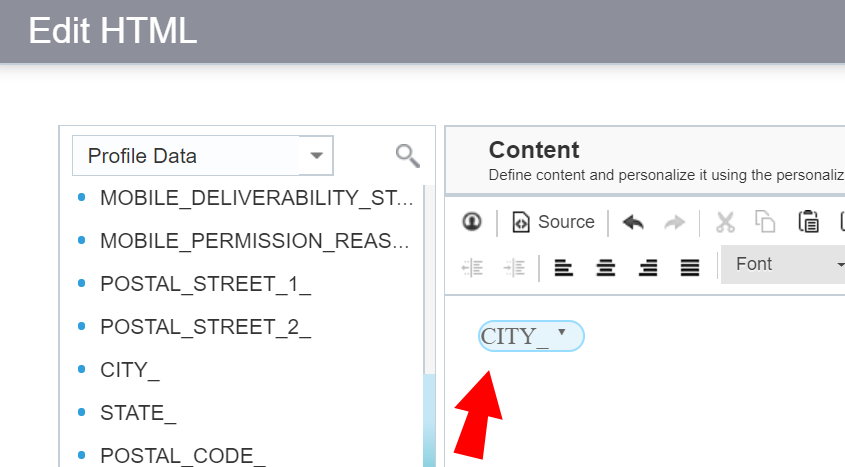
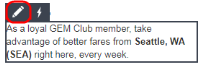
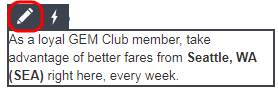
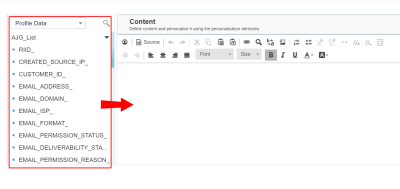
- With the email open in the Email Message Designer, click the content you want to personalize then click Edit.
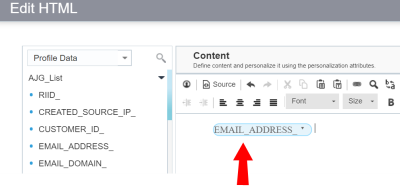
- Locate the column from the list and either drag it to the right panel or double click it. Or click the '+' sign that shows up when you hover on the column name.
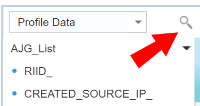
You can use the search functionality to locate specific columns belonging to a data source.
Tip: If the column you want isn't showing in the list, expand profile extension tables or change the data type from the drop-down. The drop-down allows you to choose between Profile Data, Supplemental Data, and Dynamic Variables. If you would like to add a column from a supplemental table or to add a dynamic variable, select Supplemental Data or Dynamic Variable from the drop-down, then click
 .
. - Optionally, click on the token to select from Styling Options or delete the token.
- Click OK.


The following video shows how to personalize campaign messages using the new personalization token user interface.
You can use profile extension table (PET) data to personalize campaign messages.
You can also use the new interface to personalize subject lines of your campaign messages.
Testing message personalization
The following video shows an example of how to preview your messages and verify personalization you added.