Editing a Workflow
You can edit an existing workflow to change its properties or elements, or create new ones. When you edit a workflow, you can make changes to the following workflow elements:
-
Workflow definition - includes basic properties, initiation properties, and conditions. The changes you make to workflow initiation conditions or workflow definition properties affect only future workflow instances. The changes don't affect workflows that are currently running.
-
States - includes creating, editing, and deleting actions, transitions, and custom fields.
-
Actions - includes action properties and conditions.
-
Transitions - includes transition properties and conditions.
-
Workflow and state fields.
You can also edit a workflow definition to change the script ID for the workflow. See Editing a Workflow Script ID. In addition, you can copy workflows and inactivate workflows. For more information, see Copying a Workflow and Inactivating a Workflow.
You can't change the base record type for a workflow after you create it, but you can edit its sub types.
To edit a workflow:
-
Go to Customization > Workflow > Workflows.
-
Find the workflow that you want to edit and click Edit.
-
Do any of the following:
-
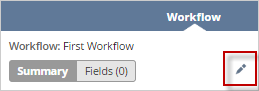
To edit the workflow definition, click the edit icon on the Workflow tab in the context panel. On the workflow definition page, edit the workflow definition and click Save.
-
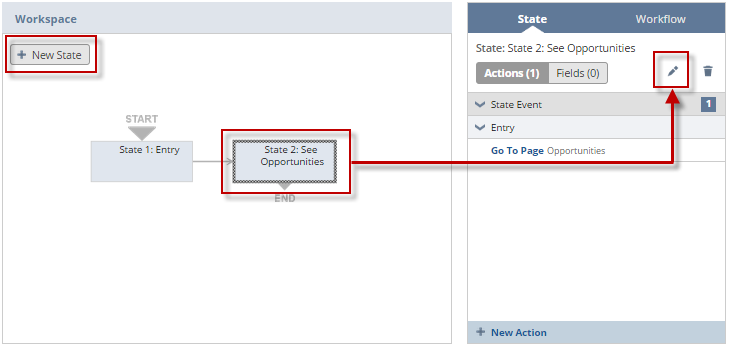
To edit a state, select the state and click the edit icon on the State tab in the context panel. In the Workflow State window, edit the state properties and click Save.
-
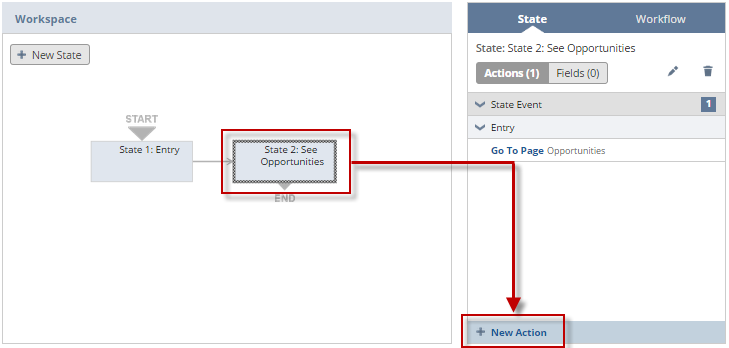
To edit an action, select the state that contains the action that you want to change. On the State tab in the context panel, hover over the action and click the edit icon. On the Workflow Action page, edit the action properties and click Save.
-
To edit a transition, select the transition that you want to change. On the Transition tab of the context panel, click the edit icon. On the Workflow Transition page, edit the transition properties and click Save.

-
To edit a workflow field, click the Fields tab on the context panel. Click the edit icon. Make your changes and click Save.
-
To edit a state field, select a state in the diagrammer, and click the Fields tab on the context panel. Click the edit icon. Make your changes and click Save.

-