7.3 LNP Feature Activation Procedure
This procedure contains the basic steps necessary to activate the LNP feature which makes the feature fully operational in the system. Some of the steps refer to other detailed procedures contained in this manual.
Refer to Commands User's Guide for complete descriptions of the EAGLE commands used in this procedure, including parameter names, valid parameter values, rules for using the commands, and output examples.
To make the LNP feature fully operational in the system, actions need to be taken at the LSMS, each ELAP, and the EAGLE.
- Disable the LSMS Connection.
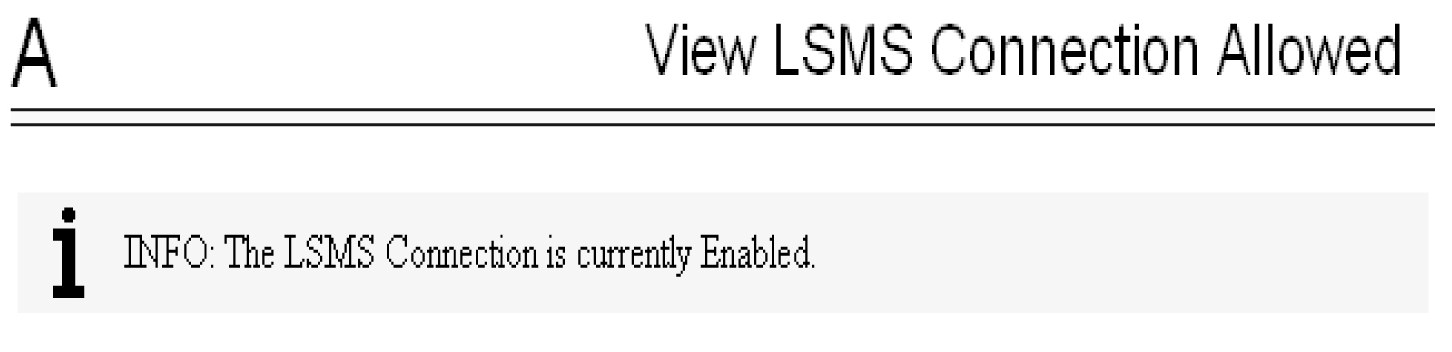
- Select .The View LSMS Connection Allowed dialog box is displayed. See Figure 7-1.
Figure 7-1 View LSMS Connection Allowed Dialog
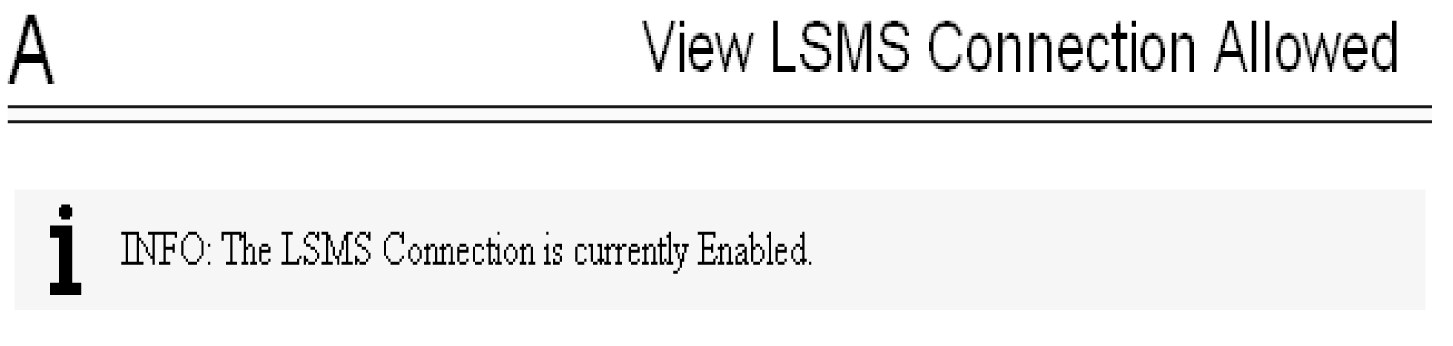
- If the connection is disabled, no action is necessary. Go to Step 13.
- If the connection is enabled, continue with Step b.
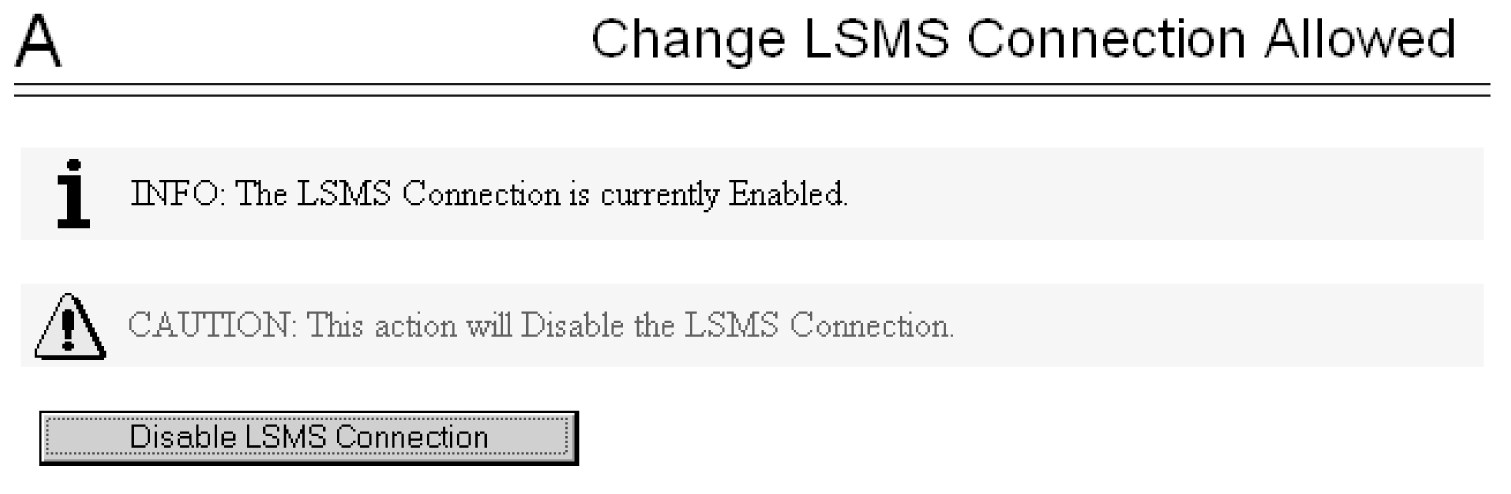
- Select .The Change LSMS Connection Allowed dialog box is displayed showing the Disable LSMS Connection button. See Figure 7-2.
Figure 7-2 Change LSMS Connection Allowed Dialog
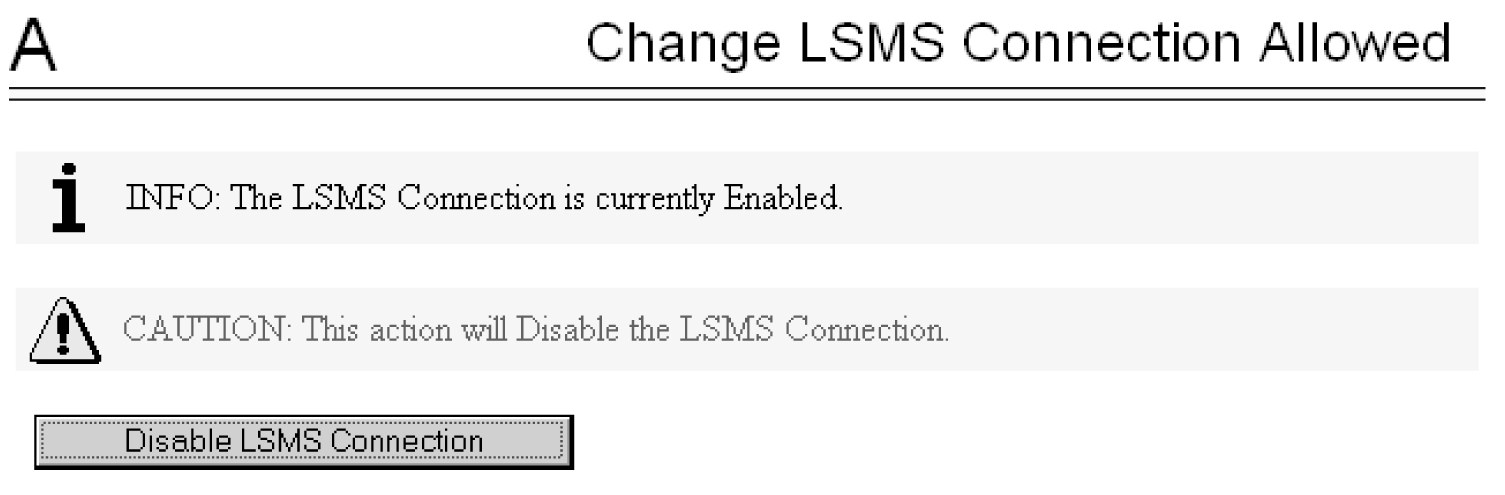
- Click the Disable LSMS Connection button.The Change LSMS Connection Allowed dialog box is displayed. See Figure 7-3.
Figure 7-3 Change LSMS Connection Allowed - Disable Success Dialog

- Select .
- Enable the LSMS Connection.
- Select .The View LSMS Connection Allowed dialog box is displayed. See Figure 7-4.
Figure 7-4 View LSMS Connection Allowed - Connection Enabled Dialog
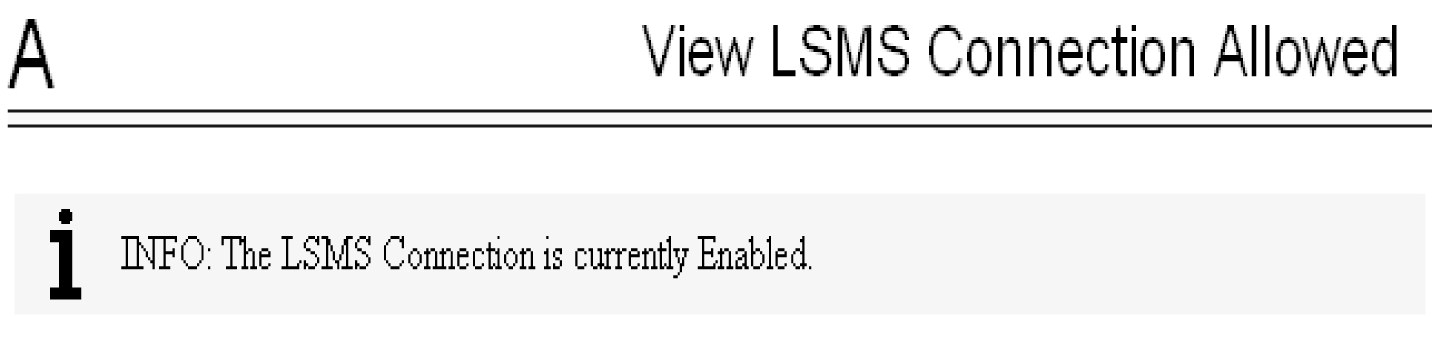
- If the connection is enabled, no action is necessary. Go to Step 24.
- If the connection is disabled, continue with Step 22(b).
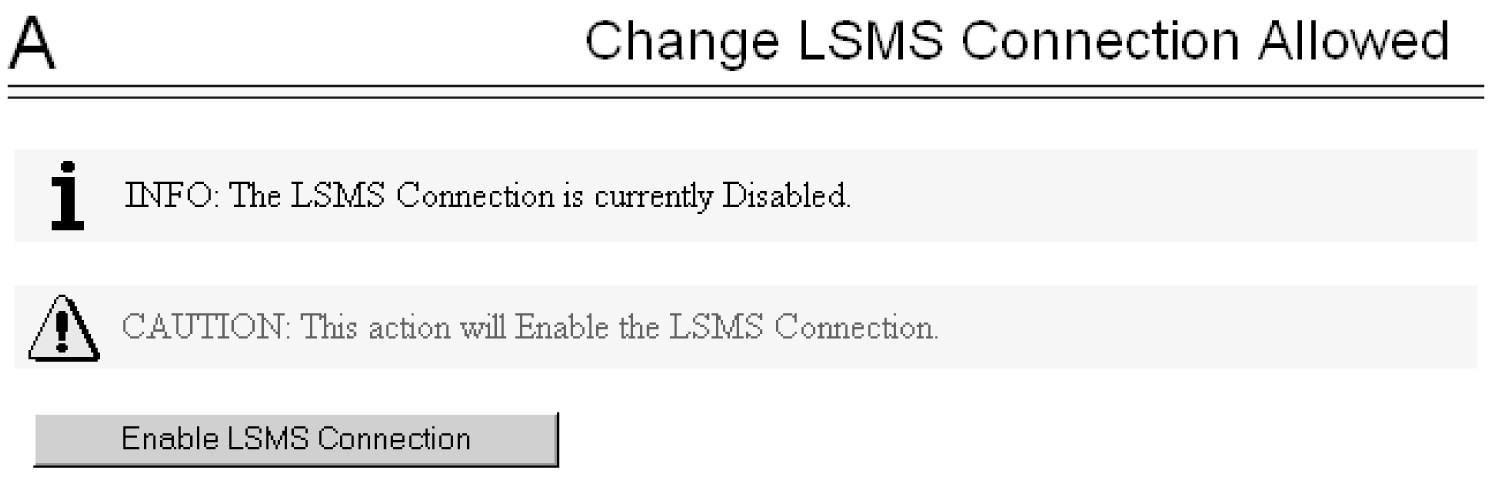
- Select .The Change LSMS Connection Allowed dialog box is displayed showing the Enable LSMS Connection button. See Figure 7-5.
Figure 7-5 Change LSMS Connection Allowed - Connection Disabled Dialog
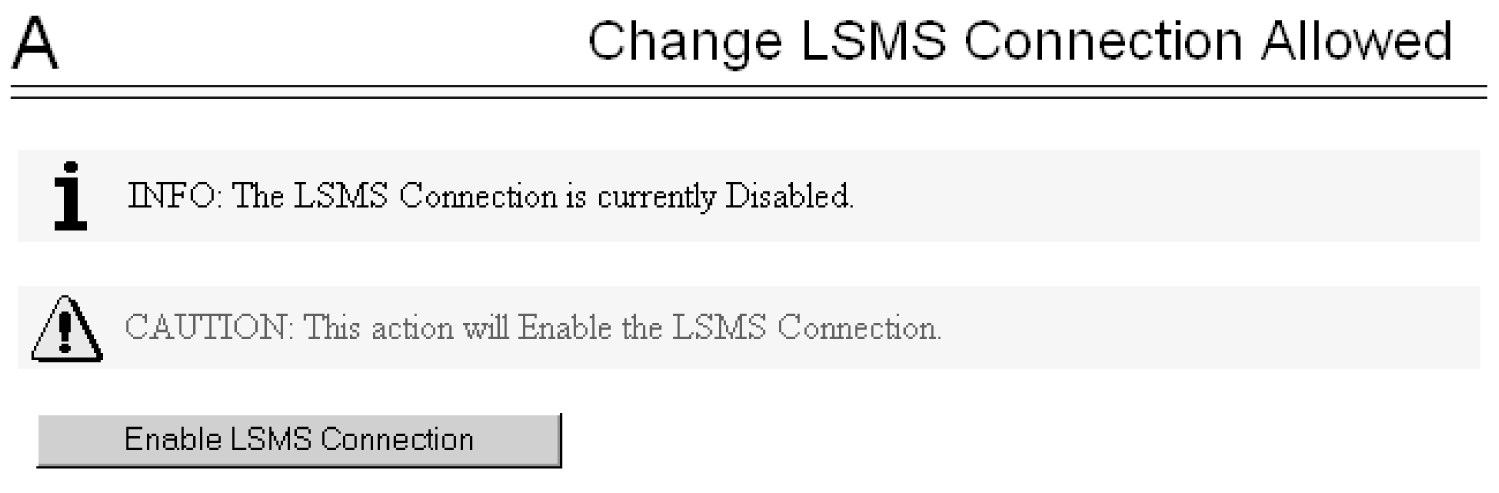
- Click the Enable LSMS Connection button.The Change LSMS Connection Allowed Dialog dialog box is displayed. See Figure 7-6.
Figure 7-6 Change LSMS Connection Allowed - Enable Success Dialog

- Select .
- Disable the LSMS Connection.
- Select .The View LSMS Connection Allowed dialog box is displayed. See Figure 7-4.
Figure 7-7 View LSMS Connection Allowed - Connection Enabled Dialog

If the connection is disabled, no action is necessary. Continue with Step 31 - Step 32 .
If the connection is enabled, continue with Step 30(b).
- Select .The Change LSMS Connection Allowed dialog box is displayed showing the Disable LSMS Connection button. See Figure 7-8.
Figure 7-8 Change LSMS Connection Allowed - Connection Enabled Dialog
- Click the Disable LSMS Connection button.The Change LSMS Connection Allowed Dialog is displayed. See Figure 7-9.
Figure 7-9 Change LSMS Connection Allowed - Disable Success Dialog

- Select .
- Enable LSMS Connection.
- Select .The View LSMS Connection Allowed dialog box is displayed. See Figure 7-10.
Figure 7-10 View LSMS Connection Allowed - Connection Enabled Dialog
If the connection is enabled, no action is necessary. Continue with Step 34.
If the connection is disabled, continue with Step 31(b).
- Select .The Change LSMS Connection Allowed dialog box is displayed showing the Enable LSMS Connection button. See Figure 7-11.
Figure 7-11 Change LSMS Connection Allowed - Connection Disabled Dialog
- Click the Enable LSMS Connection button.The Change LSMS Connection Allowed dialog box is displayed. See Figure 7-12.
Figure 7-12 Change LSMS Connection Allowed - Enabled Success Dialog

- Select .
7.3.1 LNP Feature Configuration on the EAGLE
This procedure is performed on the EAGLE to configure the LNP feature.
Refer to Commands User's Guide for complete descriptions of the commands used in this procedure, including parameter names and valid values, rules for using the commands correctly, and output examples.
The LNP feature is a quantity feature that specifies the maximum number of LNP ported TNs that can be defined in the ELAP RTDB. The quantity that can be enabled per EAGLE node ranges from 24 million LNP numbers and number blocks to 756 million LNP numbers and number pool blocks. LNP-related features can provide up to 200,000 LRNs and 350,000 NPANXX numbers on a single node.
The LNP feature prerequisites are ELAP 10.0 and LSMS 12.0 or higher.
The LNP ELAP Configuration feature must be enabled and turned on before the LNP quantity feature can be enabled. The LNP feature is automatically turned on when it is enabled.
The LNP quantity feature and the LNP ELAP Configuration feature must be purchased before they can be enabled on the EAGLE. If you are not sure if you have purchased the desired LNP quantity feature and the LNP ELAP Configuration feature, contact your system administrator or My Oracle Support (MOS).
Refer to the description of the enable-ctrl-feat command in Commands User's
Guide for a list of the part numbers for the available LNP telephone
number quantities.
7.3.2 Adding an LNP Service
This procedure is used to assign an LNP translation type to a unique LNP service using the ent-lnp-serv command. The ent-lnp-serv command uses these parameters.
Note:
LNP Translation type name referenced in the ENT-LNP-SERV command is different from the Translation type name referenced in ENT-TT command.:serv – the LNP service assigned to the LNP translation type
:tt – the LNP translation type
:ttn – the LNP translation type name
:dv – the type of digits used by LNP (SCCP, TCAP
:alias – the alias LNP translation type
:on/:off=gttrqd - GTT Required; indicates whether GTT needs to be performed on an LNP MSU before NP Query Service processing or after LNP MR processing.
:gttselid - GTT Selector ID used to perform GTT on an MSU before LNP Query processing or after LNP Message Relay processing
:dfltact - Action taken when a GTT selector search (using the GTT Selector ID from the LNP Service table entry) fails while performing Pre-LNP Query Service GTT processing or Fall-back to GTT after LNP MR Service processing
The LNP feature must be enabled. Verify this by entering the rtrv-ctrl-feat command. If the LNP feature is enabled, the entry LNP ported TNs is shown in the rtrv-ctrl-feat output with a quantity greater than zero.
A maximum of 10 LNP services can be assigned to LNP translation types.
-
CLASS
-
CNAM
-
LIDB
-
ISVM
-
LNP Short Message Service (Wireless Short Message Service Center serv=wsmsc)
-
Four user-defined services (UDF1, UDF2, UDF3, UDF4).
-
AIN
-
IN
-
Wireless Number Portability (serv=wnp)
-
PCS 1900 Number Portability (serv=pcs)
-
LNP Query Service (serv=lnpqs)
-
ITU TCAP LRN Query serv=lrnqt
-
Four user-defined services (UDF1, UDF2, UDF3, UDF4).
The alias LNP translation type provides an alternate value for the LNP translation type, so that different networks can use different translation type values for the specified LNP service. If the alias translation type in the SCCP Called Party Address is defined in the database as an alias LNP translation type, the alias translation type value is mapped to the associated true LNP translation type value, defined by the tt parameter, in the database to determine the LNP service that is used on the message. All translation type values (0 - 255) can be used as values for the alias parameter, as long as that value is not already in the database as a value for the tt parameter.
The tt and serv parameter combination can be specified only once.
The tt and alias parameters cannot be specified at the same time. To add a new LNP service and an alias translation type for that service, the ent-lnp-serv command must be entered at least twice, depending on how many aliases you wish to enter. The first time the ent-lnp-serv command is entered, the LNP service (serv) and true translation type (tt) is defined in the database. When the ent-lnp-serv command is entered again with the specified LNP service and the alias parameter, the alias translation types (alias) are assigned to the LNP service.
The value of the alias parameter cannot be in the database as an LNP translation type (tt).
The value of the tt parameter cannot be in the database as an alias LNP translation type (alias).
If the serv and tt parameters are specified, the service type specified by the serv parameter cannot be in the database.
Translation type names can be assigned to the LNP service and translation type with the ttn parameter. If the parameter is not specified, the translation type name is set to the LNP service name. The translation type name must be unique in the database. The word none is used as a value for the ttn parameter of the chg-lnp-serv command and cannot be used as a translation type name with the ent-lnp-serv command.
A translation type name can be the service type name only if the service type name matches the value of the serv parameter.
If the value of the serv parameter is a user defined service type, the value of the dv parameter must be sccp.
If the value of the serv parameter is a either ain, in, wnp, pcs, or lnpqs, the value of the dv parameter must be tcap.
The translation type and LNP service specified with the ent-lnp-serv command cannot be in the database.
To specify the serv=wnp parameter with the ent-lnp-serv command, the Wireless Number Portability feature must be turned on. This can be verified with the WNP = on entry in the rtrv-feat command output.
To specify the serv=pcs parameter with the ent-lnp-serv command, the PCS 1900 Number Portability feature must be turned on. This can be verified with the PLNP = on entry in the rtrv-feat command output.
To specify the serv=wsmsc parameter with the ent-lnp-serv command, the LNP Short Message Service (LNP SMS) feature must be enabled and on. This can be verified in the rtrv-ctrl-feat command output. If the LNP SMS feature is not enabled and on, perform the LNP Short Message Service (LNP SMS) Feature Configuration Procedure procedure to enable and turn the LNP SMS feature on.
The LNP service LNPQS defines the translation type used for LNP queries between networks. This service is defined with the serv=lnpqs parameter. While the EAGLE allows any translation type to be assigned to the LNPQS service, it is recommended that translation type 11 is assigned to the LNPQS service. If any LNP service is assigned translation type 11, and you wish to provision the LNPQS service, the existing service using translation type 11 must be changed to use another translation type. Perform the Changing an LNP Service procedure to change the translation type of the existing service. See LNP Query Service (LNPQS) for more information on LNPQS queries.
The examples in this procedure are used to add the LNP services and alias translation types shown in Table 7-9.
Table 7-9 Example LNP Service Configuration
| SERV | TT | TTN | DV | ALIAS |
|---|---|---|---|---|
|
IN |
30 |
INGTE |
TCAP |
--- |
|
IN |
--- |
--- |
---- |
150 |
|
IN |
--- |
--- |
---- |
175 |
|
UDF3 |
100 |
UDF3 |
SCCP |
--- |
|
UDF3 |
--- |
--- |
---- |
40 |
|
UDF3 |
--- |
--- |
---- |
45 |
|
AIN |
--- |
--- |
---- |
240 |
|
LIDB |
--- |
--- |
---- |
80 |
|
WNP |
50 |
WNP50 |
TCAP |
--- |
| PCS |
19 |
PCS19 |
TCAP |
--- |
|
WSMSC |
139 |
WSMSC1 |
TCAP |
--- |
|
LNPQS |
11 |
LNPQS |
TCAP |
--- |
7.3.3 Removing an LNP Service
This procedure is used to remove an LNP service from the database using the dlt-lnp-serv command. The dlt-lnp-serv command uses two parameters.
:serv – the LNP service
:alias – the alias LNP translation type assigned to the LNP service
If the alias parameter is specified, the alias translation type value must be assigned to the specified LNP service. The alias translation types are shown in the ALIAS field of the rtrv-lnp-serv command output.
The value of the alias parameter cannot be in the database as a true translation type value. The true translation types are shown in the TT field of the rtrv-lnp-serv command output.
Before an LNP service can be removed from the database, all alias translation types assigned to that service must be removed from the database.
The example in this procedure removes LNP service UDF3 from the database.
7.3.4 Changing an LNP Service
This procedure is used to change the attributes of an existing LNP service using the chg-lnp-serv command. The chg-lnp-serv command uses these parameters.
:serv – the LNP service
:nserv – the new LNP service
:tt – the current LNP translation type assigned to the LNP service:ntt – the new LNP translation type assigned to the LNP service
:nttn – the new LNP translation type name assigned to the LNP service
:ndv – the new digits valid indication for the LNP service
:on/:off=gttrqd - GTT Required; indicates whether GTT needs to be performed on an LNP MSU before NP Query Service processing or after LNP MR processing.
:gttselid - GTT Selector ID used to perform GTT on an MSU before LNP Query processing or after LNP Message Relay processing
:dfltact - Action taken when a GTT selector search (using the GTT Selector ID from the LNP Service table entry) fails while performing Pre-LNP Query Service GTT processing or Fall-back to GTT after LNP MR Service processing
The values of the serv and tt parameters must be in the database.
To change the attributes of an LNP service, either the serv or tt parameters must be specified, but not both parameters. If you are changing the translation type assigned to the LNP service, the serv and ntt parameters must be specified. If you are changing the LNP service assigned to a translation type, the tt and nserv parameters must be specified. The nserv and ntt parameters cannot be specified together in the chg-lnp-serv command.
The new translation type name must be unique in the database.
The new translation type (ntt) cannot be in the database as a true translation type or an alias translation type. The true translation types and alias translation types are shown in the rtrv-lnp-serv command output. The true translation types are shown in the TT field and the alias translation types are shown in the ALIAS field.
The word none sets the translation type name value to the service type name. A translation type name can be the service type name only if the service type name matches the value of the serv parameter.
If the value of the serv parameter is a user defined service type or wsmsc, the value of the ndv parameter must be sccp.
If the value of the serv parameter is a either ain, in, wnp, pcs, or lnpqs, the value of the ndv parameter must be tcap.
If the ndv parameter is specified, the value must be different from the current value of the DV field. The DV value can be changed only for these services: cnam, lidb, isvm, or class.
An LNP service cannot be changed if an alias translation type is assigned to the service. The aliases must be removed from the database using the dlt-lnp-serv command. If you wish to continue using the alias translation types with the LNP service after the LNP service has been changed, they must be re-assigned to the LNP service using the ent-lnp-serv command.
Any translation type can be assigned to the LNPQS service, but it is recommended that translation type 11 is assigned to the LNPQS service. If you are changing the translation type of another service, and the LNPQS service is provisioned in the database, select a translation type other than 11.
The examples in this procedure are used to change the AIN and CLASS services to the values shown in Table 7-10.
Table 7-10 Changing the LNP Service
| SERV | TT | NTT | DV | NDV | TTN | NTTN |
|---|---|---|---|---|---|---|
|
AIN |
15 |
55 |
TCAP |
---- |
AINGTE |
AINLIDB |
|
CLASS |
25 |
140 |
SCCP |
TCAP |
CLASSGTE |
CLASS |
|
WNP |
50 |
75 |
TCAP |
--- |
WNP50 |
WNP75 |
7.3.5 Changing LNP Options
This procedure is used to change the LNP configuration options (shown in Table 7-11), using the chg-lnpopts command.
Note:
If LNPOPTS options for the following features need to be changed, do not use this procedure; use the procedures in the indicated section of this manual:- Triggerless LNP (TLNP - use the procedures in Triggerless LNP Feature Configuration.
- LNP Short Message Service (LNP SMS) - use the procedures in LNP Short Message Service (LNP SMS) Feature Configuration Procedure.
Table 7-11 LNPOPTS Configuration Options
| Parameter | Value | Description | Notes |
|---|---|---|---|
| ADMINHIPRI - LNP Database Administration Highest Administrative Priority | Yes | LNP database administration can starve out normal STP updates during LNP administration of 2 TNs per second. | |
| No | STP and LNP updates receive the same priority. Depending on the system activity level, the performance of LNP updates may be reduced. | ||
| AMACTYPE - AMA Call Type | 3 digits | ||
| AMAFEATID - AMA Feature ID | 3 digits | ||
| AMASLPID - AMA Slip ID | 9 digits | ||
| CCP - Copy Charge Parameters | Yes | The EAGLE copies the Charge Number and Charge Party Station type from an LNP AIN query (if present) to the LNP AIN Response message. | |
| No | The Charge Number and Charge Party Station type are not copied from the AIN query to the AIN Response message. | ||
| CIC - Carrier Identification Code | 3-4 digits | ||
| DRA - Destination Routing Address content | LRNTN | LRN and TN | |
| LRN | LRN only | ||
| FRCSMPLX - Allow Simplex Database Updates | Yes | LNP updates are accepted when the EAGLE is in the simplex mode (when the standby MASP is incoherent, at a different level compared to the active MASP, or unstable). | |
| No | LNP updates are not accepted when the EAGLE is in the simplex mode (when the standby MASP is incoherent, at a different level compared to the active MASP, or unstable). | ||
| GTWYSTP - LNP System is also a Gateway STP | Yes | The system is configured as a Gateway STP running the LNP feature. | The NPAC sends LNP subscriptions that contain capability point codes that do not have routes assigned to them in the EAGLE database. |
| No | The EAGLE is not configured as a Gateway STP. | ||
| INCSLP - AMA Service Logic ID included in the response | Yes | AMA Service Logic ID is included in the response. | |
| No | AMA Service Logic ID is not included in the response. | ||
| JIPDIGITS - Jurisdiction Information Parameter value | 6 digits | The Triggerless LNP (TLNP) feature must be on. See Triggerless LNP Feature Configuration. | |
| JIPPRV - Add Jurisdiction Information Parameter value to IAM | Yes | A Jurisdiction Information Parameter value is added to the IAM. | The Triggerless LNP (TLNP) feature must be on. See Triggerless LNP Feature Configuration. |
| No | A Jurisdiction Information Parameter value is not added to the IAM. | ||
| LRNDGTS - LRN digits | 1-10 digits | ||
| NAIV - Name of Address Indicator Value | 0-127 digits | ||
| SERVPORT - Service Portability | Yes | A protocol setting that allows splitting services between TN and LRN override records. | This setting lets the EAGLE LNP craftsperson update LRN overrides for Message Relay services that are to be supported in the network. The EAGLE then uses the TN gateway point code (NPAC subscription data) for Message Relay services the CLEC wants to provide. |
| No | If no LRN override services are provisioned, then the TN gateway point codes (NPAC subscription data) are used to route queries out of the network. | If one or more LRN override services are provisioned, the TN is considered to be ported into the network. In this case, if an LRN override service is requested and the LRN has other services administered, but the requested service is not provisioned, then a UDTS response for the service is provided. | |
| SP - Service Provider ID | 4 alphanumeric characters | ||
| TNDGTS - TN Digits | 1-10 digits | ||
| WQREDRCT - Wireless Queries Directed to default GTT | Yes | Allows GTT to treat any wireless LNP (WNP and PLNP) queries that require GT as a normal GTT. | The Wireless Number Portability (WNP) feature or the PCS 1900 Number Portability (PLNP) feature must be on. |
| No | Routes all wireless LNP queries (WNP and PCS) that require GTT directly to the local subsystem. | ||
| WSMSC10DIG - SCCP GTA Digit Length Indicator for 10 or 11 digits | Yes | The system verifies that either 10 or 11 digits are present in the CdPA GTA. If 11 digits are present, the first digit is stripped to derive 10 digits for LNP SMS translation. If 10 digits are present, all 10 digits are used for LNP WSMSC translation. | The LNP SMS feature must be on. See LNP Short Message Service (LNP SMS) Feature Configuration Procedure. |
| No | The system verifies that 11 digits (plus a padded 0 digit) are present in the CdPA GTA. If 11 digits are present, the system strips the first digit and considers only 10 digits for LNP WSMSC translation. |
The LNP feature must be enabled before the LNPOPTS options can be configured.
The value is not changed for any option that is not specified in the chg-lnpopts command.
7.3.6 Changing the LNP Telephone Number Alarm Thresholds
This procedure is used to change the alarm thresholds for generating alarms when the LNP Telephone number quantity has exceeded the defined percentage of the maximum number of LNP telephone numbers the EAGLE can contain. The alarm thresholds are changed using the chg-th-alm command and these parameters:
:lnptndblv1 – The percentage, from 0 to 100, of the maximum number of LNP telephone numbers the EAGLE can contain that generates major alarm UAM 0288. The system default value for the lnptndbvl1 parameter is 90. The current value of this parameter is shown in the LNP TN DB Alarm Level 1: field of the rtrv-th-alm command output.
:lnptndblv2 – The percentage, from 0 to 100, of the maximum number of LNP telephone numbers the EAGLE can contain that generates critical alarm UAM 0287. The system default value for the lnptndbvl2 parameter is 95. The current value of this parameter is shown in the LNP TN DB Alarm Level 2: field of the rtrv-th-alm command output.
The chg-th-alm command contains other optional parameters. These parameters are not shown here because they are not necessary to provision the LNP telephone number alarm thresholds. These parameters are explained in more detail in Commands User's Guide.
The maximum number of LNP telephone numbers the EAGLE can contain is shown in the rtrv-ctrl-feat command output or in the TN: row in the PROVISIONED TABLE QTY: section of the rept-stat-lnp command output.
7.3.7 Adding a Subsystem Application
This procedure is used to reserve a subsystem number for the LNP application and place the LNP application either online or offline using the ent-ss-appl command. The ent-ss-appl command uses the following parameters:
:appl – the application type, LNP
:ssn – the LNP subsystem number
:stat – the state of the LNP application
The LNP feature must be enabled. Verify this by entering the rtrv-ctrl-feat command. If the LNP feature is enabled, the entry LNP ported TNs should appear in the rtrv-ctrl-feat output with a telephone quantity greater than 0. If the LNP feature is not enabled, perform the procedures in LNP Feature Activation Procedure to enable the LNP feature.
Only one subsystem number for each application can be defined.
If the stat parameter is not specified, the application will be offline.
The LNP application applies to both global title translation services and LNP queries.
The application specified by the appl parameter cannot already be in the database.
Before the subsystem application can be added to the database, the EAGLE true point code and the subsystem number must be in the mated application table. The EAGLE true point code is verified with the rtrv-sid command and shown in the PCA field. The mated application table is displayed with the rtrv-map command. The EAGLE true point code is shown in the PCA field of the rtrv-map command output and the subsystem number is shown in the SSN field of the rtrv-map command output. If the EAGLE’s true point code and the subsystem number are not shown in the rtrv-map command output, perform one of the “Mated Application” procedure in Database Administration – GTT User's Guide and add the EAGLE true point code and the subsystem to the database.
The example in this procedure reserves the subsystem number 254 for the LNP application and sets the LNP application online.
7.3.8 Removing a Subsystem Application
This procedure is used to remove a subsystem application from the database using the dlt-ss-appl command. The dlt-ss-appl command uses only one parameter:
:appl – the subsystem application, LNP .
The subsystem application must be in the database, and the subsystem must be out of service.
7.3.9 Increasing the LRN and NPANXX Quantities on the EAGLE
When the LNP feature is enabled for the first time for a quantity less than 240 million numbers, the LRN (Location Routing Number) and NPANXX quantities are set at 100,000 LRNs and 150,000 NPANXXs.
When the LNP quantity is 60-228 million numbers, the LRN and NPANXX quantities can be increased to 150,000 LRNs and 300,000 NPANXXs The procedure in this section explains how to increase the quantities. (To increase the current LNP quantity, see the Increasing LNP Telephone Number Quantity on EAGLE procedure.)
When the LNP telephone number quantity is 240-756 million numbers, the LRN and NPANXX quantities are automatically increased to 200,000 LRNs and 350,00 NPANXXs. No action is necessary for the increase.
The current assigned quantities can be verified by entering the rtrv-ctrl-feat command.
The LRN and NPANXX quantities are increased using the enable-ctrl-feat command to specify the optional Feature Access Key (FAK) and part number of the desired LRN quantity feature (part number 893010501) and the NPANXX quantity feature (part number 893009402). The Feature Access Key (FAK), which is provided when the feature is purchased, is based on the feature part number and the serial number of the EAGLE, which means that the Feature Access Key (FAK) is site-specific.
To fully use the increased LRN and NPANXX quantities for 60-756 million LNP numbers, the Measurements Platform must be configured on the EAGLE. If the Measurements Platform is not configured, the measurements for LRNs are capped at 100,000 LRNs, and the measurements for NPANXXs are capped at 150,000 NPANXXs. Measurements for LRN and NPANXX quantities beyond 100,000 LRNs and 150,000 NPANXXs will be truncated. To configure the Measurements Platform, refer to the procedures in Database Administration - System Management User's Guide.
7.3.10 Activating the LNP Local Subsystem
The procedure in this section explains how to activate the LNP local subsystem.
When all configuration is complete for the feature or features, the LNP subsystem application must taken online and the local subsystem must be activated to allow it to begin operation.
When the local subsystem operating state is Inhibited, the chg-ss-appl:appl=lnp command can be used to specify the value online or the value offline to control the persistent setting for the local subsystem. The rtrv-ss-appl command always displays the online or offline provisioned value. When the first Service Module card is loaded, this state tells whether the subsystem should be considered allowed (online) or inhibited (offline). This is a database state. If the command is accepted, then the change is made to the tables and can be read after an init-sys command is entered to initialize the system.
When the Service Module cards are in-service and the subsystem application is online, the alw/inh-map-ss commands can be used to change the dynamic operating state of the local subsystem. The inh-map-ss command does not necessarily force a state change, because it can fail if the mate does not send SOG. The force=yes parameter must be specified to bypass the SOR/SOG exchange and inhibit immediately. (There is no rtrv-map-ss command.)
The procedures in Changing the State of a Subsystem Application explain how to take a local subsystem online and offline.
Table 7-12 Subsystem Allow/Inhibit
| Command\ Subsystem State | Offline | Online |
|---|---|---|
alw-map-ss
|
Command is rejected. | Attempts to make the local subsystem active. |
| inh-map-ss | Command accepted, but no action because offline implies inhibited. | Attempts to inhibit the local subsystem. Use of the force=yes parameter bypasses the SOR/SOG exchange and inhibits immediately. |
chg-ss-appl :appl=lnp :nstat=online
|
Command is rejected, because the subsystem must be online to be in the allowed state. | Changes local subsystem database status to online. |
chg-ss-appl :appl=inp :nstat=offline
|
Command is rejected because the subsystem must be inhibited to go offline. | Changes local subsystem database status to offline. |
7.3.11 Increasing LNP Telephone Number Quantity on EAGLE
Note:
Use this procedure only if the LNP ELAP Configuration feature is enabled and turned on and an LNP quantity feature is enabled. Enter thertrv-ctrl-feat command, and verify that an LNP ported TNs entry appears in the output. If the LNP ported TNs entry is not in the output, do not perform this procedure but go to LNP Feature Activation Procedure to enable and turn on the LNP ELAP Configuration feature and enable the LNP feature.
Using the enable-ctrl-feat Command to Set LNP
Telephone Number Quantity
This procedure is used to increase the current quantity of LNP telephone numbers in the EAGLE using the enable-ctrl-feat command specifying the part number of the desired LNP telephone number quantity. The current LNP telephone number quantity is shown in the LNP ported TNs entry in the rtrv-ctrl-feat command output.
The LNP Telephone Number quantity is used to report the maximum provisioned
quantity by the rtrv-ctrl-feat command and is also used to
generate database consumption alarms that can be configured using the
lnptndblv1 and the lnptndblv2
parameters of the chg-th-alm command.
Note:
After a specific LNP telephone number quantity is enabled with theenable-ctrl-feat command, that quantity cannot
be reduced. The LNP feature cannot be turned off using the chg-ctrl-feat command, and cannot be enabled with a temporary Feature
Access Key.
The LNP telephone number quantity must be purchased
before you can enable that quantity with the enable-ctrl-feat command. If you are not sure if you have
purchased the desired LNP telephone number quantity or do not have the Feature
Access Key for the LNP telephone number quantity being enabled, contact My
Oracle Support (MOS).
Caution:
Make sure that the LNP telephone number quantity configured in this procedure is greater than the ELAP telephone number quantity. The ELAP telephone number quantity can be verified by performing the Verifying RTDB Status at the ELAP User Interface procedure. If the telephone number quantity on the ELAP is greater than the LNP telephone number quantity configured in this procedure, the ELAP RTDB is not loaded onto the entire set of Service Module cards on the EAGLE. Some of the Service Module cards load the ELAP RTDB to provide a restricted level of GTT/LNP service. The remainder of the Service Module cards are put into a restricted state. UIM 1323 is generated at the EAGLE.7.3.11.1
chg-stpopts Command to
Set the LNP Telephone Number Quantity to 756 MillionIn
addition to using the enable-ctrl feat command
described previously for increasing the LNP Telephone Number quantity in 12M
increments, the chg-stpopts command must be used
to turn on the lnptn756m option for any LNP
quantity greater than 504 million numbers.
Refer to LSMS Configuration Guide for instructions on how to set the LNP telephone number quantity on the LSMS to match what is set on the EAGLE.
ELAP Configuration Change for increasing LNP Telephone Number Quantity
After the ELAP
has been upgraded to ELAP 10.2 or later, run the uiEdit
command from the command line and locate the value displayed for the LNP_TN_QTY
parameter. If the value is anything other than 756000000, execute the
uiEdit LNP_TN_QTY 756000000 command to set the parameter
value to 756M LNP entries.