Create a Special Order
To create a new special order:
-
Click Extended Transactions in the Register Sale screen.
-
Click Special Order.
Xstore Point of Service will open a prompt listing open special orders for the customer, or an indication that there are no open special orders.
-
Perform the appropriate action:
-
Associate a customer with the transaction. See Associate a Customer with a Transaction.
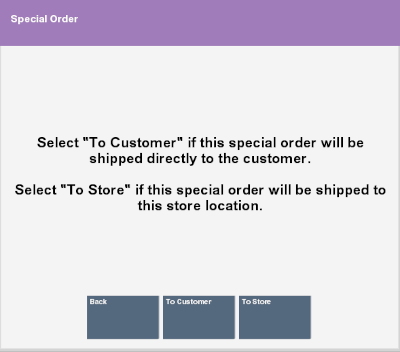
Figure 12-1 Special Order Shipping/Pick Up Options

-
Select the destination for the special order:
-
If necessary, enter or update the shipping information for the customer:
Note:
If your system is configured to provide Address Lookup functionality, an Address Lookup button will be available to allow you to quickly look up customer addresses using minimal information.
-
Send To - Name of the customer.
-
First - First name.
-
Middle - Middle initial.
-
Last - Last name.
-
-
Address - Shipping address.
Note:
The fields in this section will depend upon configuration and nationality.
-
First line of the shipping address.
-
Second line of the shipping address.
-
Zip - Zip or postal code.
-
State - State or province.
-
City - City name.
-
Apt - Apartment.
-
-
Country - Country name. Click the Change Country button to change this value. See Change Country.
-
Ship Via - Name of the shipping company.
-
-
Click Process.
-
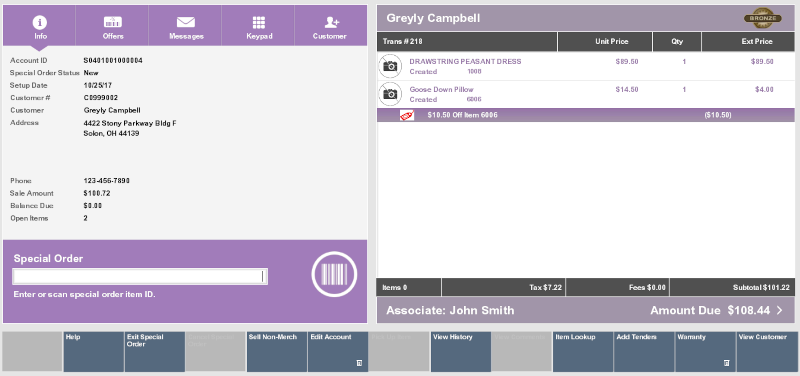
Enter the items for the special order. See Entering Items.
Figure 12-2 Special Order Screen

-
If necessary, enter the expected arrival date for the order, then press Enter.
Figure 12-3 Expected Receipt Date Prompt

-
Click the appropriate option:
-
Click Exit Special Order to exit special order mode and perform additional transaction processing.
-
Click Complete Transaction to proceed to tendering after completing the special order.
-
-
If necessary, enter the amount of the special order deposit, then press Enter.
Figure 12-4 Special Order Deposit Prompt

Note:
This option is only available if you clicked To Store in Step 5. Items that are shipped to the customer must be paid in full in the same transaction in which the order is created.
-
If necessary, click OK to confirm that a shipping fee has been added to the special order.
Continue the transaction.