The following instructions provide a walkthrough for installing a Corente Gateway on VMware ESX Server 5.5
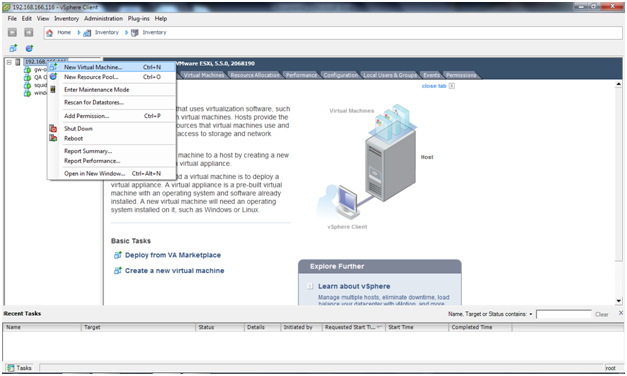
Load the VMware Infrastructure Client application. Right-click the name of the VMware server and choose New Virtual Machine.
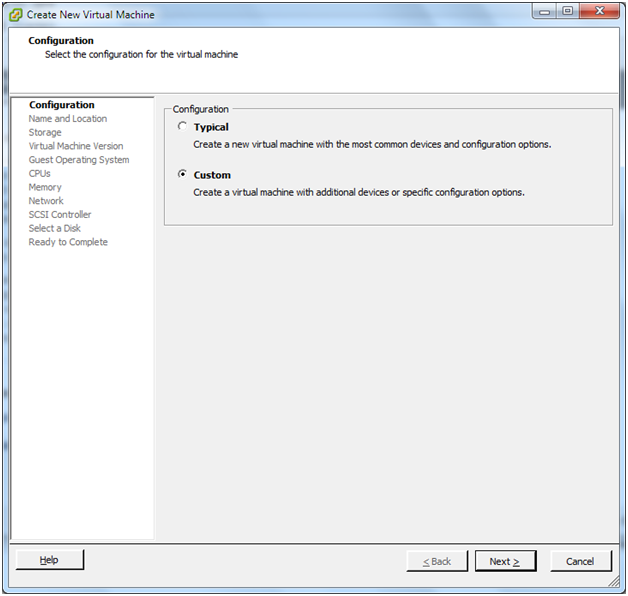
A wizard will begin that allows you to create a New Virtual Machine. On the first screen, select Custom. Click Next.
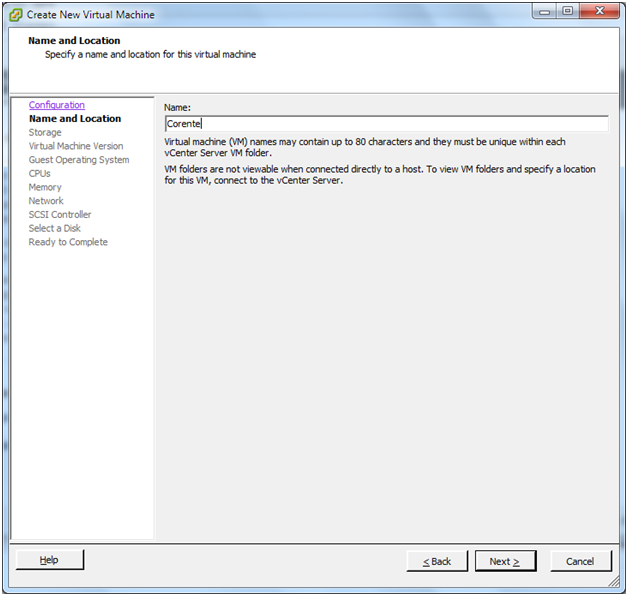
Enter a name for the virtual machine and click Next.
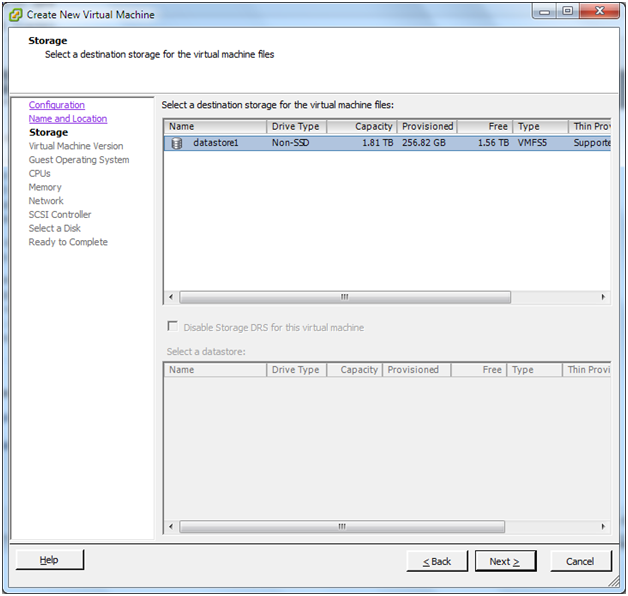
Select Datastore and click Next.
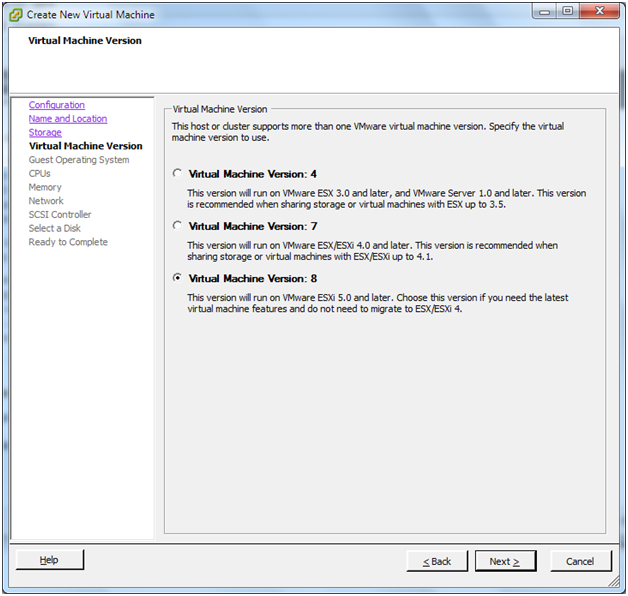
Select a Virtual Machine Version and click Next.
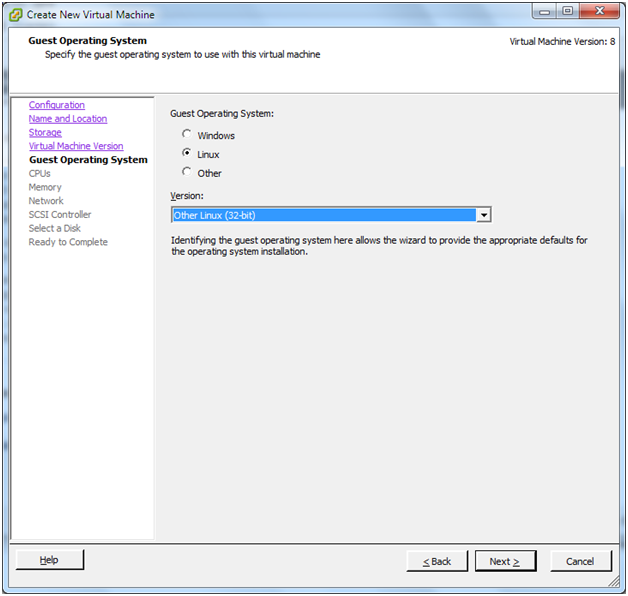
Select Linux. For the version, select Other Linux (32-bit). Click Next.
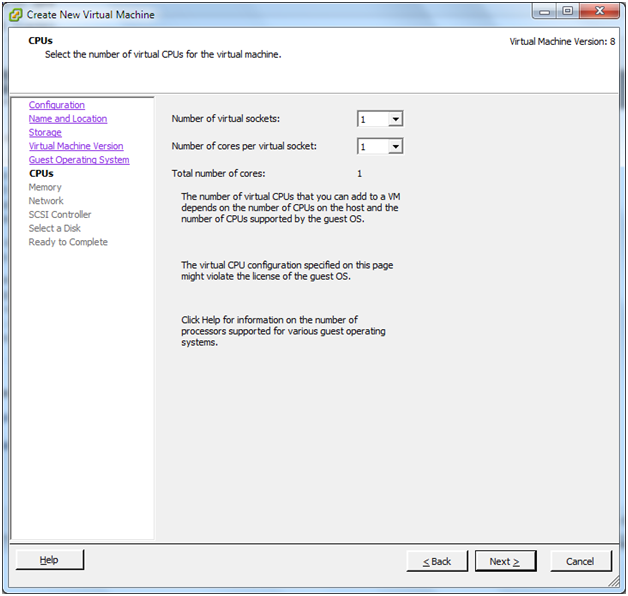
For the number of virtual processors, enter 1. Click Next.
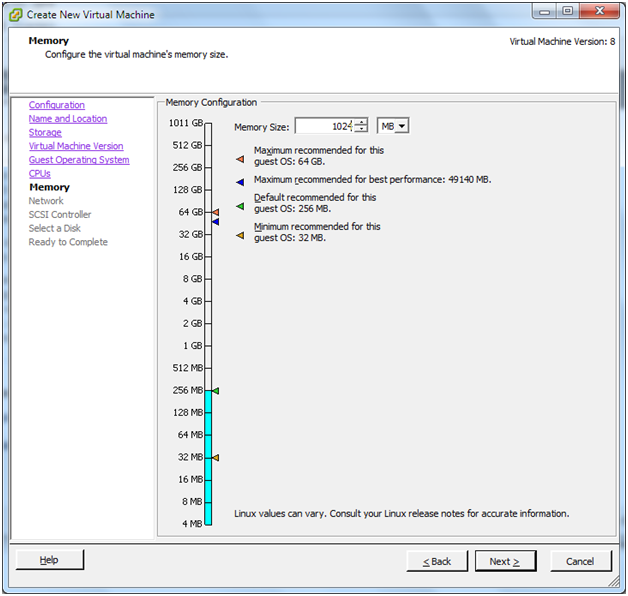
This screen allows you to allocate memory to the new VM. Oracle recommends at least 1 GB of memory (1024 MB) for the VM. Click Next.
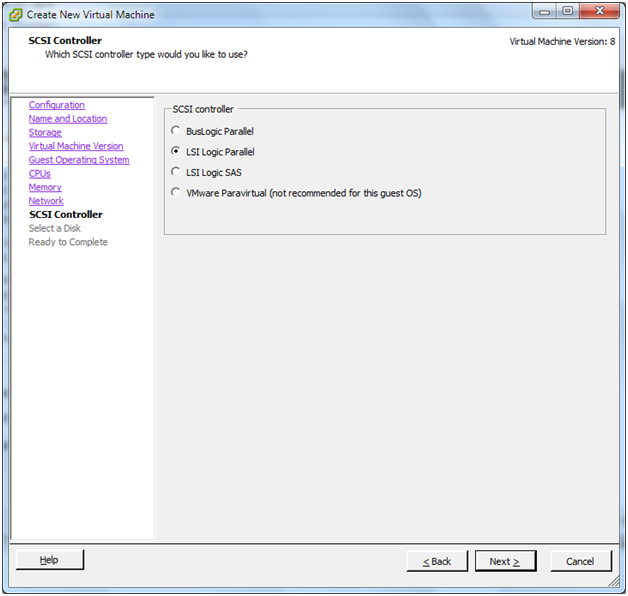
Select LSI Logic. Click Next.
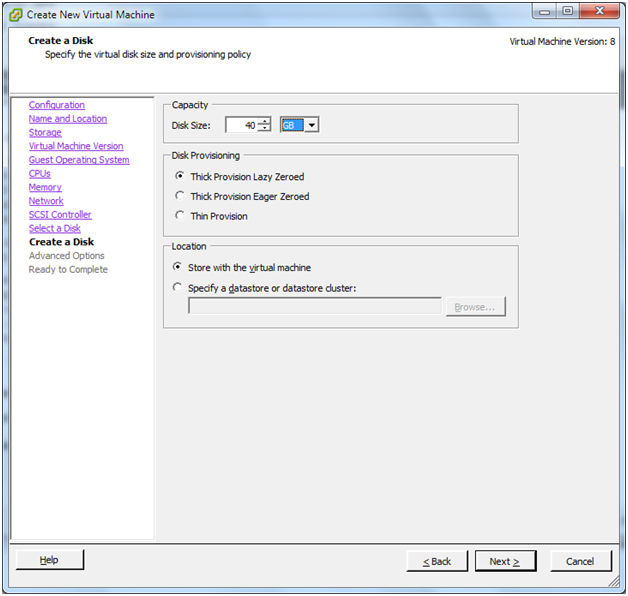
Enter the disk capacity for the VM. Corente recommends at least 40 GB. Select the option Thick Provision Lazy Zeroed and make sure that the option Store with the virtual machine is selected. Click Next.
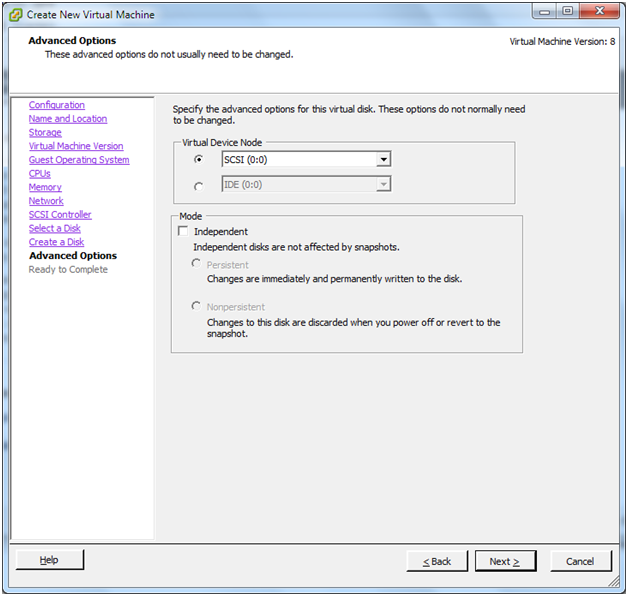
Make sure Virtual Device Node is set to the default option: SCSI (0:0). Click Next.
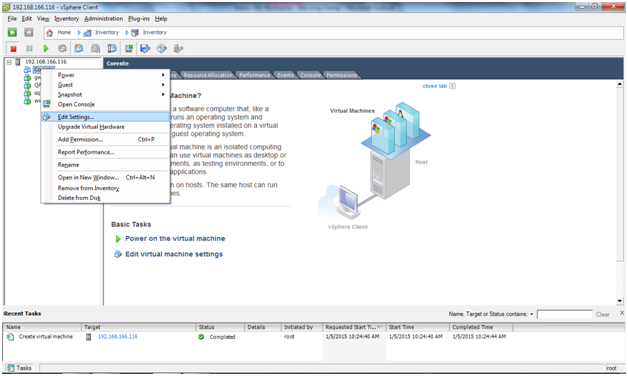
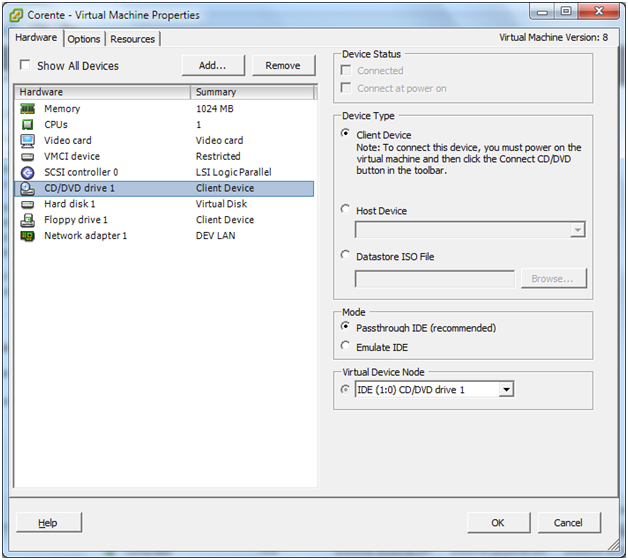
After you review the settings and click Finish, your new VM will now appear in the panel on the left side of the window. Right-click the new VM and choose Edit Settings.
Make sure the Corente Gateway Software
.isoimage file is saved locally on your PC. Select CD/DVD Drive 1.On the right side of the window, in the Device Type section, choose Client Device. Click OK.
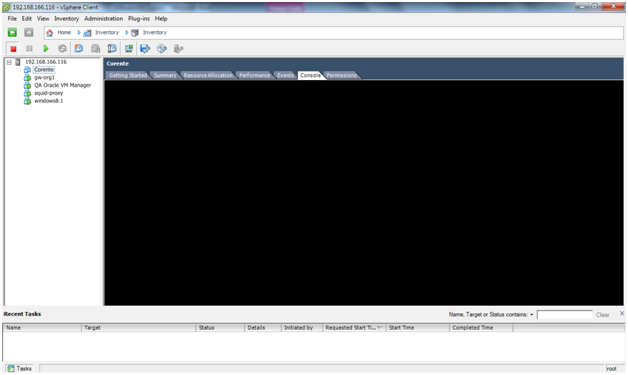
Select the new VM on the left side of the window, and choose Console from the tabs across the top of the right side of the window.
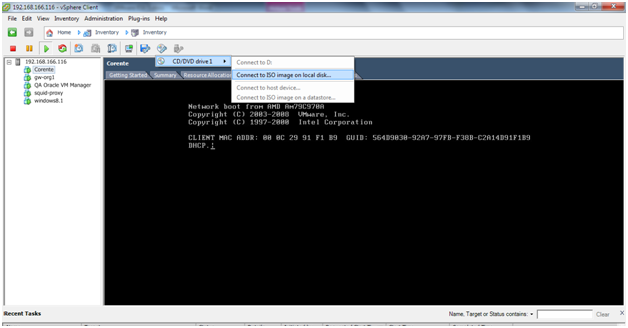
Start the VM by clicking the green play button. Click Connect CD/DVD 1 and choose Connect to ISO image. Locate the locally-stored Corente Gateway Software
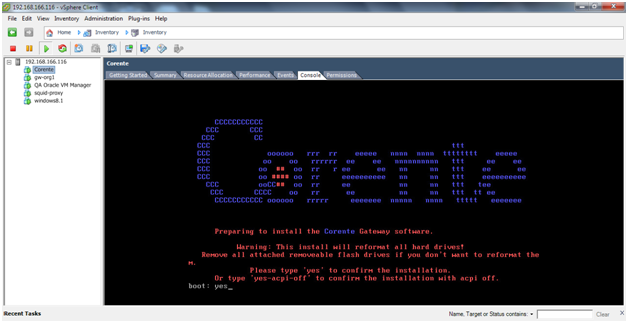
.isofile on your computer and hit OK.Once the PXE boot times out, click the Console window and hit any key. The client will begin to load the Corente Gateway Software
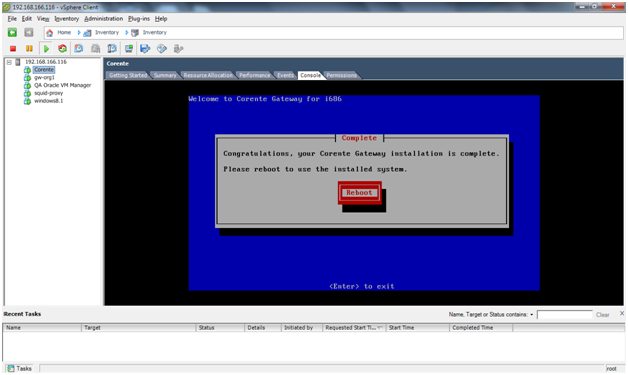
.isofile. Type Yes and press Enter to continue.Hit Enter to reboot when prompted. You can now also disconnect the CD ISO Image.
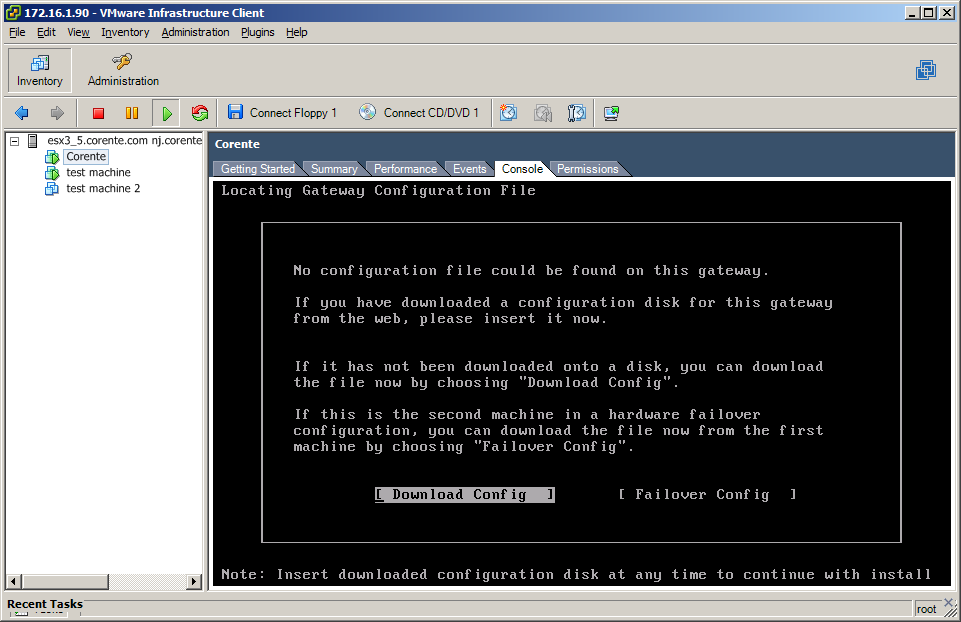
Upon the initial boot of the Corente Virtual Services Gateway, you will be prompted to download a configuration file. Select Download Config and hit Enter.
Complete the network information on this screen. For the Download Site, enter www.corente.com. Select Next and hit Enter.
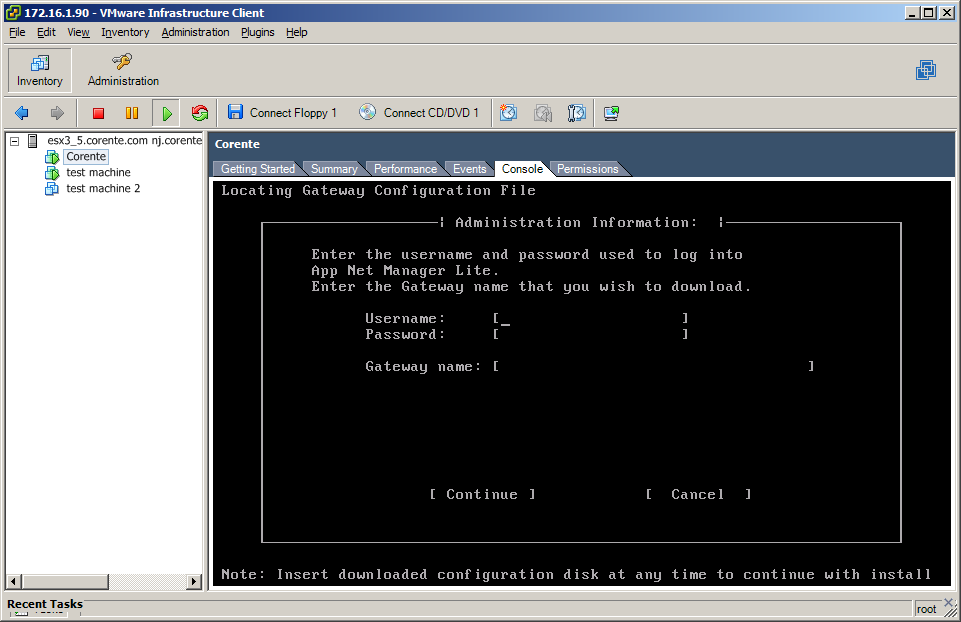
Enter the username and password for your App Net Manager account, and enter the new Corente Virtual Services Gateway's name. Select Continue and hit Enter.
After the configuration file has been downloaded, the Corente Virtual Services Gateway will restart its service. Confirm via App Net Manager that this gateway is active.