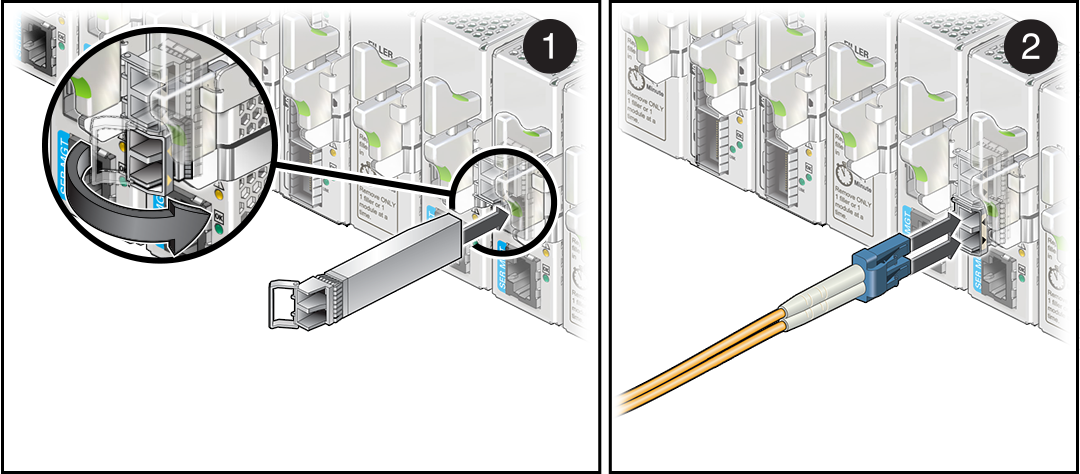
Connect the LC Cables
- Identify the prerequisite and subsequent installation tasks that you must perform in conjunction with this task.
- Remove the protective caps from the LC connector.
- If the module does not already have an SFP+ connector installed, complete Step 6 through Step 7, then return to this procedure.
-
Orient the cable connector to the LC receptacle squarely and vertically.
Ensure that the release tabs are to the right.
Note - Depending on whether you assembled the LC cable and SFP+ connector, the connector might be attached to the cable instead of inserted into the module receptacle. Also, ensure the metal clip on the transceiver is in the closed position prior to connecting the cable to the transceiver.
- Push the connector in until you feel a click.
- Lay the cable into a slot on the cable management comb.
- Repeat Step 2 through Step 8 for each cable to be connected.
- Secure the cables to the cable management Comb.