How to Configure a Network for a Project
To create internal networks for a project, you should be at least a member of the project. You do not need administrative privileges to perform this procedure.
By default, this network does not have any access to the external network. To connect the internal network to the public network, see How to Provide External Connectivity to Internal Networks.
-
On your browser, log in to the Horizon dashboard using the URL similar to the following address:
http://system/horizon/
-
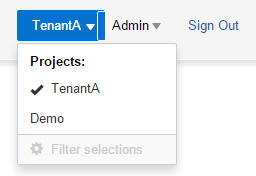
Ensure that you are logged in to the correct project by checking the project name on the upper right corner of the default screen.
The following example shows TenantA is selected out of two available projects. User admin is currently logged in.
-
On the left panel, select the Project > Network > Networks tab, then click Create Network.
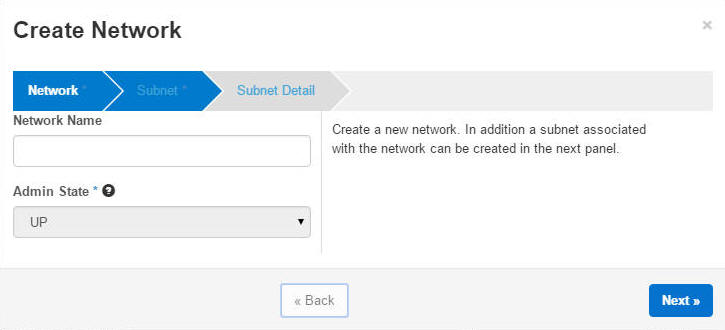
The Create Network dialog box is displayed.
-
Click through each tab to provide the information as needed.
Note - Clicking Next displays the screen for each tab.Each tab prompts you for the following information:
-
Network Tab
-
Network Name
-
Admin State – accept the default value.
-
-
Subnet Tab
-
Subnet Name
-
Network Address
-
IP Version
-
Gateway IP – leave blank to accept the default value.
-
-
Subnet Detail Tab
-
Use DHCP – deselect if not using DHCP.
-
Allocation Pools
-
DNS Server Names
-
Host Routes
-
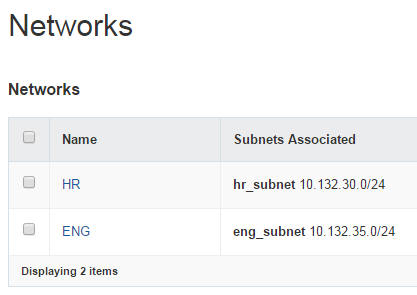
After you provide the information and click the Create button, the Networks screen displays the networks and their associated subnets similar to the following example:
-