
The software described in this documentation is either no longer supported or is in extended support.
Oracle recommends that you upgrade to a current supported release.
To create a configuration channel:
Go to Configuration and select Configuration Channels
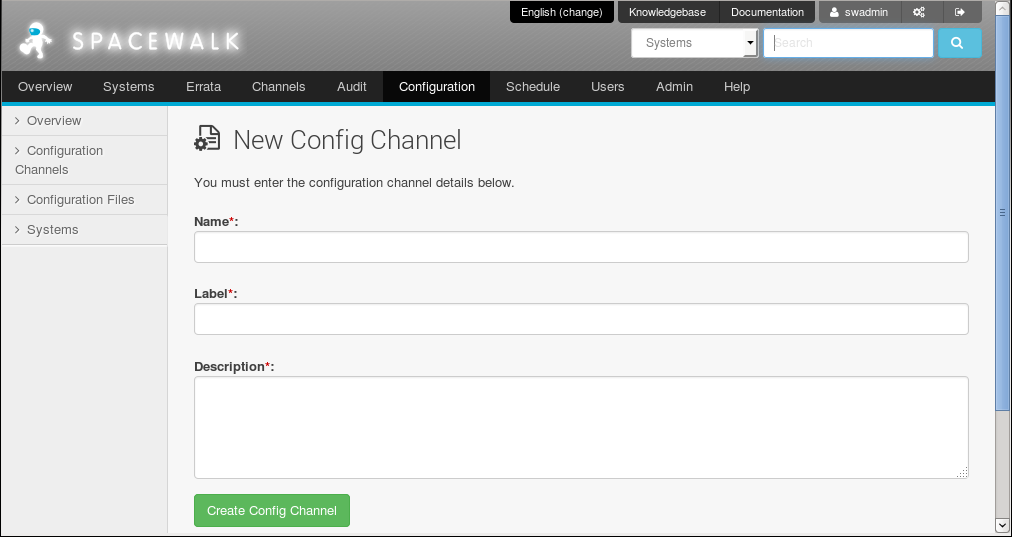
On the Centrally Managed Configuration Channels page, click + create new config channel.
Enter a name, label, and description for the channel. The label should be a short representation of the target operating system, architecture (if appropriate), and the purpose of the channel. For example:
ol6_generic_configuration.Click Create Config Channel.
To add files to the configuration channel, on the New Channel page, select the Add Files tab.
To create a text file, directory, or symbolic link:
Select the Create File tab.
On the Create New Configuration File page, you can create a text file, directory, or symbolic link.
For example, to set up a message-of-the-day file that contains configuration information about the client, you might enter the following details:
- File Type
Select Text file.
- Filename/Path
Enter
/etc/motd.- Ownership
Enter
rootfor both the user name and group. (These are the default entries.)- File Permissions Mode
Enter 644. (This is the default mode.)
- File Contents
Select the file type as Shell from the drop-down list, and enter the file contents in the text field.
For example, the following file uses macros that Spacewalk replaces with the appropriate values for the system on which the file is deployed:
System Information
==================
Client system: {|rhn.system.hostname|}
Spacewalk SID: {|rhn.system.sid|}
Asset tag:     {|rhn.system.custom_info(asset_tag) = 'Asset tag missing'|}
Profile:       {|rhn.system.profile_name|}
Description:   {|rhn.system.description|}
IP address:    {|rhn.system.ip_address(eth0)|}
MAC address:   {|rhn.system.net_interface.hardware_address(eth0)|}
The custom macro
rhn.system.custom_infosubstitutes the value of the custom system information key namedasset_tagas assigned on the Custom Info tab for the system. Otherwise, it inserts the valueAsset tag missing.See Section 10.4.2, “Defining Custom Information Keys Using the Spacewalk Web Interface”.
After entering the details of the file, click Create Configuration File.
To import files:
Select the Import Files tab.
On the Import Configuration File(s) from Another Channel page, you can import configuration files from other configuration channels.
Select the check boxes of the configuration files that you want to import.
Click Import Configuration File(s).
To upload files:
Select the Upload File tab.
On the Upload New Configuration File page, click Browse... and select the path of the file to upload.
Select the file type: Text file or Binary file.
Enter other details for the file, such as ownership and permissions, as required.
Click Upload Configuration File.