Return without Receipt
Also called a non-validated return, this return type doesn't require the cashier to locate the original transaction using a customer receipt or other criteria. Instead the cashier scans the returned item to g the refund amount. This method is usually quicker than a validated return, but is also more prone to fraud.
It's the store's responsibility to manage policies around non-validated returns. Because there is no proof of purchase, there is also no proof of the price for which the item sold. NSPOS will list the item at its current price.
Restricting non-validated returns
Administrators can require that cashiers receive approval before making non-validated returns by assigning a high Resource ID to the Return w/o Receipt button. The cashier is prompted that the return can't proceed until a store manager or other role with that Resource ID or higher enters their credentials. See Set Button Security in the NSPOS Administrator Guide.
To make a return without a receipt, the cashier scans or looks up the item and NSPOS provides the refund amount using the item's current price.
To make a return without receipt in NSPOS:
-
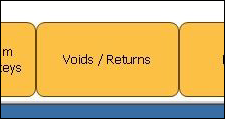
In Sales Mode, tap Voids/Returns.
-
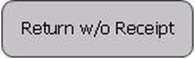
On the sidebar, tap Return w/o Receipt.
-
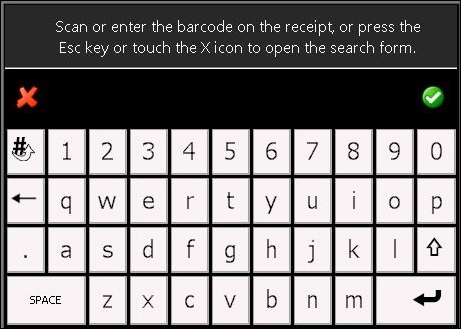
At the Scan or enter the bar code prompt, do one of the following:
-
Scan the returned item.
-
Enter the item bar code and tap the green check mark
 .
. -
Tap the red
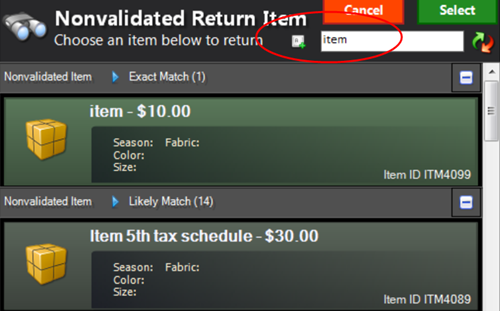
 to search for and tap the item. You can also drill through your item list to find a match.
-
-
Select a Reason Code and tap Done.
Select the code that most closely matches the customer's reason for the return.
 Note:
Note:Your administrator can create custom Reason Codes to fit your business processes. See Reason Codes in the NSPOS Administrator's guide.
-
Verify that the item appears in the Journal and you see:
-
The item line displays a RETURN watermark.
-
The transaction shows Change due to the customer instead of Amt Due.

-
-
Tap Change and select the payment option for the refund.
-
Refund the change due to the customer or the customer's card.
-
Provide the return receipt to the customer.
If the return receipt includes a copy with a signature line, ask the customer to complete all required information. Place the completed receipt in your cash drawer and hand the customer their copy.