Step 4 Create Workflow States
This step shows you how to use the workflow diagrammer to create and edit states in a workflow. You must create states before you can create actions or transitions.
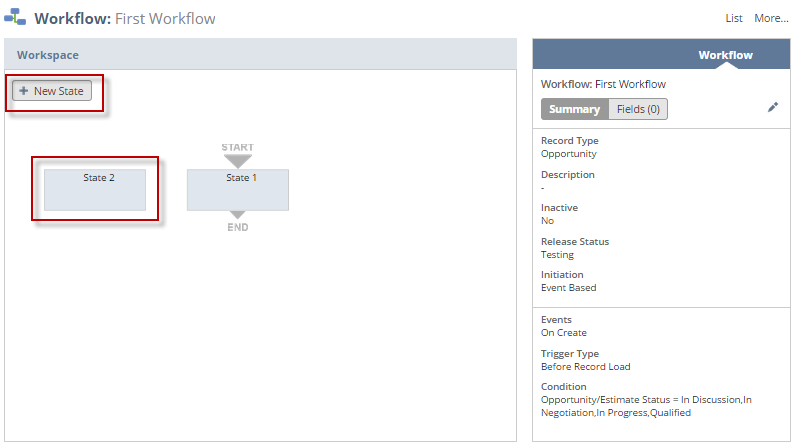
When you create a workflow, the Workflow Manager includes a single state by default. In this step, you will modify the default state and create an additional state. The workflow enters these two states when it runs on an opportunity.
To create the required states for the workflow:
-
If you haven't already, complete Step 3 Define the Workflow Condition.
-
Create a second state by clicking the New State button in the diagrammer.
The second state, State 2, appears in the diagrammer. The workflow diagrammer already contains the default state, State 1. The Start and End icons indicate that State 1 is both an entry (Start) and an exit (End) state.
-
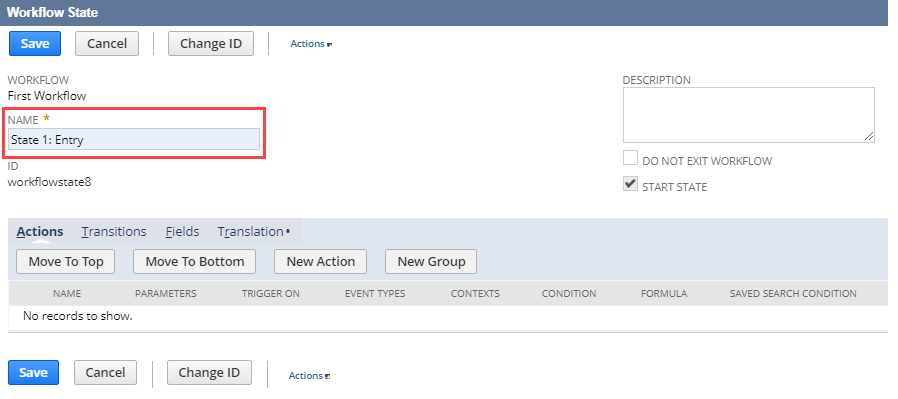
To change the name of State 1, double-click it in the diagrammer. In the Name box of the Workflow State window that appears, change the name to State 1 Entry and click Save.
-
Repeat the previous step to change State 2 to State 2 See Opportunities.
Note:You can also select a state in the diagrammer and click the Edit icon in the context panel.
-
To continue with the tutorial, continue to Step 5 Create Actions