Creating an Order
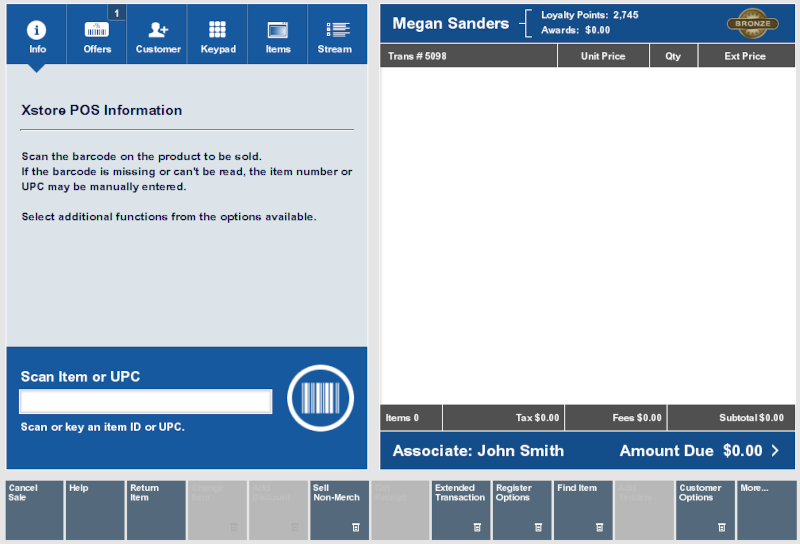
A customer name and address is required to create an Order Broker order. You must assign a customer to the transaction prior to order creation if you did not do so at the beginning of the transaction. Refer to Associate a Customer with a Transaction for more information about setting up a customer.
Figure 15-1 Customer Assigned to Transaction
To create an Order Broker order:
-
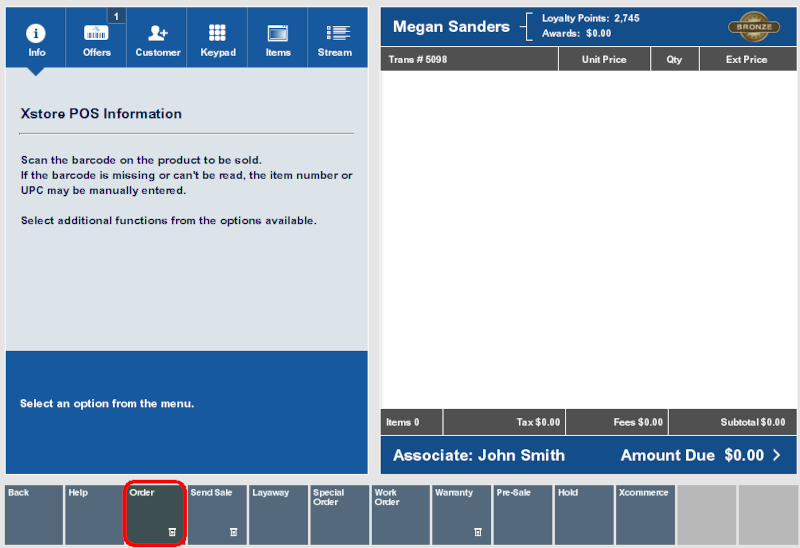
Click Extended Transaction in the Register Sale screen.
Figure 15-2 Extended Transaction Menu
-
Click Order.
-
If a customer is associated with the transaction:
-
If the customer has one or more open orders, Xstore Point of Service displays a list of the open orders.
-
If the customer has no open orders, Xstore Point of Service prompts for order search criteria.
-
-
If no customer is associated with the transaction, Xstore Point of Service prompts for order search criteria.
-
-
Click New.
-
Associate a customer with the transaction. See Associate a Customer with a Transaction.
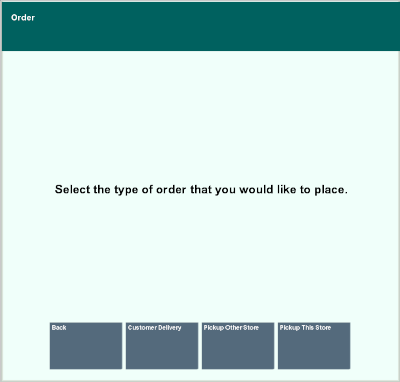
Figure 15-3 Order Type Menu Options
-
Select the type or order:
-
Customer Delivery: If an item is not available in your store, use this option to have the item shipped directly to the customer's home (or specified address). This order type is defined as Delivery type in Xstore Point of Service. Continue with Customer Delivery.
-
Pickup Other Store: If an item is not available in the store where the customer wishes to pick it up, the item will be sent to the pickup store from another location. The pickup store will then hold the item until the customer picks it up. This order type is defined as a Pickup if the item is in stock at the pickup store, and a Transfer Pickup if the item is sent to the pickup store from another store. Continue with Pickup Other Store.
-
Pickup This Store: If an item is not available in your store, use this option to have the item shipped to your store for pickup later. This order type is defined as Transfer Pickup type in Xstore Point of Service. Continue with Pickup This Store.
-
Customer Delivery
To create an order for customer delivery:
-
Click Customer Delivery.
-
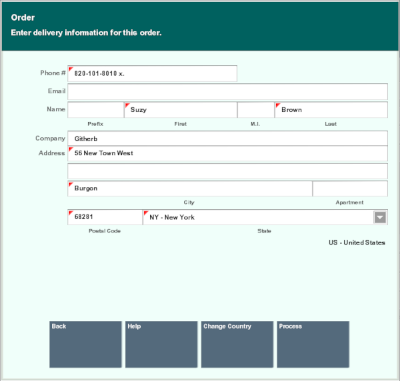
Enter the delivery information:
Figure 15-4 Order Delivery Details
Note:
If your system is configured to provide Address Lookup functionality, an Address Lookup button will be available to allow you to quickly look up customer addresses using minimal information.
-
Phone: Phone number.
-
Email: E-mail address.
-
Prefix: Name prefix.
-
First: First name.
-
M.I.: Middle initial.
-
Last: Last name.
-
Company: Company name.
-
Address: First and second line of the street address.
-
Apartment: Apartment number.
-
State/Zip: Zip Code and state or province.
-
City/Country: City and country.
-
-
Click Process.
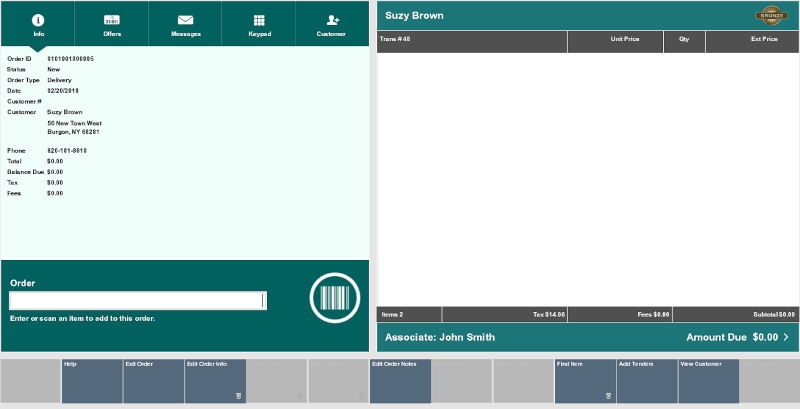
Item entry opens.
Figure 15-5 Order Screen - For Customer Delivery
-
Enter an item for the order. See Entering Items.
After entering each item, Xstore Point of Service prompts for a delivery method for the item.
-
Select the shipping method:
-
Click the shipping method.
-
Use the up and down arrows to highlight the shipping method and press the Spacebar.
-
-
Click OK.
-
Repeat Steps 4 to 6 for each item to add to the transaction.
-
When you are finished adding order items:
-
Click Add Tenders to tender and complete the transaction.
-
Click Exit Order to exit the order and continue the transaction.
-
Pickup Other Store
To create an order for pickup at another store:
-
Click Pickup Other Store.
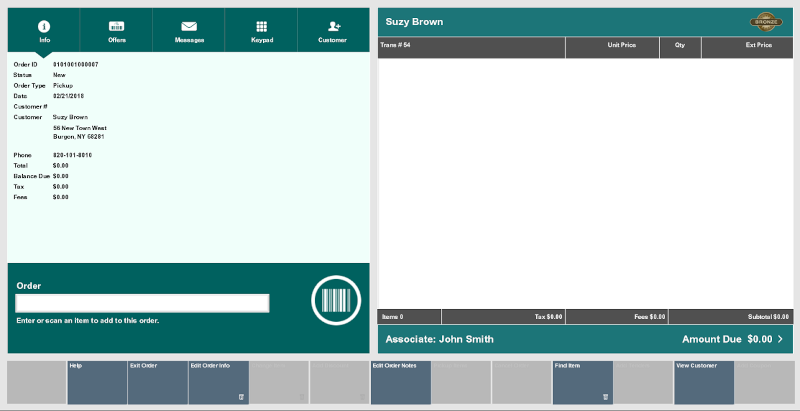
Figure 15-6 Order Screen - For Pickup Other Store
-
Enter an item for the order. See Entering Items.
After entering each item, Xstore Point of Service prompts for the pickup location for the item.
-
Enter the search criteria for the pickup location:
-
City: City.
-
State: State.
-
Postal Code: Postal or zip code.
-
Country: Country.
-
Miles: Radius around the city in which to search for a store.
-
-
Click Process.
Xstore Point of Service displays a list of stores matching the search criteria.
-
Select the pickup store:
-
Click the store.
-
Use the up and down arrows to highlight the store and press the Spacebar.
-
-
Click OK.
The item is added to the transaction.
-
When you are finished adding order items:
-
Click Add Tenders to tender and complete the transaction.
-
Click Exit Order to exit the order and continue the transaction.
-
Pickup This Store
To create an order for pickup at the current store:
-
Click Pickup This Store.
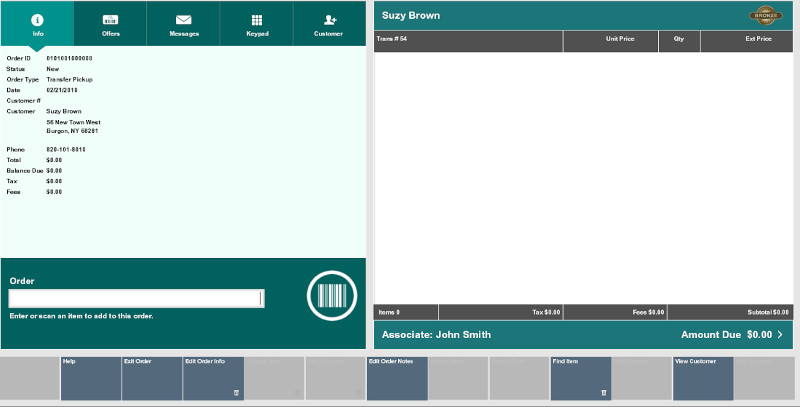
Figure 15-7 Order Screen - For Pickup This Store
-
Enter the items for the order. See Entering Items.
-
When you are finished adding order items:
-
Click Add Tenders to tender and complete the transaction.
-
Click Exit Order to exit the order and continue the transaction.
-