To Install the HBA
The HBA comes with a low-profile PCIe bracket installed. A standard bracket is included in the box with the HBA. The low-profile mounting bracket is shorter than the standard bracket; approximately 3.11 in. (7.9 cm) compared to 4.75 in. (12.06 cm). If you need to change the bracket for HBA installation, you must first remove the optical transceiver (two transceivers on the two-port adapter) from its housing. This procedure covers how to install the HBA and, if necessary, how to remove the transceiver and change the bracket safely.
The HBA uses different types of transceivers. This procedure shows an example of one type.
- Attach an antistatic strap.
- Refer to your system installation or service manual to determine an appropriate PCI-Express slot in which to install the HBA.
- Shut down, power off, and unplug the system, if required.
- Remove the system case.
- Remove the blank panel from an empty PCI-Express slot.
- (Optional) Perform the following
steps to replace the PCI bracket.
- Remove the transceiver from its cage assembly by pulling the bail (handle) out and down to
release the latch and gently pull the transceiver out of its
housing.
Do not force it. After the latch is released, the transceiver slides out easily.
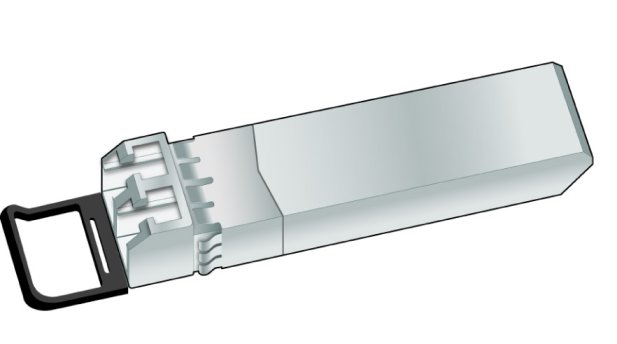
The following is an image of the optical transceiver.

Caution - This is a delicate operation–take care not to damage the transceiver.

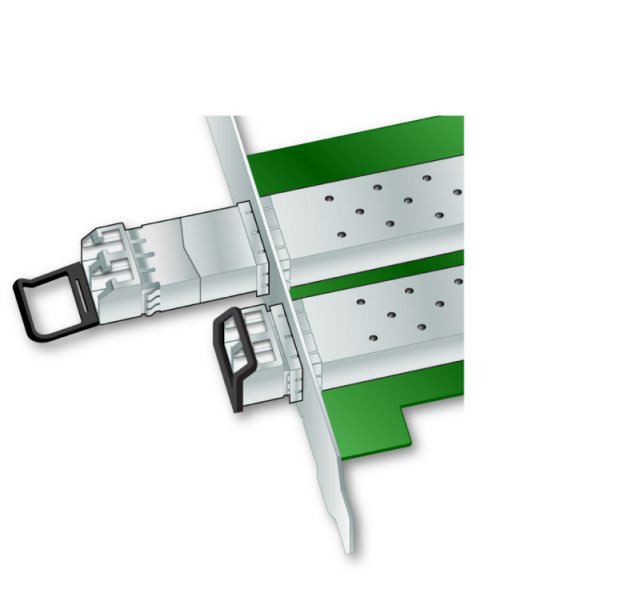
The following image is a partly extracted optical transceiver and an optical transceiver that is latched in place.

- Observing ESD precautions, store the transceiver in an ESD-safe place.
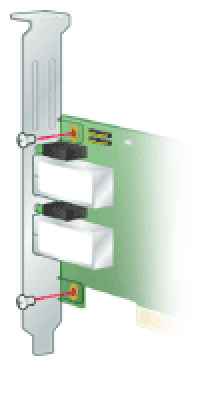
- Remove the mounting bracket screws
from the top of the HBA.

- Remove the bracket and store it for future use.
- Align the new mounting bracket
tabs with the holes in the HBA.

Caution - Be careful not to push the bracket past the transceiver housing's grounding tabs. Make sure the LEDs are properly aligned with the holes in the bracket.
- Re-install the screws that attach the HBA to the bracket.
- Re-install the transceiver by
sliding it into the housing.
When the latch engages, it clicks.
- Push the bail back into place.
- Remove the transceiver from its cage assembly by pulling the bail (handle) out and down to
release the latch and gently pull the transceiver out of its
housing.
- Insert the HBA into the empty PCI-Express 8-lane slot and press firmly until the adapter is seated.
- Secure the mounting bracket of the HBA to the case with the panel screw or clip.
- Replace the computer case and
tighten the case screws.
The HBA is now installed in the computer and is ready for media attachment.