Use the Members tab to assign users to this organization and to view existing members. (Note that you can also assign users through the Orgs and Roles tab in the Users interface.)
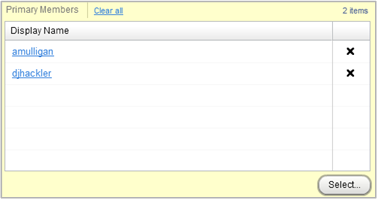
The two images below show the Members tab with some sample data. Note that you have to scroll down to see the All Members display shown in the second image.
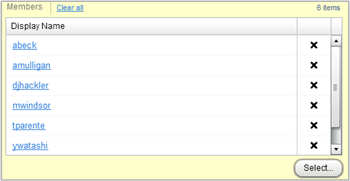
The list shows all members of this organization, which can be any of the following.
Primary Members: Users who have been assigned membership directly through this tab (
amulligananddjhackler, in the example above).Users who have inherited membership from another organization. In the example, the user called
abeckis a member of the US Motor Works – US Division organization and therefore inherits membership in the organization shown in this tab.
To assign a member to this organization, click Select and double click on the user you want. Then click Save. (You can also create a user through this tab; to do so, click Add New and define the new user profile. The profile is added to the system just as if you created it through the Users interface.) Clicking the Remove Item icon removes the user from this organization.
Notes: The name of any user you assign here is a link. Clicking it allows you to edit the properties of the given user. Editing a user here is the same as editing it through the Users interface.
