To install the expansion rack in its allocated space, proceed as follows:
Installing an Expansion Rack in its Allocated Space
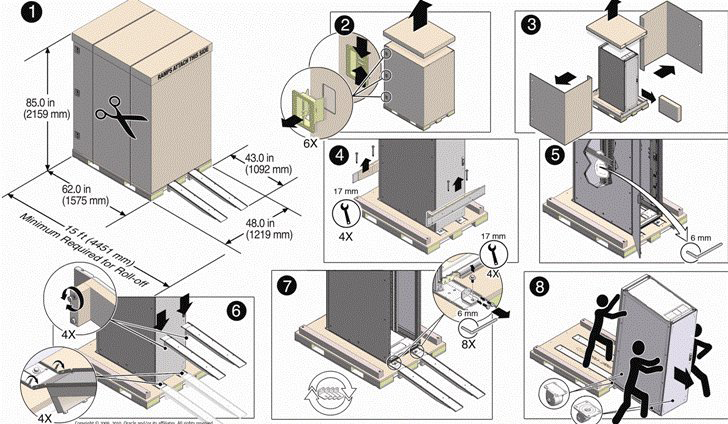
Unpack the expansion rack.
Refer to the Sun Rack II Unpacking Guide (820-5210) included with the packaging when unpacking the Oracle PCA rack from the shipping carton. After unpacking the rack, follow local laws and guidelines to recycle the packaging properly.
CautionCarefully unpack the rack from the packaging and shipping pallet. Rocking or tilting the rack can cause it to fall over and cause serious injury or death. You should always use professional movers when unpacking and installing this rack.
NoteAfter unpacking the rack from the packaging, save the mounting brackets used to secure the rack to the shipping pallet. You can use these mounting brackets to secure the rack permanently to the installation site floor. Do not dispose of these brackets, as you will not be able to order replacement brackets.
Move the rack to its intended location, stabilize it and fix it in place.
The physical installation of the expansion rack requires the same steps as a base rack. Follow the instructions in Section 4.3, “Install Oracle Private Cloud Appliance in Its Allocated Space”.
Reset the password for all running components in the Oracle PCA environment to the default Welcome1.
It is recommended not to have custom passwords when adding an expansion rack to the environment. If passwords have been changed on the base rack, it is safest to reset all passwords. Use the Authentication tab in the Oracle Private Cloud Appliance Dashboard. For details, refer to the section entitled Authentication in the Oracle Private Cloud Appliance Administrator's Guide.
Lock provisioning in your Oracle PCA environment.
When adding an expansion rack to your environment, make sure that the provisioning functionality is locked. Use the button in the Hardware View tab of the Oracle PCA Dashboard.
This allows you to perform a number of configuration steps on the infrastructure components of the expansion rack before the new hardware is integrated into the existing environment. If provisioning is not disabled the system detects and provisions the new nodes in the expansion rack as soon as you switch them on.
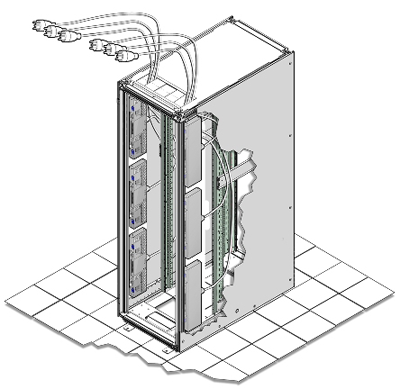
Connect the expansion rack power cords.
Open the rear cabinet door.
Ensure that the correct power connectors have been supplied.
Unfasten the power cord cable ties.
The ties are for shipping only and are no longer needed.
Route the power cords to the facility receptacles either above the rack or below the flooring. See Figure 7.2 and Figure 7.3.
Secure the power cords in bundles. See Figure 7.3.
Plug the power distribution unit (PDU) power cord connectors into the facility receptacles.
Switch on the power distribution unit (PDU) circuit breakers located on the rear of the expansion rack. Press the ON (|) side of the toggle switch.
Wait 5 minutes to allow the internal rack components to boot.