Creating master entities
If you want leverage the profile unification pipeline of Oracle Unity for any data object, you can follow the steps below to create a master version of that data object.
Important: To complete these steps, you will need a working knowledge and JSON and the Instance admin user role assigned to you.
Creating master entities involves completing the following steps:
- Step 1: Create the data objects
- Step 2: Update the scope of the data objects
- Step 3: Create the relationships
- Step 4: Create the deduplication target
- Step 5: Create the aggregated table
- Step 6: Create the deduplication and clustering rules
- Step 7: Create the promotion rule
- Step 8: Run the system jobs
We will demonstrate this scenario by showing you how to create MasterProduct, which is the master version of the Product data object.
Step 1: Create the data objects
You will need to create three data objects. Using our scenario of creating the Product master entity, you will need to create the following data objects:
- Product: This data object will have the scope Data Warehouse (DW). This data object has the all the source records that the profile unification pipeline will leverage.
- MasterProduct: This will be the master entity data object. It will have the scope Analytics.
- Product_MasterProduct: This data object will link the data between Product and MasterProduct. It will have the scope Analytics.
To create a new master entity, you will replace the name "Product" in each data object with the type of master entity you are creating ([name] data object, Master[name] data object, and [name]_Master[name] data object).
You will be completing the steps below three times to create each data object. Learn more about Creating custom data objects.
To create the data objects:
-
Click the Oracle icon
 in the bottom-right corner to open the navigation menu.
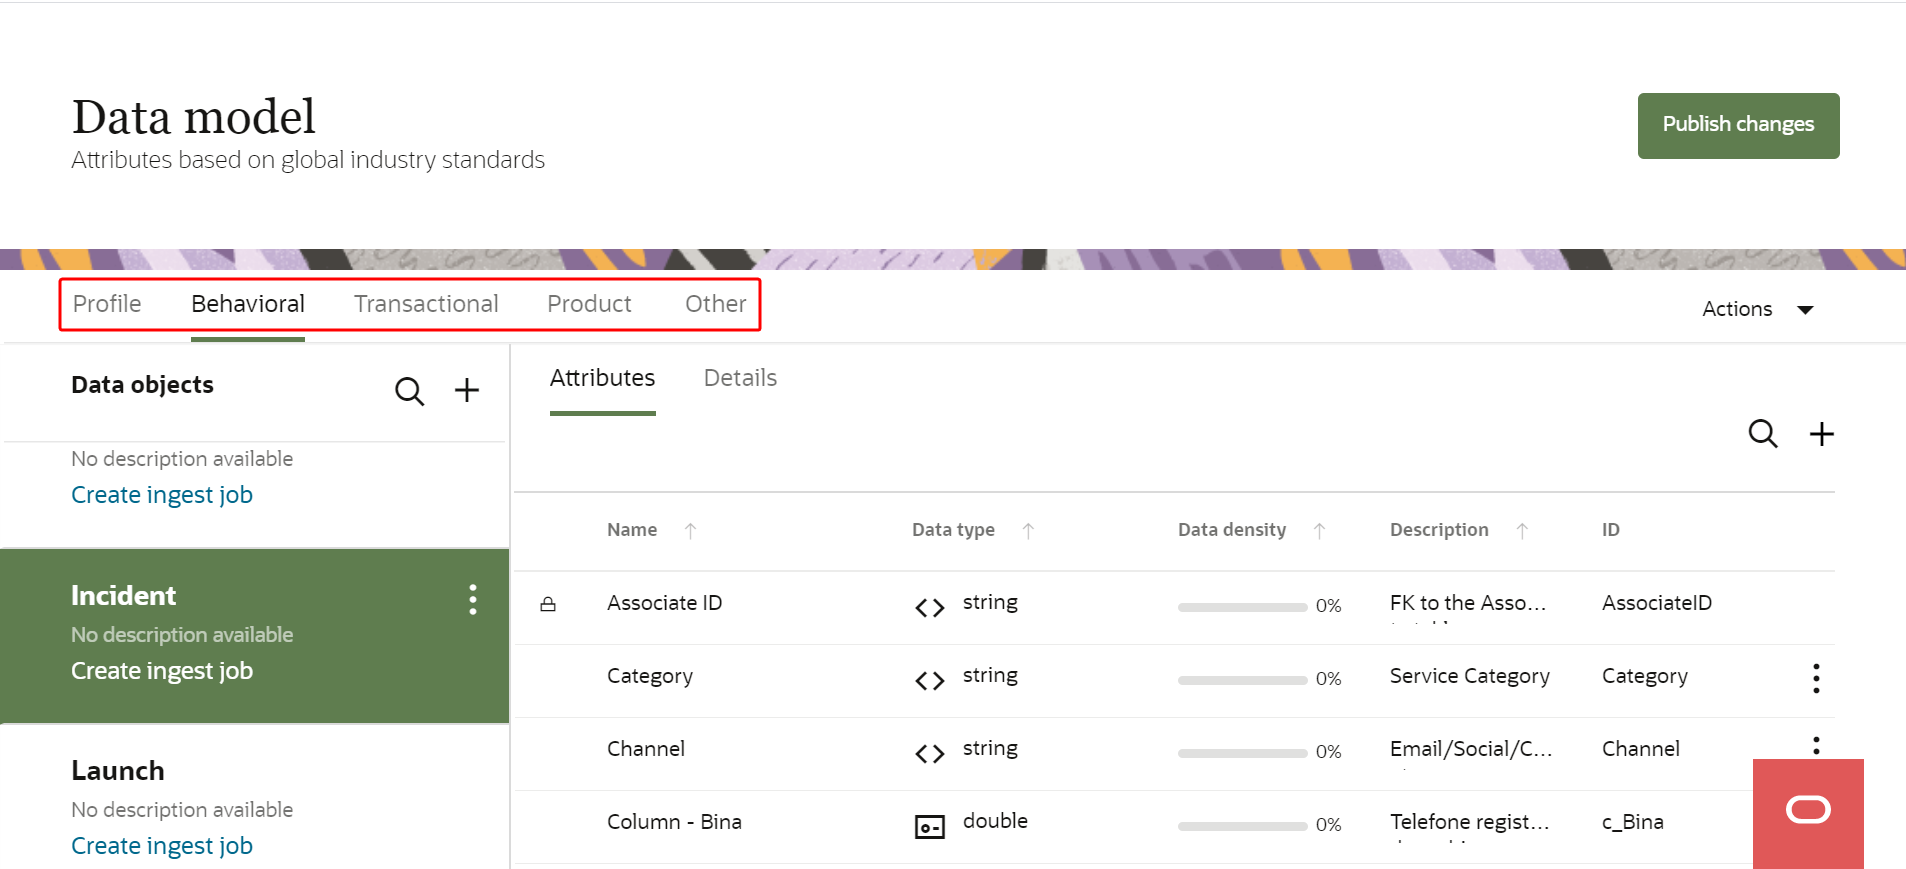
- Select Data model.
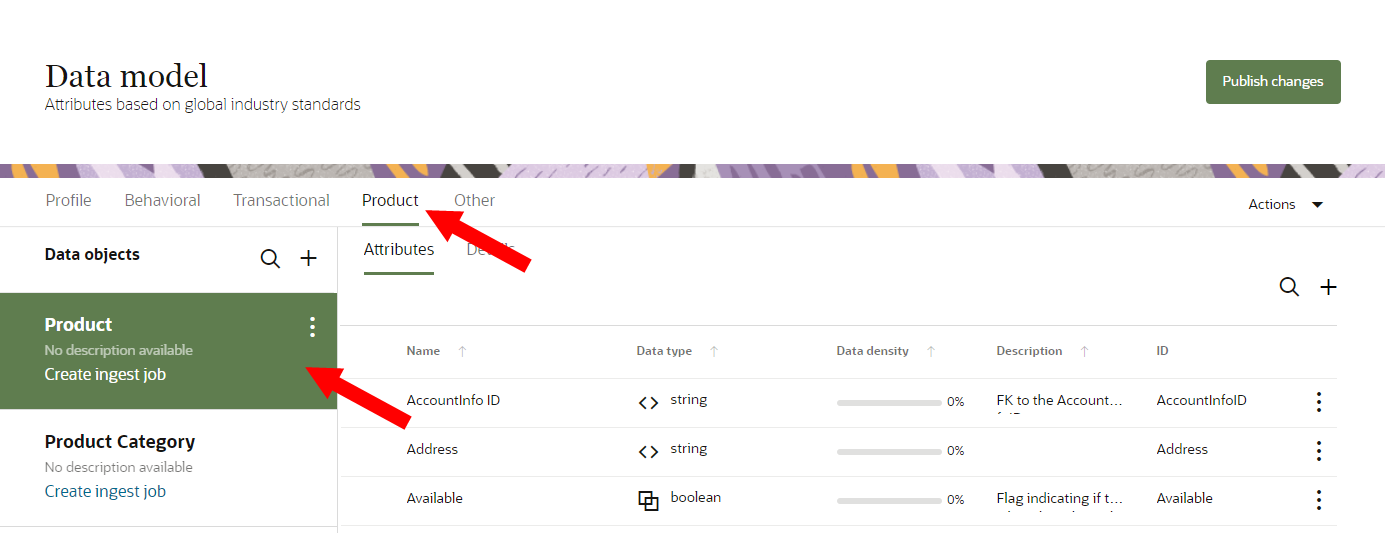
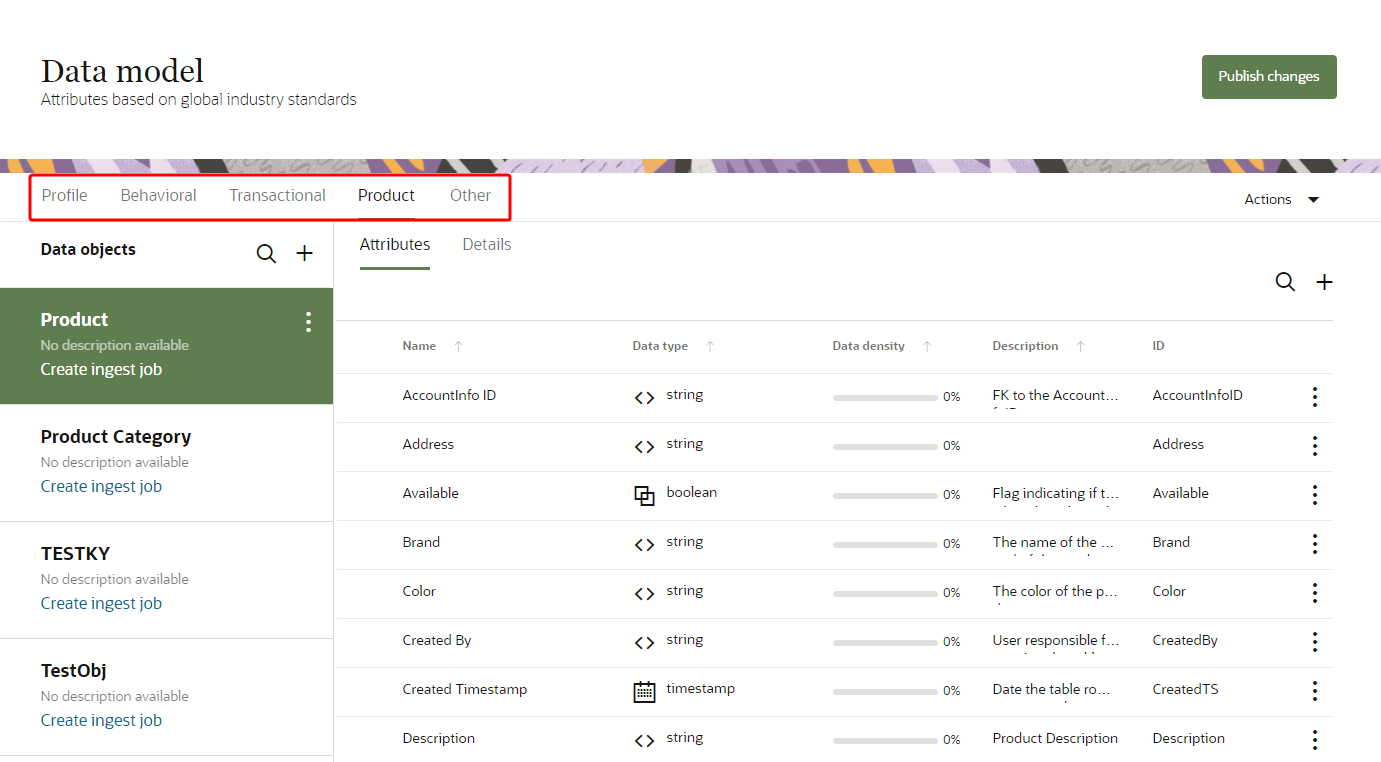
- Click the appropriate data object group for the data object. For this scenario, click the Product tab.
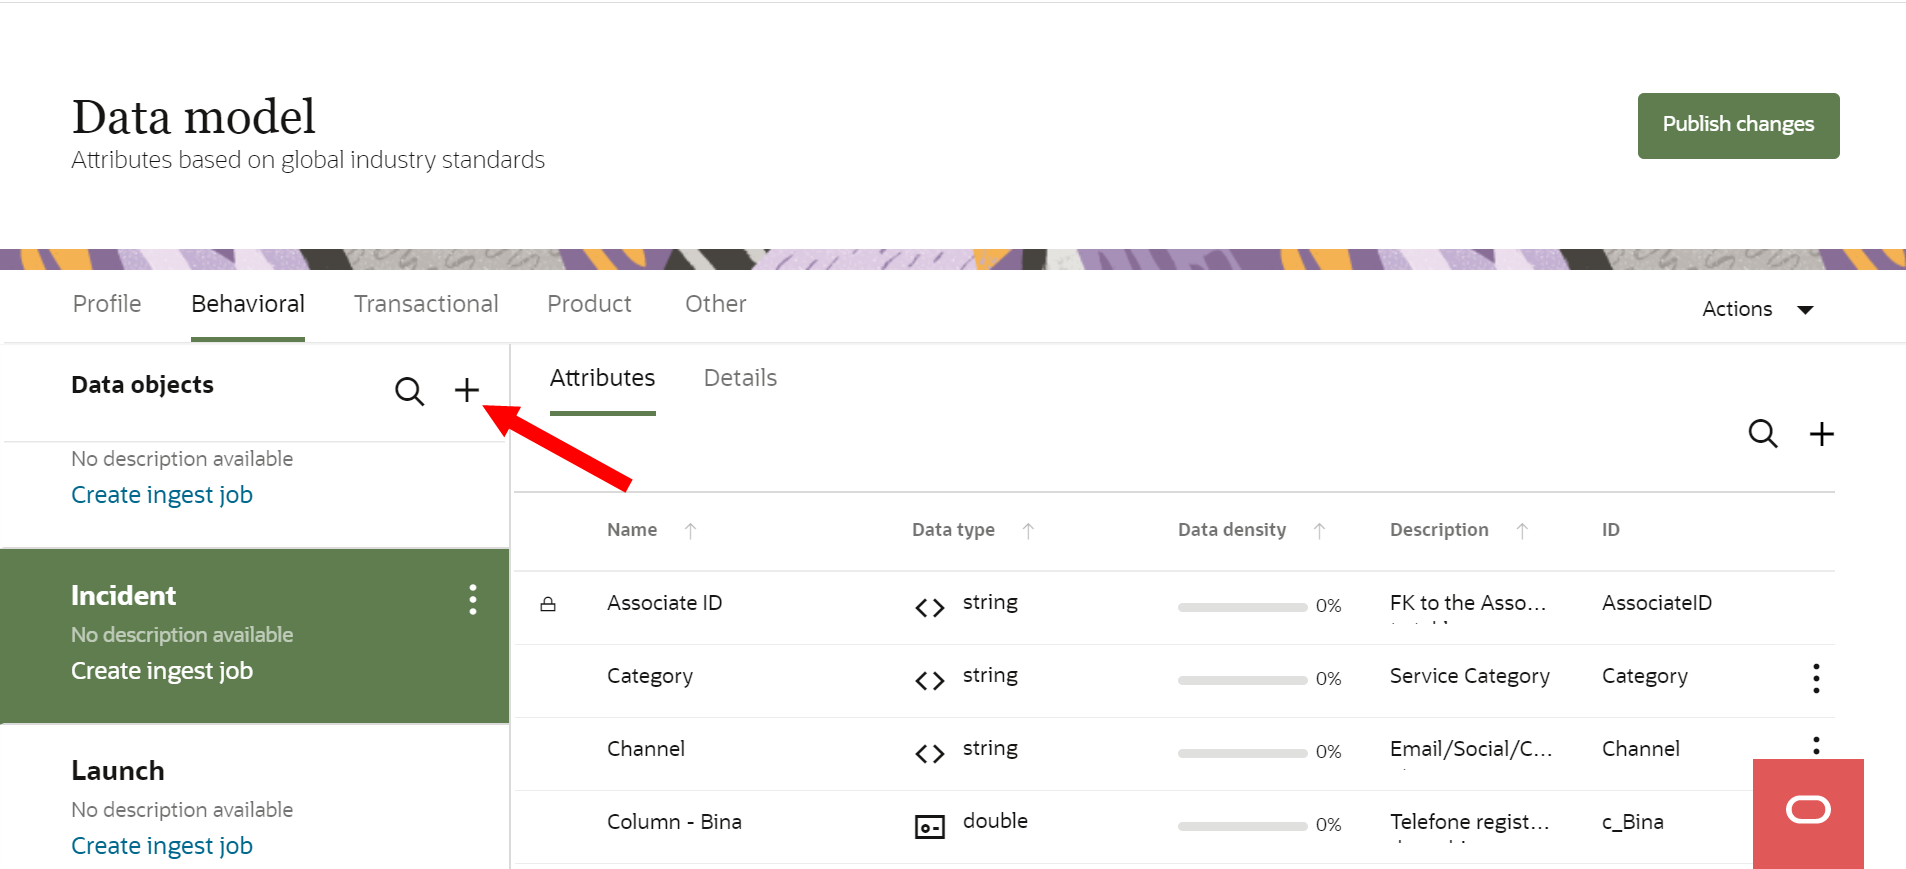
- In the Data objects heading, click Add
 .
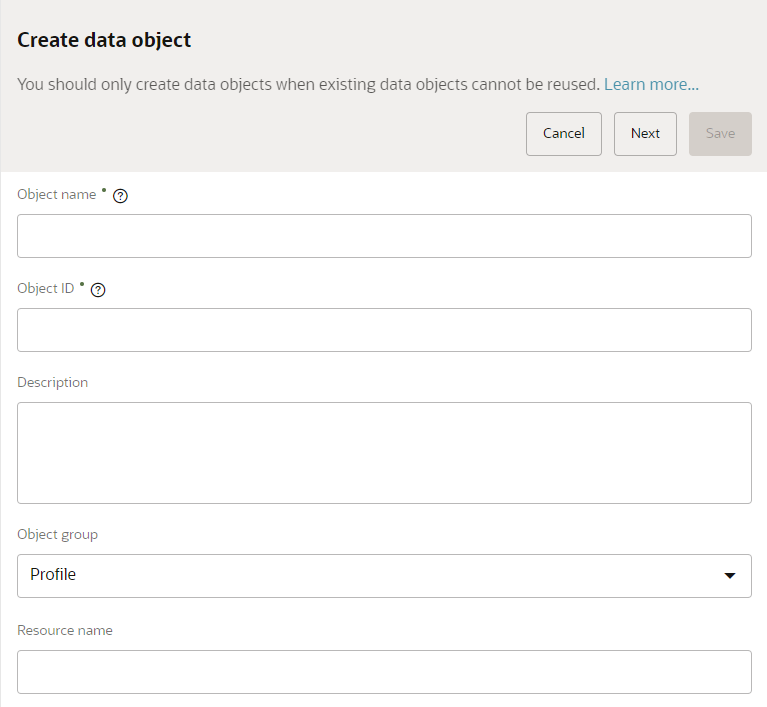
. - From the Create data object dialog, enter the details for the data object.
- Object name: Enter the name of the data object. For this scenario, enter Product. You can use characters from all languages supported in the language settings.
- Description: This field is optional, but we recommend entering a meaningful description for the data object.
- Object group: Confirm the data object is in the appropriate data object group. For this scenario, select Product.
- Resource name: Enter the name that the API will use to access the data object.
- Click Save.
Note: The Object name, Description, Object group, and Resource name can be changed at any time. Learn more about Editing data objects.
Complete these steps to create the two other data objects needed: MasterProduct and Product_MasterProduct.
Step 2: Update the scope of the data objects
After creating the three data objects, you will need to update the scope for two of the data objects: Master[name] and [name]_Master[name]. In this scenario you will update the scope of MasterProduct and Product_MasterProduct. You will need to use the Expert Config page in Oracle Unity.
To update the scope of the Master[name] data object:
- Navigate to the expert config page of Oracle Unity by going to the following URL: https://[your cxunity hostname]/data/?root=expertConfig.
- Enter the request payload to update the scope of the data object to Analytics. For this scenario, you would enter the following request. Make sure to update the tenantId to your specific tenant.
{
  "tenantId": 361,
  "scope": "ANALYTICS",
  "tableId": "MasterProduct"
}
To update the scope of the [name]_Master[name] data object:
- Navigate to the expert config page of Oracle Unity by going to the following URL: https://[your cxunity hostname]/data/?root=expertConfig.
- Enter the request payload to update the scope of the data object to Analytics. For this scenario, you would enter the following request. Make sure to update the tenantId to your specific tenant.
{
  "tenantId": 361,
  "scope": "ANALYTICS",
  "tableId": "Product_MasterProduct"
}
Step 3: Create the relationships
You will now need to create relationships to link the data among the three data objects. For this scenario, you will create the following relationships:
- Product and Product_MasterProduct. Product will be tagged as the Parent and Product_MasterProduct will be tagged as the Child.
- MasterProduct and Product_MasterProduct. MasterProduct will be tagged as the Parent and Product_MasterProduct will be tagged as the Child.
Learn more about Relationships.
To create the relationships:
-
Click the Oracle icon in the bottom-right corner to open the navigation menu.
- Select Data model.
- Click the appropriate data object group. From the list of Data objects, select the [name] data object you created previously. For this scenario, select Product.
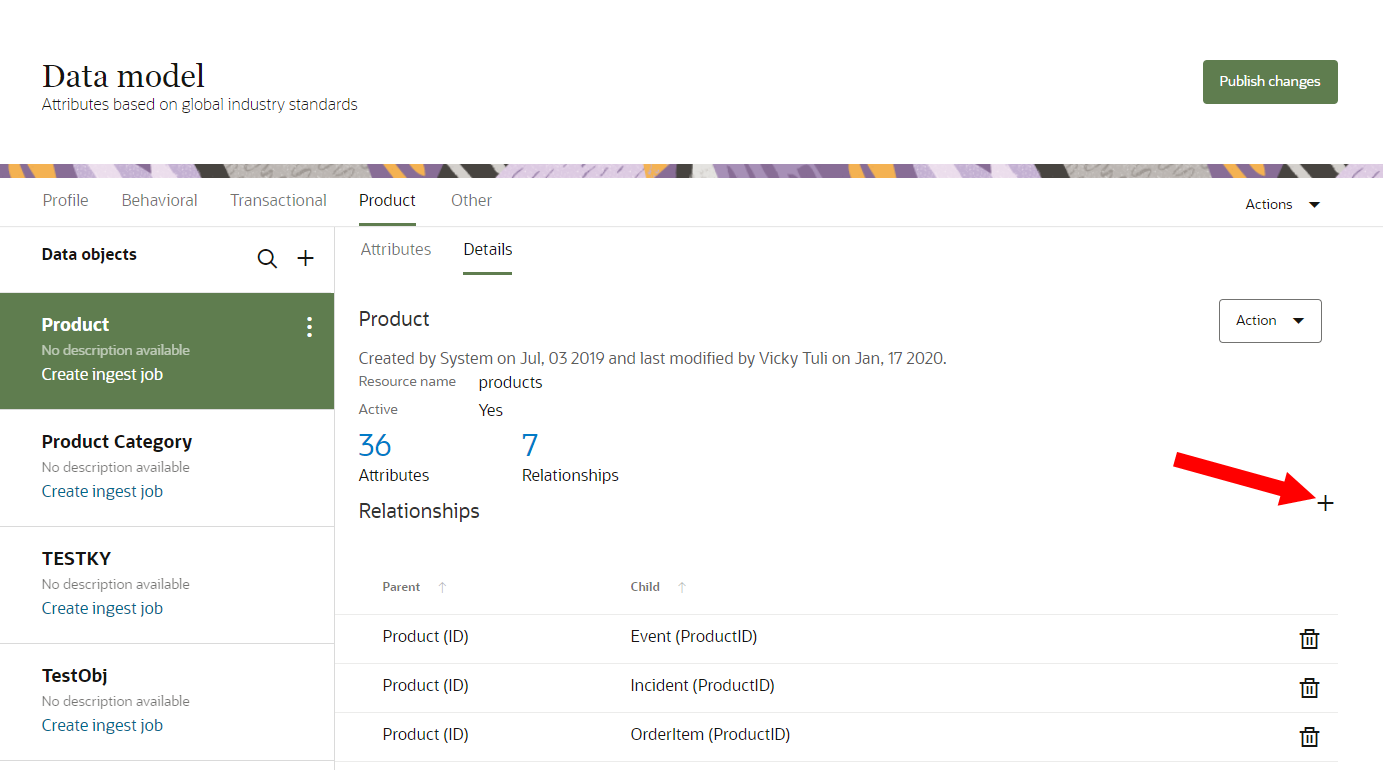
- From the Details section click Add next to Relationships. If there are no existing relationships in the data object, you can also click Create relationship.
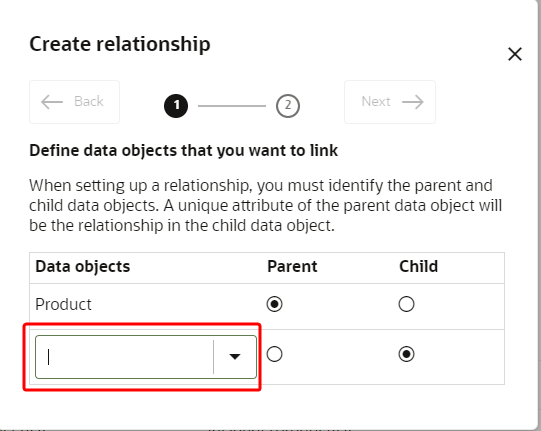
- Use the drop-down list to select [name]_Master[name] as the second data object. Confirm that the [name] data object is the parent and the [name]_Master[name] data object is the child. For this scenario, Product is the parent and Product_MasterProduct is the child.
- Click Next.
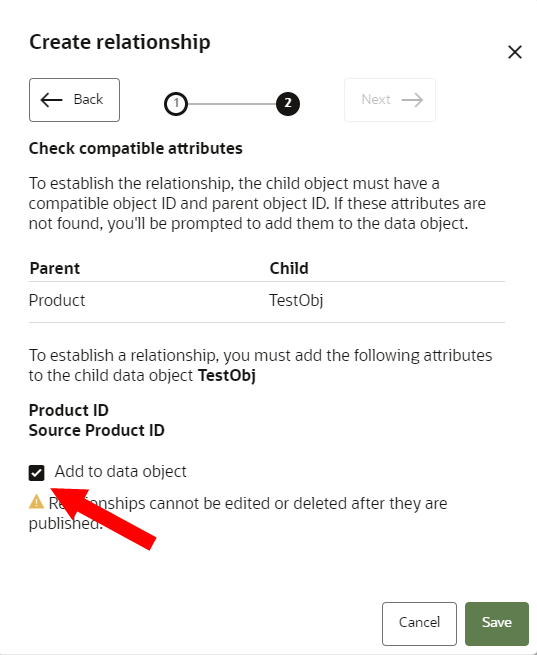
- Make sure the checkbox is filled in for Add to data object so that the required attributes are created for the relationship.
- Click Save.
Create the other relationship following the same steps to make the Master[name] data object the parent and the [name]_Master[name] data object as the child. For this scenario the second relationship would have the MasterProduct data object as the parent and the Product_MasterProduct data object as the child.
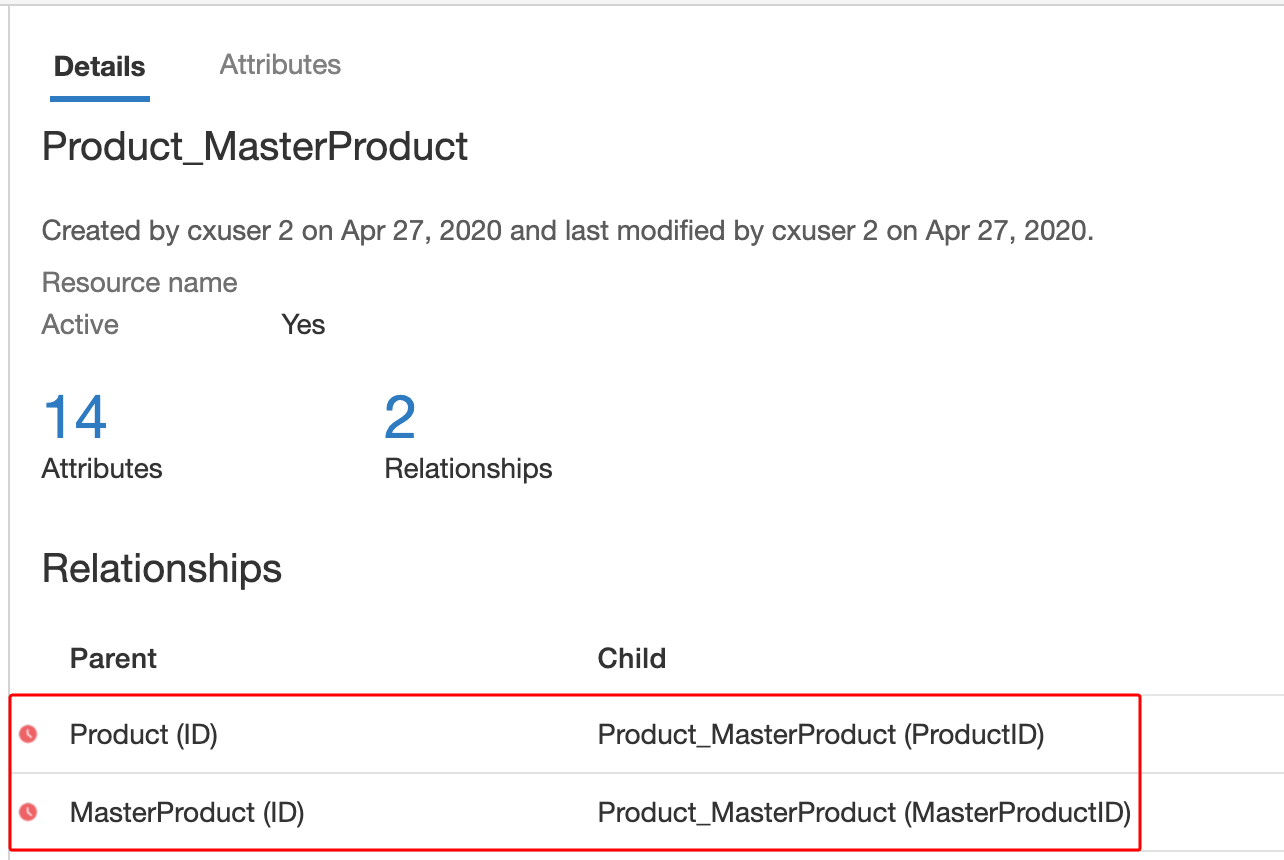
After creating the two relationships, navigate to the [name]_Master[name] data object in the data model and click the Details tab to confirm the relationships are configured correctly as seen below.
Step 4: Create the deduplication target
You will now have to create the deduplication target for the [name]_Master[name] data object. This step leverages the relationships you created previously.
To do this, you will need to use the Expert Config page in Oracle Unity.
To create the deduplication target:
- Navigate to the expert config page of Oracle Unity by going to the following URL: https://[your cxunity hostname]/data/?root=expertConfig.
-
Use the drop-down lists to select POST and api-metadata. In the /metadata/ input field, enter dedupetargets.
- Enter the request payload to create the deduplication target. For this scenario, you would enter the following request. Make sure to update the tenantId to your specific tenant.
{
  "tenantId": 361,
  "name": "Product_MasterProduct",
  "active": true,
  "dedupeTargetId": "Product_MasterProduct",
  "masterColumnId": "MasterProductID",
  "entityId": [
    "ProductID"
  ],
  "primaryKey": "ID"
}
This request shows the relationships you created in the previous step.
The code sample above displays the following:
- The MasterProductID attribute is the child (known as the foreign key) in the Product_MasterProduct data object. MasterProductID references the ID attribute, which is the parent, in the MasterProduct data object.
- The ProductID attribute is the child in the Product_MasterProduct data object. ProductID references the ID attribute in the MasterProduct data object.
Step 5: Create the aggregated table
When you view the data objects you have created in the data model, you will see that the Master[name] data object is not yet tagged as a Master Entity.
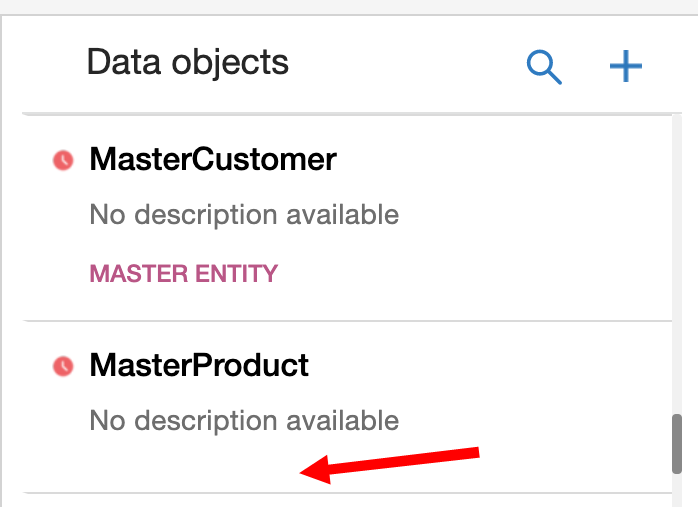
You will need to create an aggregated table so that Master[name] can be tagged as a master entity.
To do this, you will need to use the Expert Config page in Oracle Unity.
To create the aggregated table:
- Navigate to the expert config page of Oracle Unity by going to the following URL: https://[your cxunity hostname]/data/?root=expertConfig.
- Enter the request payload to create the aggregated table. For this scenario, you would enter the following request. Make sure to update the tenantId to your specific tenant.
{
  "tenantId": 361,
  "name": "MasterProduct",
  "active": true,
  "tableId": "MasterProduct",
  "dedupeTargetId": "Product_MasterProduct",
  "mainIdentifier": "masterproductid",
  "foreignKeyIds": {
    "product_masterproduct": [
      "Product.ID.ProductID"
    ]
  }
}
The code sample above displays the following:
- "dedupTargetId": "Product_MasterProduct" is the deduplication target you created in the previous step.
- Product.ID.ProductID is the relationship ID between Product_MasterProduct and Product. You can fetch this by using the query below. Make sure to update the tenantId to your specific tenant.
- Query Param: q=[{"operator":"EQUALS","attribute":"type","value":"CHILD"},{"operator":"EQUALS","attribute":"destinationTable","value":"Product"}]
[
  {
    "tenantId": 361,
    "name": "_FK_Product_MasterProduct_Product_ProductID_ID",
    "versionTS": 1587996995017,
    "active": true,
    "createdTS": 1587996995017,
    "type": "CHILD",
    "sourceAttribute": "SourceProductID",
    "sourceColumn": "ProductID",
    "destinationColumn": "ID",
    "destinationTable": "Product",
    "sourceTableId";"Product_MasterProduct",
    "foreignKeyId": "Product.ID.ProductID"
  }
]
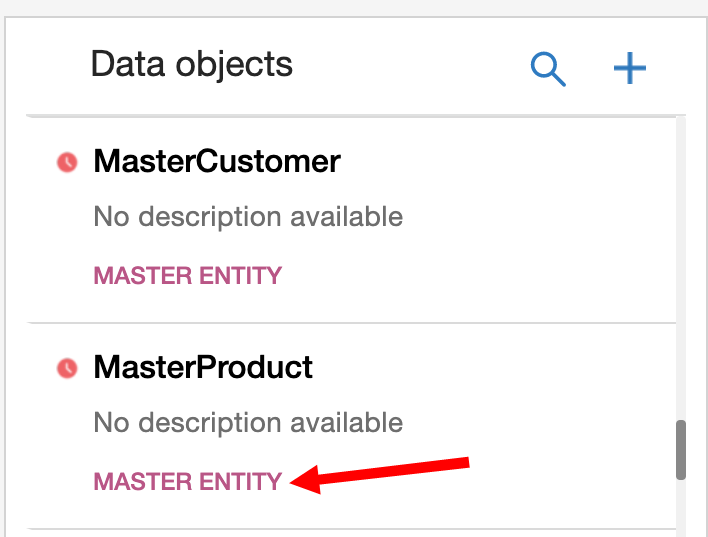
After creating the aggregated table, you will see the Master[name] data object correctly tagged as a master entity.
Step 6: Create the deduplication and clustering rules
You will need to create the deduplication and clustering rules for the master entity.
- Deduplication is a task to match and link duplicate customer records. This task is a part of ID resolution.
- Clustering rules are criteria to create smaller groups of customer records when comparing data. Rather than trying to find duplicate records by comparing every single customer record, clustering rules allow you to compare smaller sets of records more quickly and efficiently.
Learn more about Deduplication rules.
Creating the deduplication and clustering rules involves two tasks:
- Creating the attributes needed for the rules.
- Creating the deduplication and clustering rules in the Expert Config page and configuring the rules within the Oracle Unity application.
To create the attributes needed for the rules:
- Consider the attributes that you will need to define the clustering rule and deduplication rule. These new attributes will be created for the [name] data object. For this scenario, you will create the Name and UPC attributes for the Product data object. After confirming the attributes you will need, you can start creating them.
-
Click the Oracle icon in the bottom-right corner to open the navigation menu.
- Select Data model.
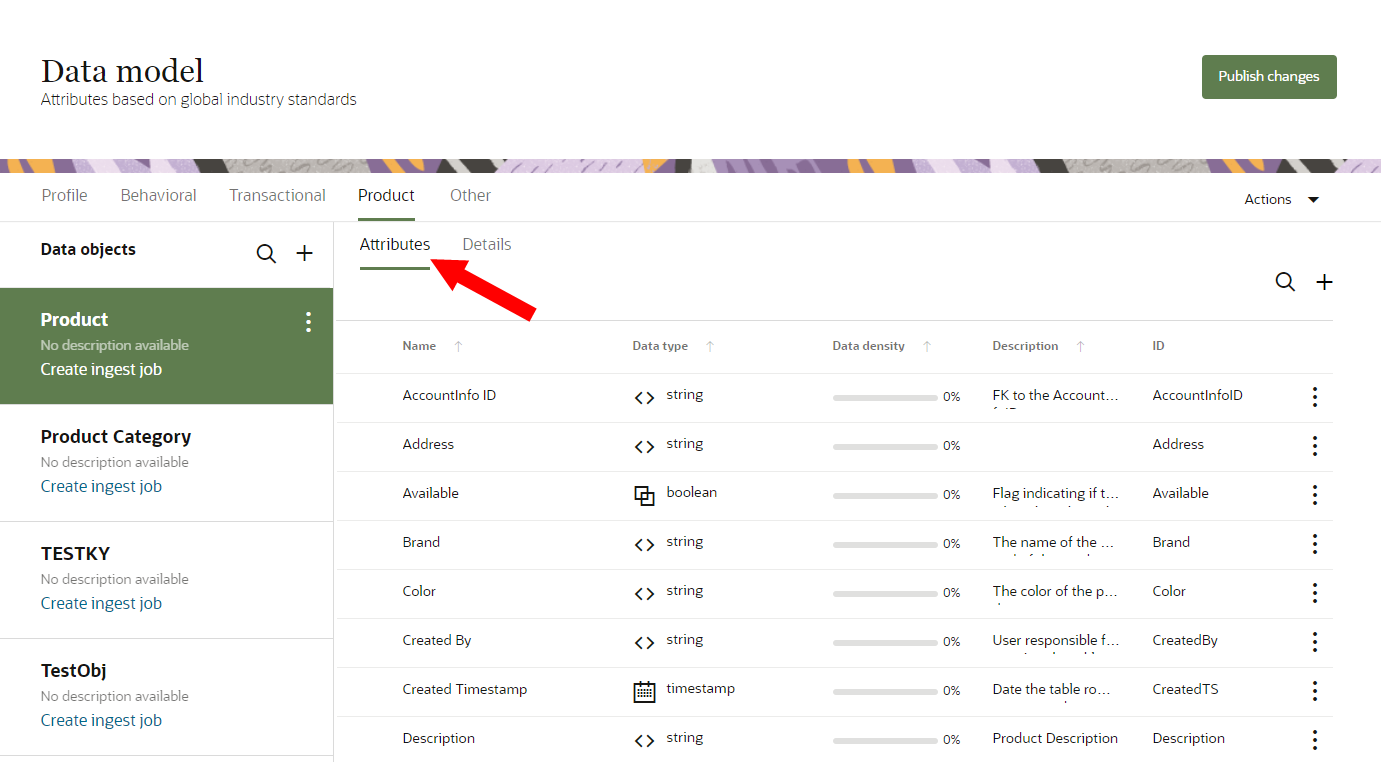
- Click the appropriate data object group. Select the [name] data object you created previously. For this scenario, select Product.
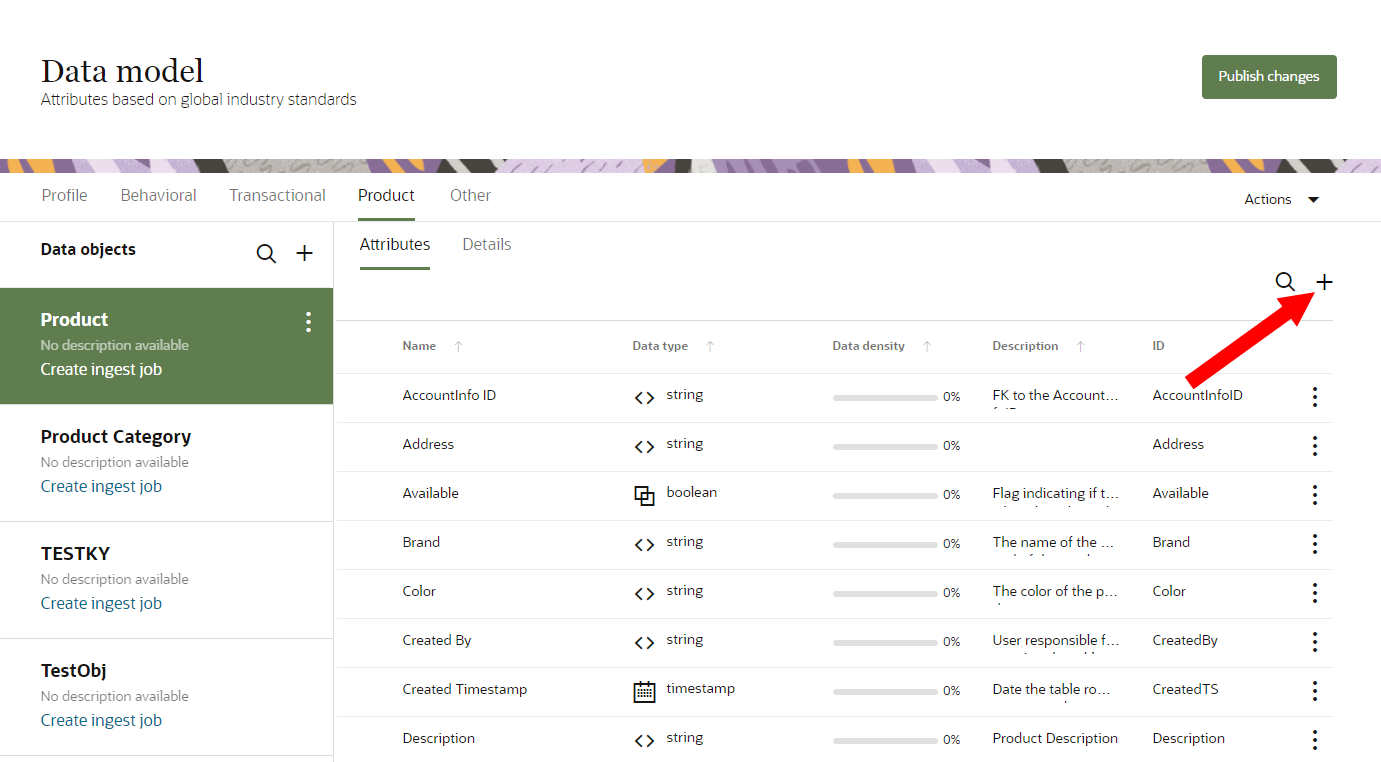
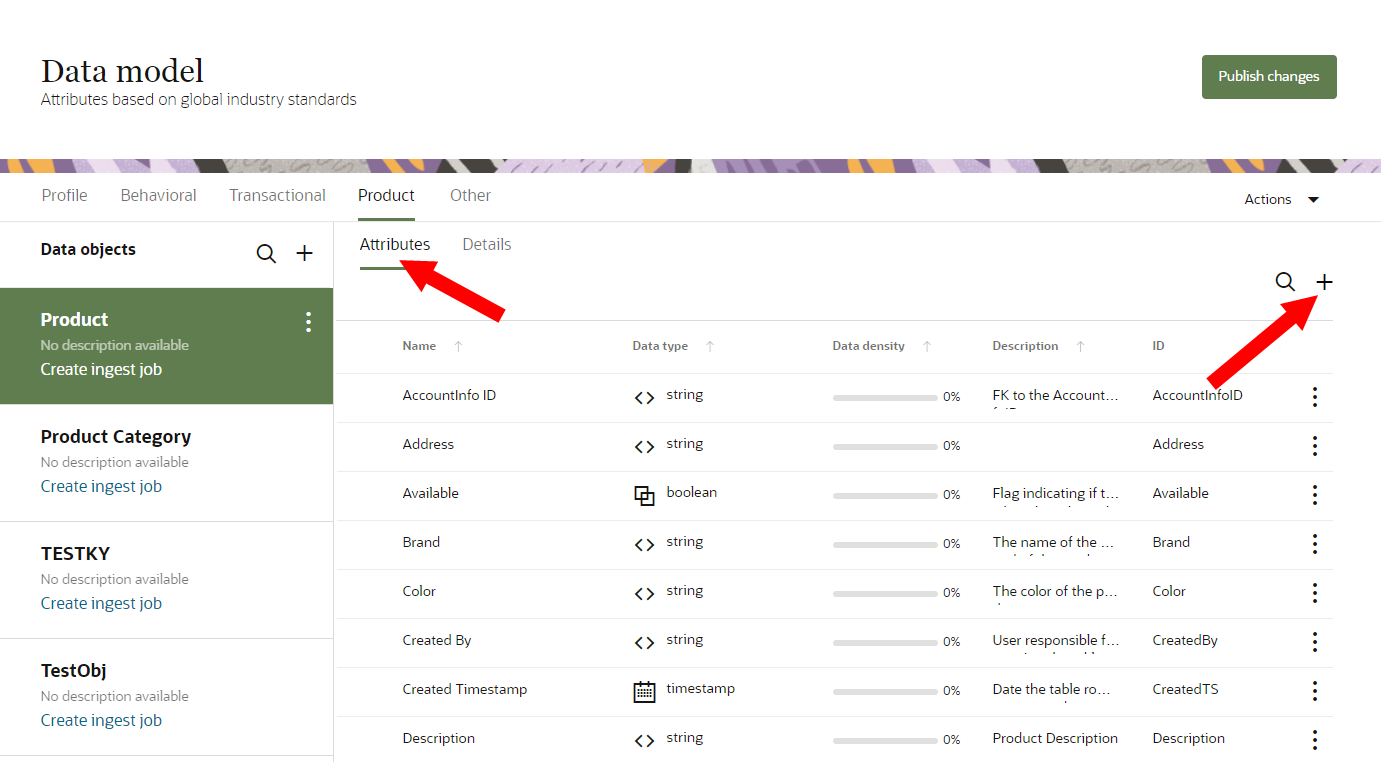
- Click Attributes to see the list of current attributes in the object.
- On the right-hand side, click Add
 .
. - Complete the fields for the new attribute.
- Name: Enter the name for the attribute. For this scenario, enter Name and UPC. You can use characters from all languages supported in the language settings.
- Description: This field is optional, but we recommend entering a meaningful description for the attribute.
- Attribute group: If needed, select or create an attribute group for the attribute. You can change this at any time.
- Data type: Select the format of the data in the attribute. You cannot change this after the attribute is published. Learn more about Data types.
- ID: This is the name used for the database column for this attribute. You can't the ID name after the attribute is published.
- If the attribute name uses English characters, this field is auto-populated from the attribute name you enter but can be changed.
- If the attribute name uses characters from another language supported in the language settings, the ID field will be left blank. You will need to enter a name using English characters.
- The ID must be 1 or more characters, up to a maximum of 50. Use only letters (a–z and A–Z), numbers (0–9), and underscores (_). The first character must be a letter.
- Click Save.
- Repeat the steps as needed to create the required attributes.
You can now create the deduplication and clustering rules in the Expert Config page.
To create the deduplication and clustering rules:
- Navigate to the expert config page of Oracle Unity by going to the following URL: https://[your cxunity hostname]/data/?root=expertConfig.
- Enter the request payload to create the deduplication and clustering rules. For this scenario, you would enter the following request. Make sure to update the tenantId to your specific tenant.
-
Click the Oracle icon in the bottom-right corner to open the navigation menu.
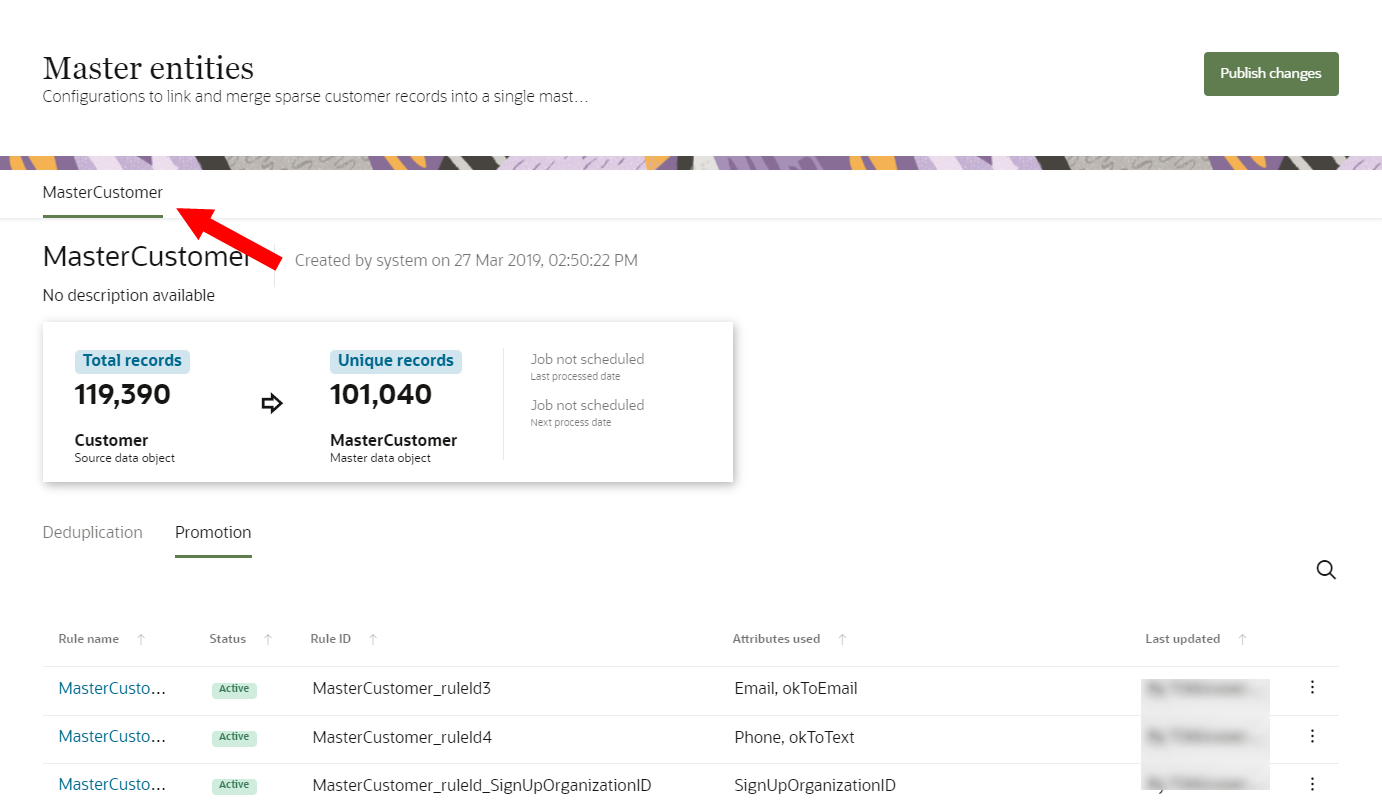
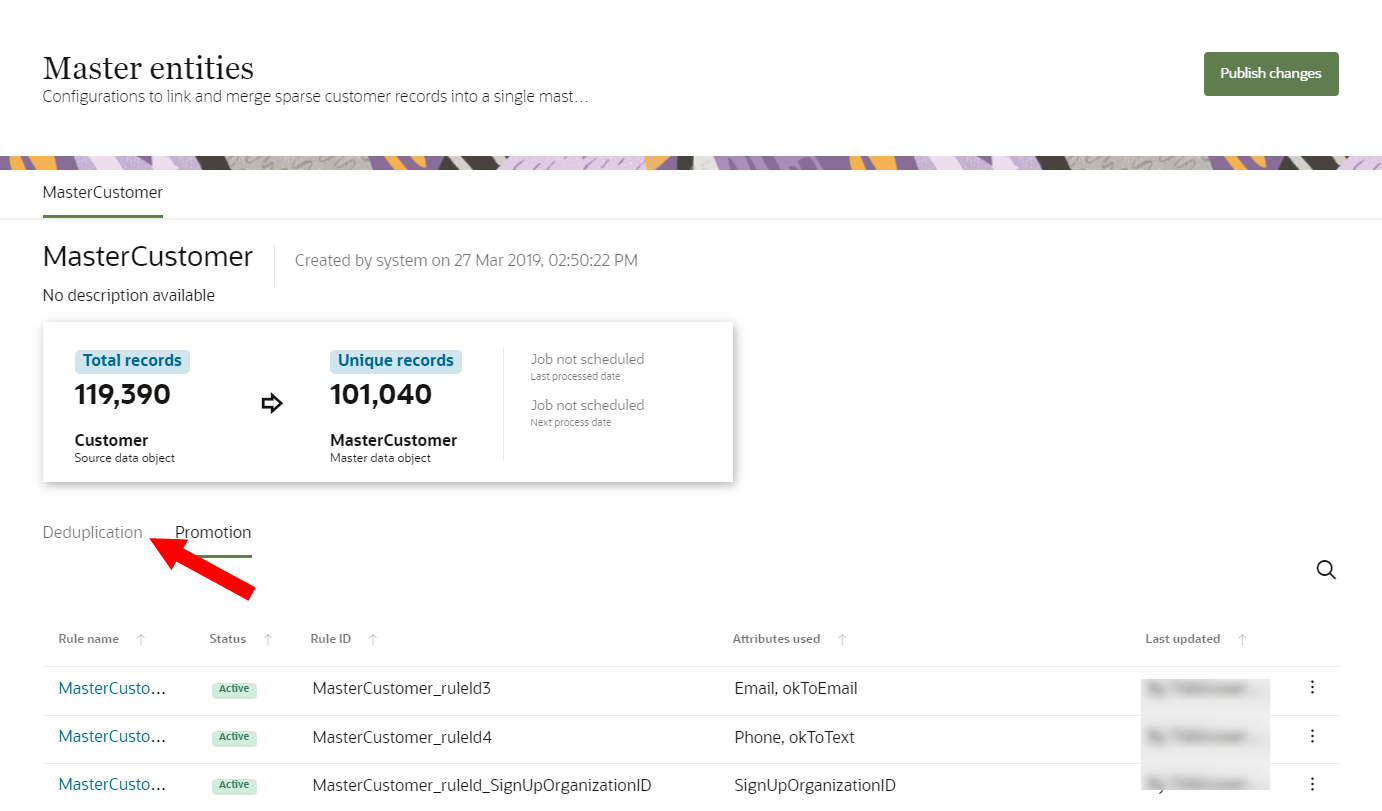
- Select Master entities.
- From the list of Master entities, select the Master[name] master entity you created. For this scenario, select MasterProduct.
- Click the Deduplication tab and the deduplication rule and confirm the rule was created successfully.
- If needed, you can follow the steps for Editing deduplication rules.
{
  "tenantId": 361,
  "name": "StandardMasterProductClustering",
  "active": true,
  "clusteringId": "StandardMasterProductClustering",
  "sourceTable": {
    "MCPSQuery": {
      "tenantId": 361,
      "name": "queryForDedupe",
      "uniqueId": "queryForDedupe",
      "operation": {
        "ctype": ".SetOperation",
        "name": "queryForDedupe",
        "tenantId": 361,
        "uniqueId": "queryForDedupe",
        "operands": [
          {
            "ctype": ".ObjectSet",
            "tenantId": 361,
            "name": "C1",
            "description": "C1",
            "objectName": "Product",
            "uniqueId": "simple_c1_product",
            "outputAttributes": [
              {
                "atype": ".ReferenceAttribute",
                "tableName": "C1",
                "attributeName": "ID"
              },
              {
                "atype": ".ReferenceAttribute",
                "tableName": "C1",
                "attributeName": "Name"
              },
              {
                "atype": ".ReferenceAttribute",
                "tableName": "C1",
                "attributeName": "UPC"
              }
            ],
            "distinct": false
          },
          null
        ],
        "operator": "UNION",
        "distinct": false,
        "outputAttributes": [
          {
            "atype": ".ReferenceAttribute",
            "tableName": "C1",
            "attributeName": "ID"
          },
          {
            "atype": ".ReferenceAttribute",
            "tableName": "C1",
            "attributeName": "UPC"
          },
          {
            "atype": ".ReferenceAttribute",
            "tableName": "C1",
            "attributeName": "Name"
          }
        ],
        "joinConditions": [

        ]
      },
      "type": "DW"
    }
  },
  "clusteringRules": [
    {
      "tenantId": 361,
      "name": "Name_Exact_UPC_Exact",
      "active": true,
      "clusteringId": "StandardMasterProductClustering",
      "clusteringRuleId": "Name_Exact_UPC_Exact",
      "scoreThreshold": 100,
      "maxCandidates": 3000,
      "referenceAttributes": [
        {
          "atype": ".ReferenceAttribute",
          "attributeName": "Name"
        }
      ],
      "clusteringCriteria": {
        "ctype": ".Criteria",
        "operator": "AND",
        "operands": [
          {
            "ctype": ".Criteria",
            "operator": "NOT_NULL",
            "operands": [
              {
                "ctype": ".ReferenceAttribute",
                "attributeName": "Name"
              }
            ]
          }
        ]
      },
      "matchingCriteria": {
        "ctype": ".MatchingCriteria",
        "operator": "AND",
        "operands": [
          {
            "ctype": ".MatchingRule",
            "algorithm": "LEVENSHTEIN_DISTANCE",
            "arguments": {
              "threshold": "100"
            },
            "attributeValues": [
              {
                "atype": ".ReferenceAttribute",
                "attributeName": "UPC"
              }
            ]
          }
        ]
      }
    }
  ],
  "dedupeTargetId": "Product_MasterProduct",
  "mainIdentifier": "ID"
}
The rule for this scenario will be named StandardMasterProductClustering. You can now configure the rules in the Oracle Unity application.
Step 7: Create the promotion rule
The final step in configuring the master entity is to create the promotion rule.
Promotion is a task to merge attribute values of source records and promote the optimal value to the master record attribute. For example, you can promote the optimal value of attributes such as first name, last name, address, and gender to a master entity. This task is a part of ID resolution.
Learn more about Promotion rules.
Promotion rules are automatically created when you create attributes for master entities. To create an attribute for a master entity, you need to select a source attribute, which is the attribute from an existing data object that is used to create the new attribute for the master entity.
To create the promotion rule:
- Consider the attributes you want to create for the master entity (the Master[name] object). For this scenario, you will create the SKU attribute for the MasterProduct master entity.
-
Click the Oracle icon in the bottom-right corner to open the navigation menu.
- Select Data model.
- Click the data object group that has the master entity and click the master entity. For this scenario, select MasterProduct.
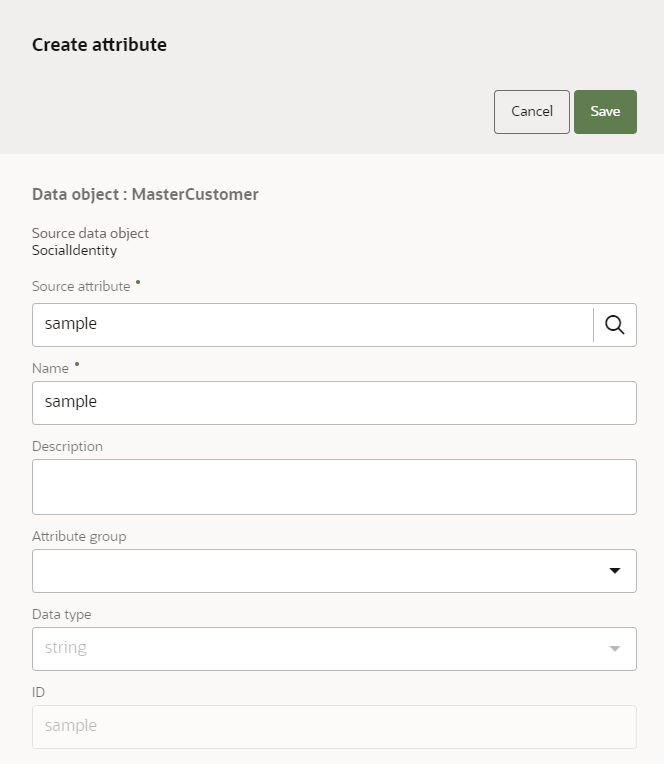
- Click the Attributes tab. On the right-hand side, click Add .
- In the search field for Source attribute, find the source attribute you want to use to create the new attribute. Once you select a source attribute, the details for the new attribute are pre-filled and originate from the source attribute's information: ID, Data type, Name, Description, and Attribute group. For this scenario, search for the SKU attribute from the Product data object.
- Click Save.
-
Click the Oracle icon in the bottom-right corner to open the navigation menu.
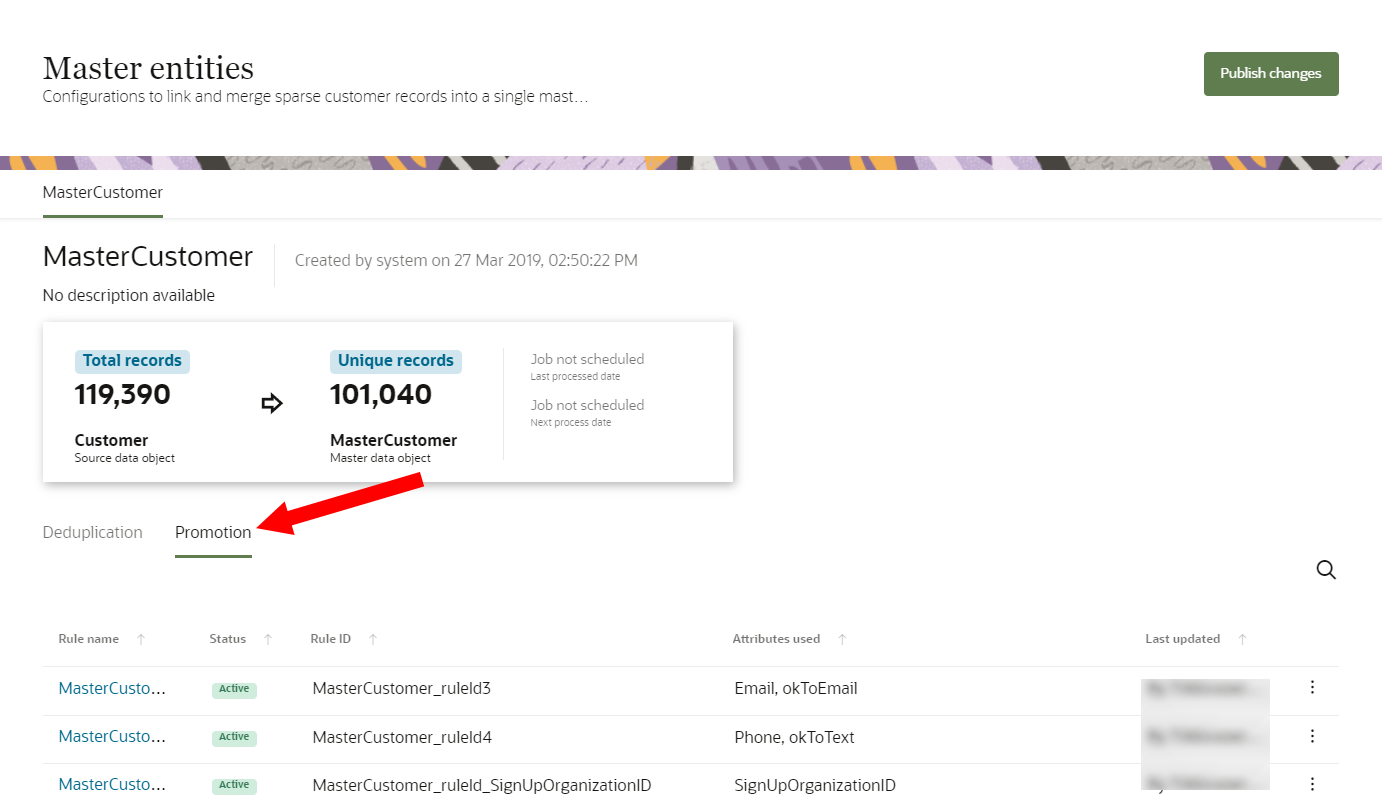
- Select Master entities.
- From the list of Master entities, select the Master[name] master entity you created. For this scenario, select MasterProduct.
- Click the Promtion tab and promotion rule and confirm the rule was created successfully.
- If needed, follow the steps for Editing promotion rules.
The promotion rule for this scenario will be named MasterProduct_ruleId_SKU. You can now configure the rule in the Oracle Unity application.
Step 8: Run the system jobs
After creating and configuring all the required items for creating the master entity, you will now need to do the following to implement the updates to the data model:
- Publish the changes.
- Run the System - Data warehouse job.
- Run the System - Identity resolution job.
To publish the changes to the data model:
-
Click the Oracle icon in the bottom-right corner to open the navigation menu.
- Select Data model.
- In the top-right corner, click Publish changes.
- Confirm the publish job and click Publish.
- A notification will display to confirm the publish job successfully started.
Note: If a publish job is currently in progress, you will receive a notification that the publish job cannot run until the publish job already in progress completes.
You can monitor the status of the job from the Jobs dashboard.
To run the system jobs:
-
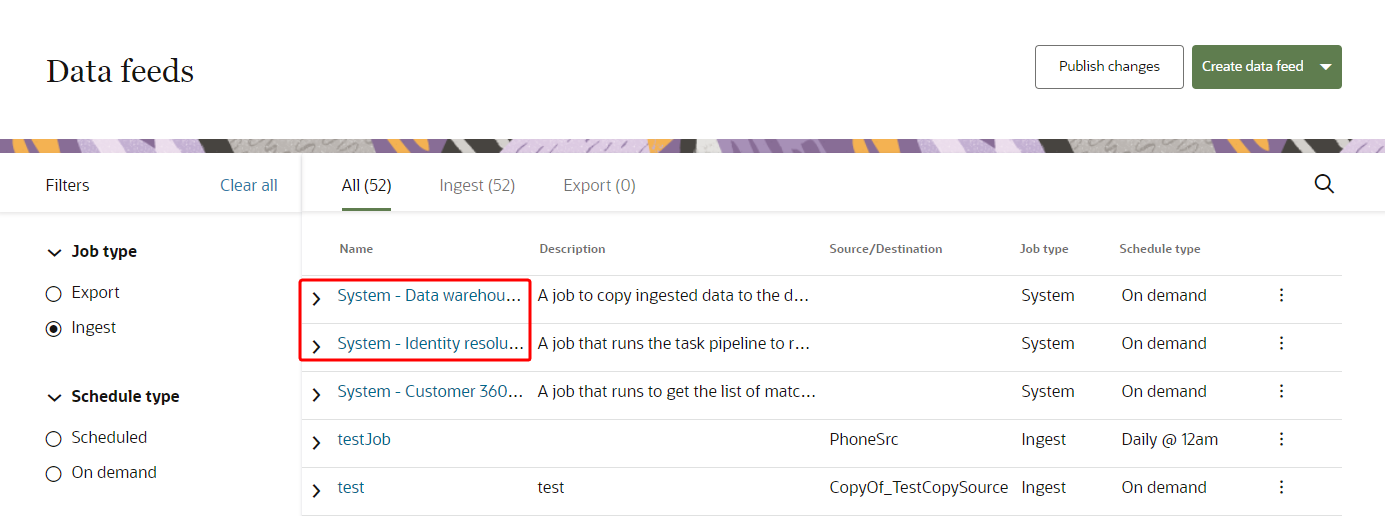
Click the Oracle icon in the bottom-right corner to open the navigation menu.
- Select Data feeds. The two system jobs will be displayed at the top of the list of data feeds.
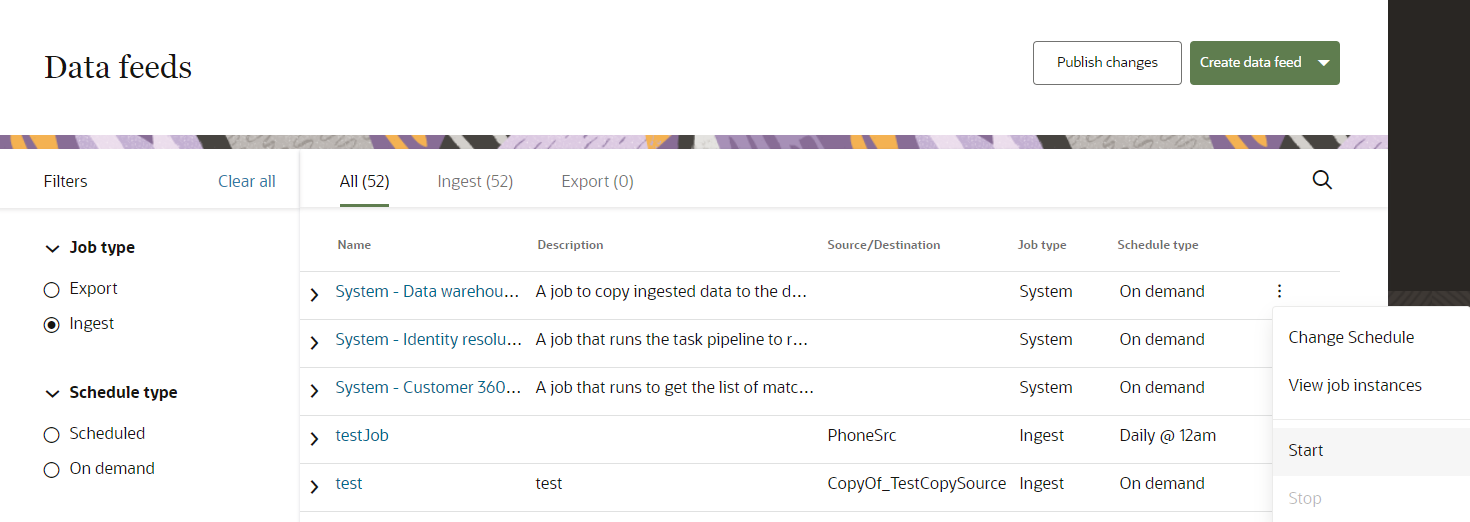
- Click the Action menu (
 ) for the system jobs and select Start.
When the publish job and two system jobs complete, the master entity is available and ready to use.