
If you do not yet have any active Locations in your domain, you can use App Net Manager Lite to install your first CVSG-VEs. These CVSG-VEs will have a very basic configuration—only the essentials needed to get the CVSG-VE up, running, and active with the SCP. More advanced configuration is available only through App Net Manager, which is accessible once the CVSG-VE on your LAN is active.
To begin creating a CVSG-VE Location in App Net Manager Lite:
Select the File menu and choose Add CVE Location; or
Right-click the Locations category in the domain directory and choose Add CVE Location.
This will launch the Add a New CVE Location wizard, which will take you step-by-step through the CVSG-VE creation process. This wizard is identical to the Add a New Location wizard, which is documented in the I. Corente Services Planning guide, except for one additional step at the end of the wizard:
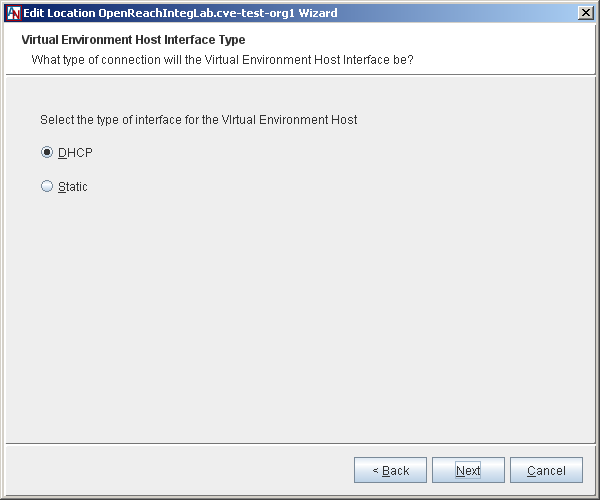
On the Virtual Environment Host Interface Type step, choose how an IP address will be assigned to the virtual host in the CVSG-VE Location. If the address will be assigned dynamically by a DHCP server, choose DHCP and click Next. If you would like to assign a specific address to the virtual host, choose Static and click Next, then enter an IP address in the next step and click Next. For both options, remember that any address assigned to the virtual host must be on the same subnet as the LAN interface (or WAN/LAN interface) of the CVSG-VE Location.
Once you have completed the wizard, downloaded the configuration to your hardware, and activated the new CVSG-VE, you can access App Net Manager and Edit the CVSG-VE to access the advanced configuration form that is described in the next section.