Designing a Form
All Unifier components (business processes, shells, managers, asset classes, plans, and so on) are presented to the user as forms. In the application, these forms drive the business processes and contribute most of the data that will be used. Forms differ according to their purpose. Most forms will become attached to the steps in a workflow; others define and create components such as asset classes, plans, resources, shells, and managers.
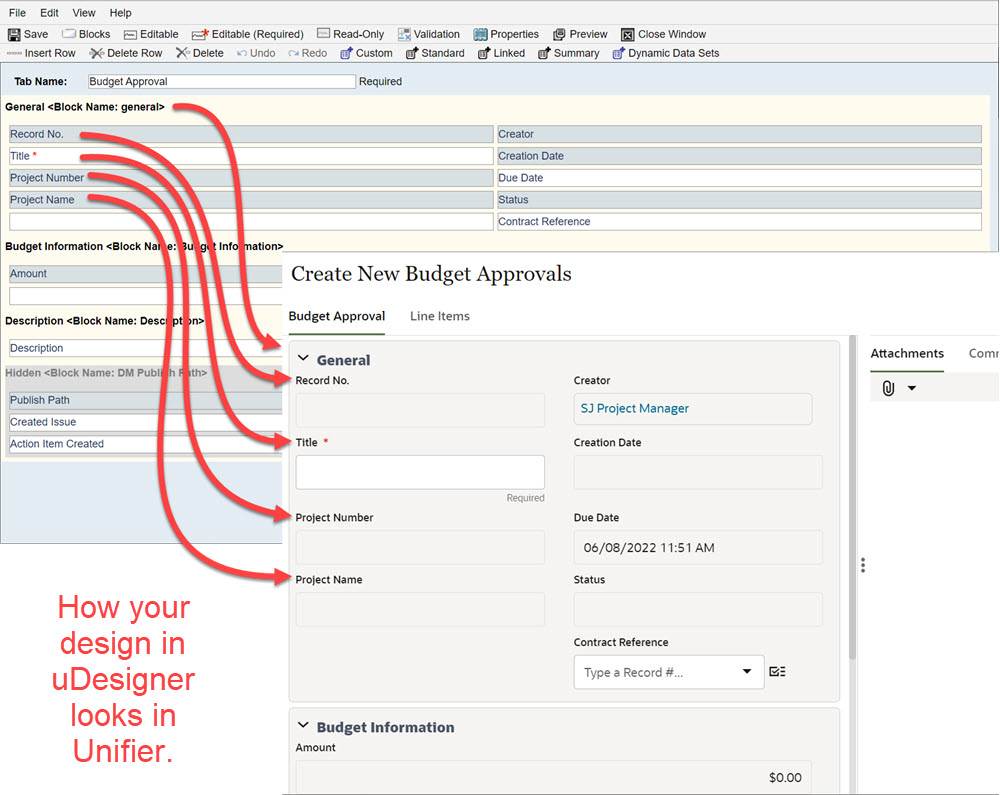
For most business processes, forms will become attached to the steps in a workflow for the purpose of exchanging information. As part of the workflow, users will use these forms to collaborate as a team to complete the business process. The users will fill in the workflows with the "who, what, where, and when" information, as well as other information they will need to run the project—to maintain action items, manage document archiving, track workflow tasks and milestones, communicate and collaborate with project team members, and generate project reports. The form you create in uDesigner is what the user will use in Unifier.
In This Section
Last Published Saturday, June 6, 2026