| Skip Navigation Links | |
| Exit Print View | |

|
SPARC SuperCluster T4-4 Enterprise Manager 12c Component of the Oracle Optimized Solution for Enterprise Database Cloud Configuration Guide |
| Skip Navigation Links | |
| Exit Print View | |

|
SPARC SuperCluster T4-4 Enterprise Manager 12c Component of the Oracle Optimized Solution for Enterprise Database Cloud Configuration Guide |
Setting Up the Database as a Service
Prepare the Target Oracle Solaris 11 Zones or Logical Domains
Add Credentials for the Oracle Software Update Center
Install the Cloud Control Agent on the SPARC SuperCluster 1.1
Installing the EM12c Agent(s) on the Oracle Solaris Zones
Add the Oracle Solaris Zones Host Targets
Create an Enterprise Manager Cloud Administrator Role
Create an Enterprise Manager Self Service User
Create Database Deployment Procedure (Single Instance)
Create a PaaS Infrastructure Zone
Establish Quotas for the Cloud Control User
To use database as a service, you must install two additional plug-ins on the Oracle Management Service (OMS): Virtualization and Cloud. Adding the Chargeback plug-in is optional.
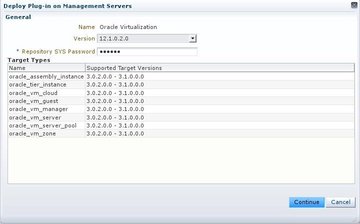
The Deploy Plug in on Management Servers pop-up window is displayed.

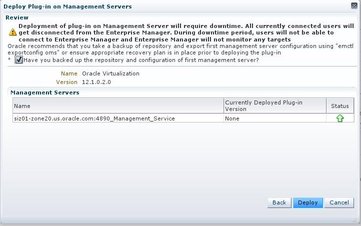
The OMS is unavailable during the upgrade, so the browser interface will also become unavailable.
