| Skip Navigation Links | |
| Exit Print View | |

|
SPARC SuperCluster T4-4 Enterprise Manager 12c Component of the Oracle Optimized Solution for Enterprise Database Cloud Configuration Guide |
| Skip Navigation Links | |
| Exit Print View | |

|
SPARC SuperCluster T4-4 Enterprise Manager 12c Component of the Oracle Optimized Solution for Enterprise Database Cloud Configuration Guide |
Setting Up the Database as a Service
Prepare the Target Oracle Solaris 11 Zones or Logical Domains
Add Credentials for the Oracle Software Update Center
Add Virtualizations, Cloud, and Chargeback Plug-ins
Install the Cloud Control Agent on the SPARC SuperCluster 1.1
Installing the EM12c Agent(s) on the Oracle Solaris Zones
Add the Details of the RAC Cluster
Create an Enterprise Manager Cloud Administrator Role
Create an Enterprise Manager Self Service User
Create Database Deployment Procedure (Single Instance)
Create a PaaS Infrastructure Zone
Establish Quotas for the Cloud Control User

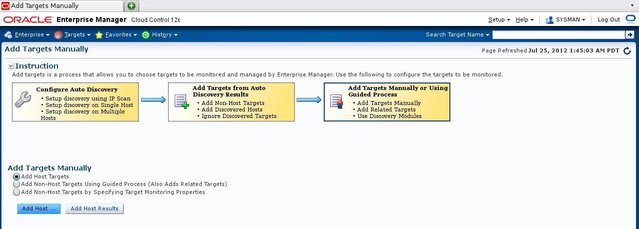
The Add Host Targets wizard is displayed.
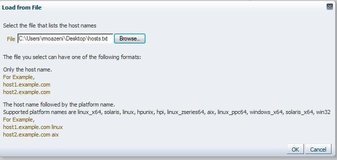
Hosts can be added individually by specifying the target name or via a bulk load.

Select Load from File, and browse to the location of the text file created earlier. Then click OK.

The text file of Host targets is uploaded and the EM12c Host targets list is populated from this file.

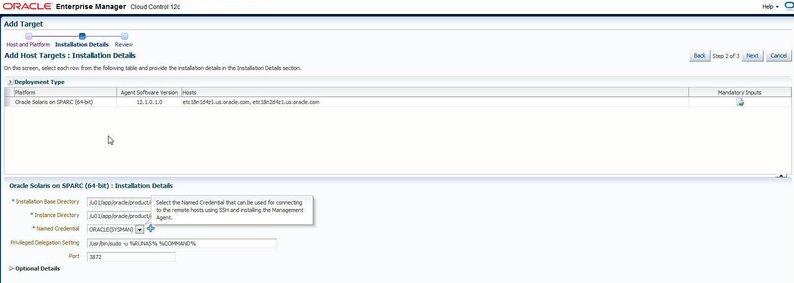
In the example, the ORACLE credential created earlier, is unprivileged.
Agent installation now runs on the selected hosts.
If there are any warnings or errors during installation, select Hosts from the Targets menus to list the running agents and diagnose any issues.
The window below shows that the hosts (Oracle Solaris zones) etc18n1 and etc18n2 both have running agents.
