| Skip Navigation Links | |
| Exit Print View | |

|
SPARC SuperCluster T4-4 Enterprise Manager 12c Component of the Oracle Optimized Solution for Enterprise Database Cloud Configuration Guide |
| Skip Navigation Links | |
| Exit Print View | |

|
SPARC SuperCluster T4-4 Enterprise Manager 12c Component of the Oracle Optimized Solution for Enterprise Database Cloud Configuration Guide |
Setting Up the Database as a Service
Prepare the Target Oracle Solaris 11 Zones or Logical Domains
Add Credentials for the Oracle Software Update Center
Add Virtualizations, Cloud, and Chargeback Plug-ins
Install the Cloud Control Agent on the SPARC SuperCluster 1.1
Installing the EM12c Agent(s) on the Oracle Solaris Zones
Add the Oracle Solaris Zones Host Targets
Create an Enterprise Manager Cloud Administrator Role
Create an Enterprise Manager Self Service User
Create Database Deployment Procedure (Single Instance)
Create a PaaS Infrastructure Zone
Establish Quotas for the Cloud Control User
After you add the Oracle RAC targets, follow these step to add details of the RAC cluster such as listener, ASM and database instances to the EM12c agent running on the target hosts/Oracle Solaris zone.
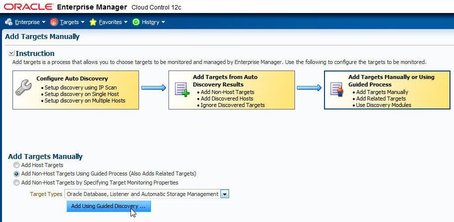
Highlight the appropriate host and click Continue.
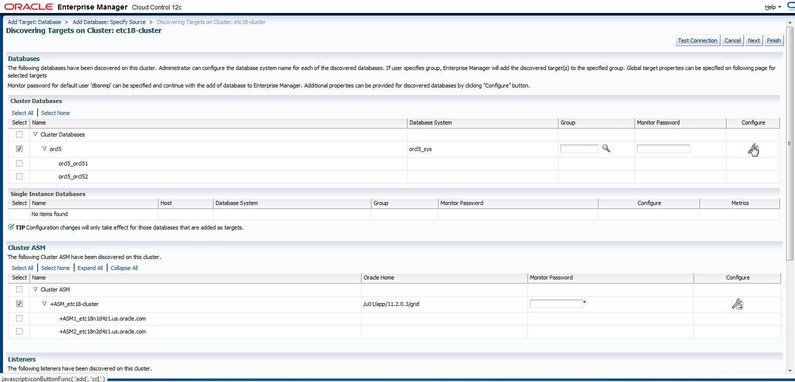
The discovery window is displayed and RAC cluster instances and ASM details are shown.
In the following example two databases instances are discovered by EM12c, however it is possible that there are no databases created on the SPARC SuperCluster T4-4 at this point of the setup and this field would be empty. The example assumes that there are databases, so in the cluster databases panel click the configure icon.
The Configure Cluster Database : Properties wizard is displayed.
The dbsnmp account must be unlocked. Click Next.
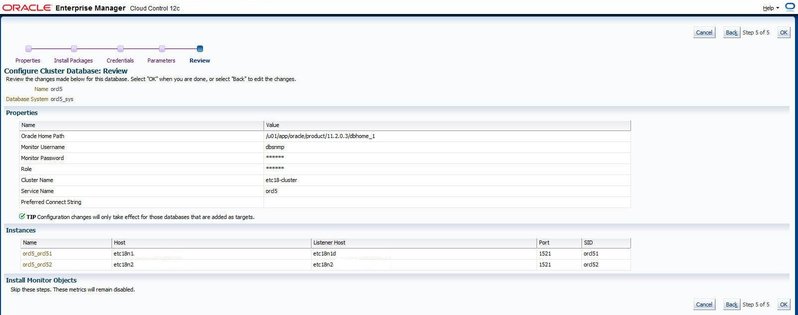
Notice that the wrench icon on the configure panel for the database instances is now a solid blue color, indicating that the database targets of the RAC instances are now successfully configured to be managed and monitored by EM12c.
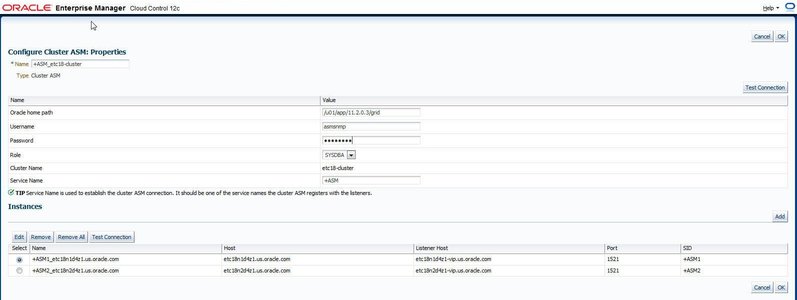
A confirmation of the successful connection is displayed.
The targets are saved and a confirmation window is displayed.
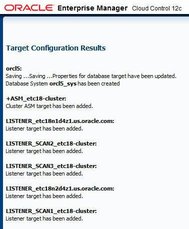
At this point the EM12c is now able to manage and monitor the RAC cluster and its components. Repeat these steps for each RAC cluster configured on the SPARC SuperCluster T4-4 that the cloud administrator will make available to the Database Cloud end-users.