| Skip Navigation Links | |
| Exit Print View | |

|
SPARC SuperCluster T4-4 Enterprise Manager 12c Component of the Oracle Optimized Solution for Enterprise Database Cloud Configuration Guide |
| Skip Navigation Links | |
| Exit Print View | |

|
SPARC SuperCluster T4-4 Enterprise Manager 12c Component of the Oracle Optimized Solution for Enterprise Database Cloud Configuration Guide |
Setting Up the Database as a Service
Prepare the Target Oracle Solaris 11 Zones or Logical Domains
Add Credentials for the Oracle Software Update Center
Add Virtualizations, Cloud, and Chargeback Plug-ins
Install the Cloud Control Agent on the SPARC SuperCluster 1.1
Installing the EM12c Agent(s) on the Oracle Solaris Zones
Add the Oracle Solaris Zones Host Targets
Add the Details of the RAC Cluster
Create an Enterprise Manager Cloud Administrator Role
Create an Enterprise Manager Self Service User
Create Database Deployment Procedure (Single Instance)
Create a PaaS Infrastructure Zone
Establish Quotas for the Cloud Control User
Once you have configured all of the necessary components, use this procedure to use the database as a service on the SPARC SuperCluster T4-4 from Oracle.

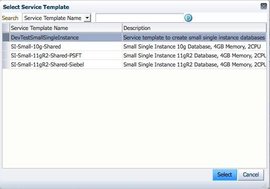
The Select Service Template window is displayed.
In this case, DevTestSmallSingleInstance is selected, which was created earlier. Click Select.

The New Database Request wizard is displayed.

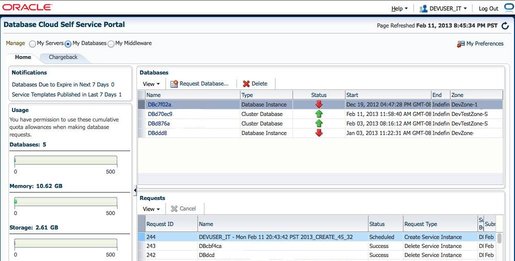
The request has been submitted and its progress is indicated in the lower half of the window.
When the database provisioning process is complete, the request will terminate successfully and the Oracle service name created is displayed in the upper half of the window (request ID 244 in this example).

To manage and monitor a database instance, simply click the instance name in the database pane. Note that this window displays the connection string to enable the user to connect and use the database.