Attach Tool-less Slide-Rail Assemblies
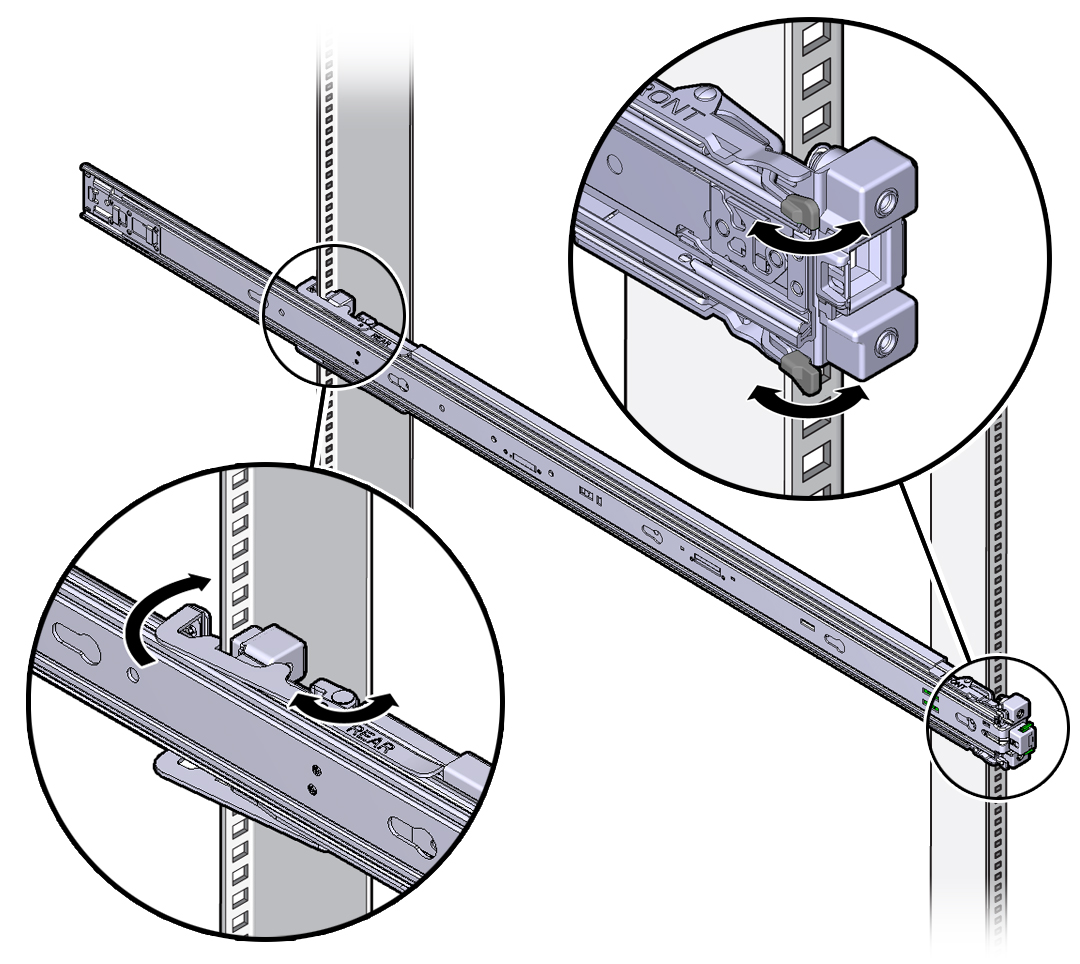
Use this procedure to attach tool-less slide-rail assemblies to the rack.
Note - Right-angle AC power cables (part number 7079727 - Pwrcord, Jmpr, Bulk, SR2, 2m, C14RA, 10A, C13) must be installed before slide-rails when installing the Oracle Server X6-2 into a Sun Rack II 1042 (1000-mm) system rack. The standard rail kit tool-less slide-rails impede access to the 15kVA and 22kVA Power Distribution Unit (PDU) electrical sockets in the 1000-mm rack. If you use the standard AC power cables and then install the slide-rails into the rack, you will be unable to disconnect or remove the AC power cables. Once the slide-rails have been installed into the rack, you will be unable to disconnect or remove the AC power cables.
-
Orient the slide-rail assembly so that the ball-bearing track is forward and locked in
place.
 CalloutDescription1Slide-rail2Ball-bearing track3Locking mechanism
 -
Starting with either the left or right side of the rack, align the rear of the slide-rail
assembly against the inside of the rear rack rail, and push until the assembly locks into place with
an audible click.

- Align the front of the slide-rail assembly against the outside of the front rack rail, and push until the assembly locks into place with an audible click.
- Repeat Step 1 through Step 3 to attach the slide-rail assembly to the other side of the rack.