Receiving a Customer Return
When a shipment from a customer arrives at your business, process the return by matching the shipment to the corresponding return authorization number. Then, enter an item receipt for any items in that shipment against the open authorized return.
When you use the Advanced Receiving feature, you can mark authorized returned items as received when they arrive. When you receive an authorized returned order, you can indicate what was received and process the return based on those quantities.
By entering a receipt against the RMA, the following information is updated:
-
Items on return authorizations are recorded as received.
-
Inventory records are updated for the new stock levels.
-
Inventory asset accounts are updated with the values of returned items.
-
Status of the return is updated.
Then, your records show the most current information.
If you have not enabled the Refund in Advance of Return preference, you need to know when items are received to issue credits that are due to customers. For more information about this preference, read Preferences for Customer Returns.
Exchange Rates on Returns
You can set a preference for how currency exchange rates are handled on returns you process. This helps if exchange rates change between the time an authorization is entered and when it is received. For details, read Exchange Rates on Item Receipts.
To receive an authorized customer return:
-
Go to Transactions > Customers > Receive Returned Order (Administrator).
-
Select a customer from the dropdown list.
-
In the Receive column, check the box next to the return you received from the customer.
-
Click Submit.
-
On the Item Receipt page:
-
Verify information in the following fields:
-
Customer - the customer who returned the order
-
Receipt of - the return authorization number of the return you are receiving
-
-
Verify or enter information in the following fields:
-
Date - the date on which the return was received
-
Posting Period - Select the period you want to post this transaction to. If a period is closed, you can't post to that period.
-
Ref. No. - a number you can later use to reference this partial shipment
Note:On the Transactions subtab, check the Allow Override box next to Item Receipt and click Save.
-
Memo - Enter an optional reference memo for this receipt. Later, you can search for this receipt by text entered in the memo.
-
-
-
On the Items subtab, check the box in the Receive column next to items you are receiving.
-
In the Quantity column, enter the amount of each item you received in this shipment.
-
In the Restock column, do one of the following:
-
Check the Restock box to return this item to your inventory. Your inventory reflects the increased count of the returned item and the value of your inventory is also increased.
-
Clear the Restock box to write the item off as an expense. Your inventory does not reflect the increased count of the returned item and the value of your inventory is not increased. Items that you write off are logged as an expense and the income you lose by not selling the item is posted as a loss.
Note:You can set preferences for default handling of returned items you receive. For more information, read Handling Returned Items.
-
-
If you use the Multi-Location Inventory feature, you must select a location for each returned item.
-
On the Expenses subtab, check the box in the Mark Received column next to expenses you want to receive.
-
When you have finished, choose one of two options to post the information to your NetSuite account:
-
Click Save to save the information and return to the Transactions page.
-
Click Save & Refund to save the information and go to the cash refund for this return.
You credit customers only for what you received.
-
Now, the items are marked as received from the customer.
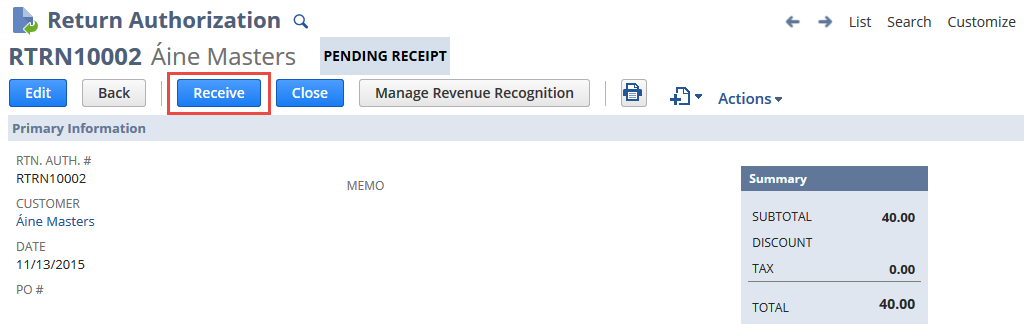
You can also receive items on a return authorization record. Go to Transactions > Customers > Issue Return Authorizations > List (Administrator) and click view next to the return authorization with the Pending Receipt status. Click Receive to mark the items as received. NetSuite creates an item receipt record for the returned items.
To see what has already been received and processed for a return authorization, open the return authorization record and click the Related Records subtab. Item receipts and refunds (such as credit memos and cash refunds) are listed on the Receipts & Refunds tab. Click the record link to view the related record. See Customer Credits and Refunds for more information.
Related Topics:
- Customer Return Management Tips
- Customer Returns Process
- Return Authorization (RMA) Forms
- Preferences for Customer Returns
- Entering a Standalone Return Authorization
- Entering a Linked Return Authorization
- Approving a Customer Return Authorization
- Printing a Customer Return Authorization
- Handling Returned Items
- Closing Line Items on a Customer Return Authorization
- Customer Return Authorization Status
- Reporting on Customer Returns Impact