Segmentation functions
Learn more by watching these videos!
Review the list of segmentation functions you can use when building segments.
Groups
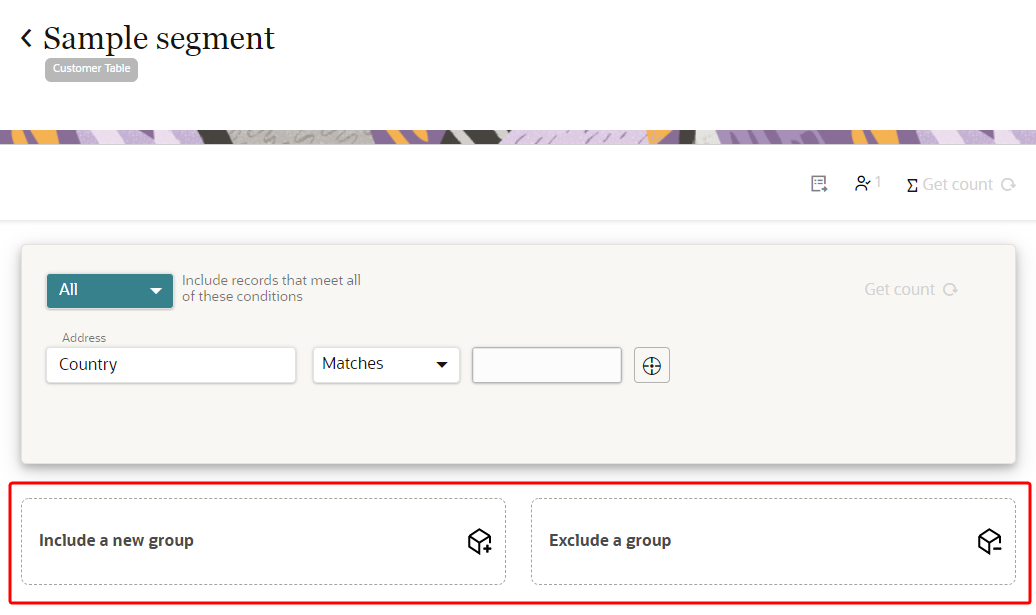
- Click Exclude a group to create conditions to exclude certain customers.
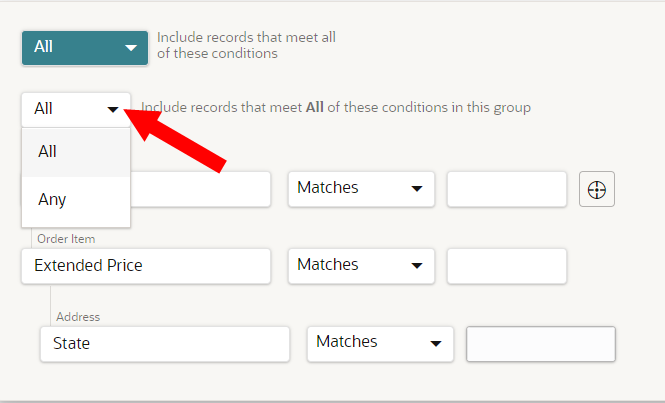
- Click Include a new group to add a new group for the segment. This is useful when you want to combine one set of conditions with the Any operator in one group and another set of conditions with the All operator in another group.
Analyzing segments and data
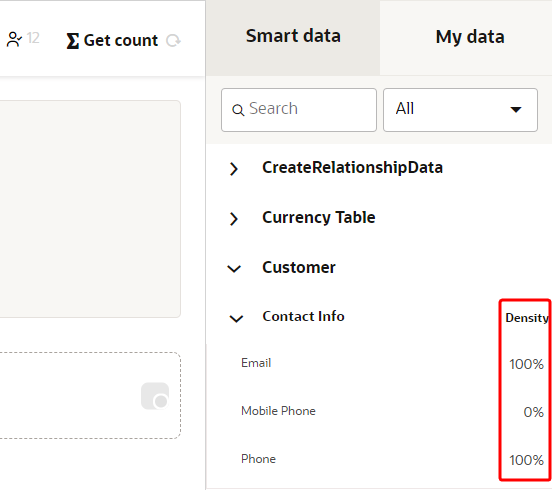
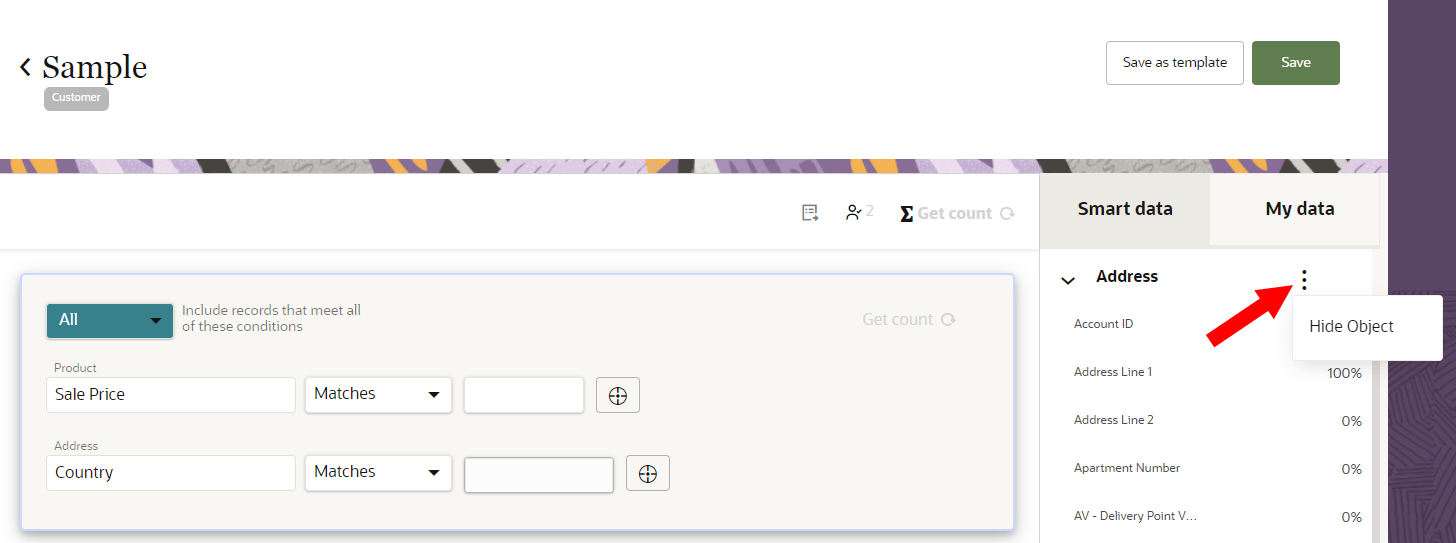
- Use the Density figure to view the percentage of records that have values for an attribute. You want to ensure all your data model attributes have a high percentage (90% or higher) for data density. Learn more about Data density.
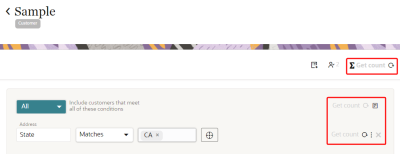
- Click Get count to get a real-time count of records for a condition, group, and segment. All conditions within a group must be completely configured before you can use Get count. After making changes to a group or segment, refresh the Get count values to get an updated count.
- Values for Get count at the condition, group, and segment level are cached for 30 minutes. If you refresh the value within 30 minutes and no changes have been made to the configuration of the segment, then the Get count value will be retrieved from the cache.
- If you click Get count and the request times out after one minute (either because of a complicated query or a large data set), a warning will display that the request is taking a long time to complete. You can retry the request to get a value.
- Click Segment sample
 to see a sample of records that meet the criteria for the segment. A maximum of 100 sample records will display. You will need to fully configure all the conditions in the segment to be able to view a sample of records. The sample will display all personalization attributes selected for the segment. For masked attributes, all user roles, except for the Instance admin user role, will see "*****" as the value for a masked attribute. Instance admin users will view the attribute's real value. Learn more about Masking data.

Adding/removing data to segments
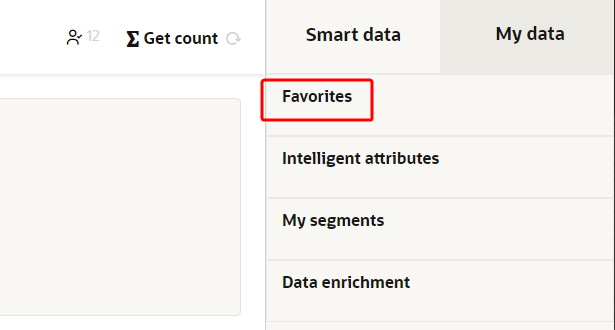
- You can create new segments more quickly and efficiently by using the search and favorites functions. Use the search field to quickly find items by entering their names. Tag items you use frequently as a favorite so that you can instantly access them under the list of Favorites.
- To tag an attribute as a favorite, click the Action menu (
 ) for the item and click Add To Favorites.
- To tag an attribute as a favorite, click the Action menu (
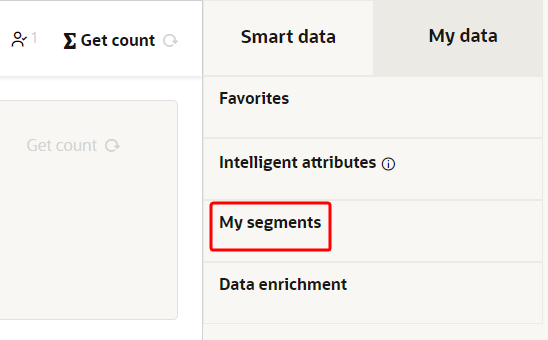
- You can use My segments to add segments to the conditional criteria of a segment (segment within a segment). When exporting a segment that has a segment in its conditional criteria, the only data that can be exported from the child segment is the ID attribute.
- When you add an attribute to the segment, Oracle Unity will select the shortest path by default to link the attribute's data object and the base object selected for creating the segment. The path you choose determines the related data objects and attributes you can select for the segment. You can also use attributes along the path you choose for personalization. Learn more about Managing Personalization attributes
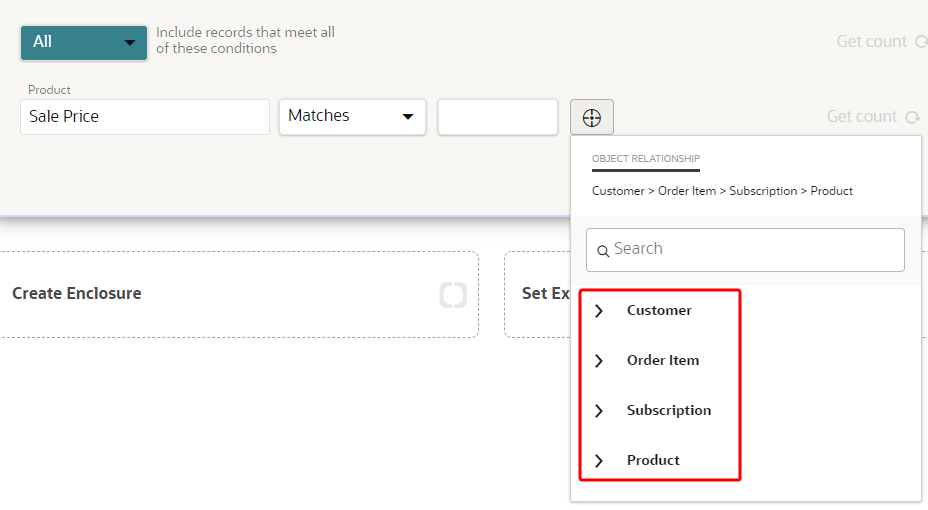
- To link data within a group, click the Target
 to select from a list of related data objects and attributes. Learn more about Condition groups. To add or remove an attribute as a personalization attribute, hover your mouse over the attribute and click Personalization
 . Learn more about Managing Personalization attributes
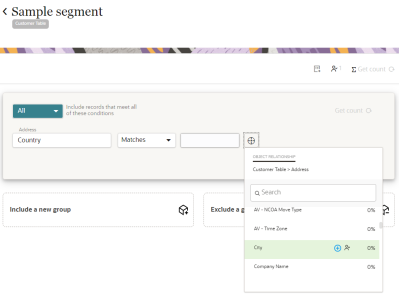
- After adding a related attribute to the segment, you have the option of selecting Any or All records that meet the conditions.

- If there are data objects, attributes, or attribute groups you don't want visible or accessible on the segmentation canvas, you can hide them. You can also view items that have been tagged as hidden. Learn more about Hiding items on the segmentation canvas and Viewing hidden items on the segmentation canvas.
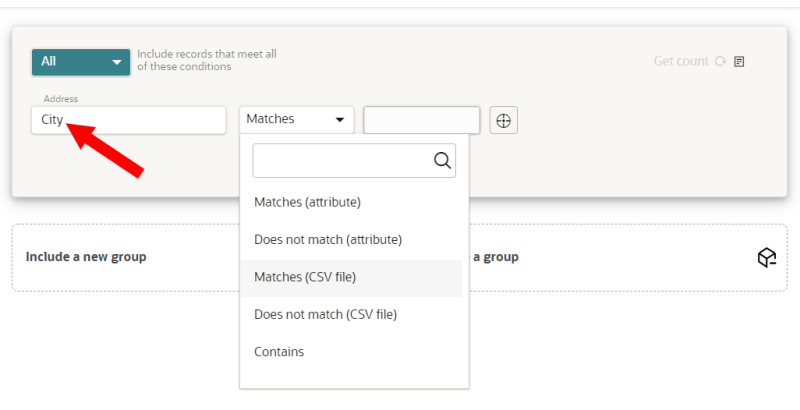
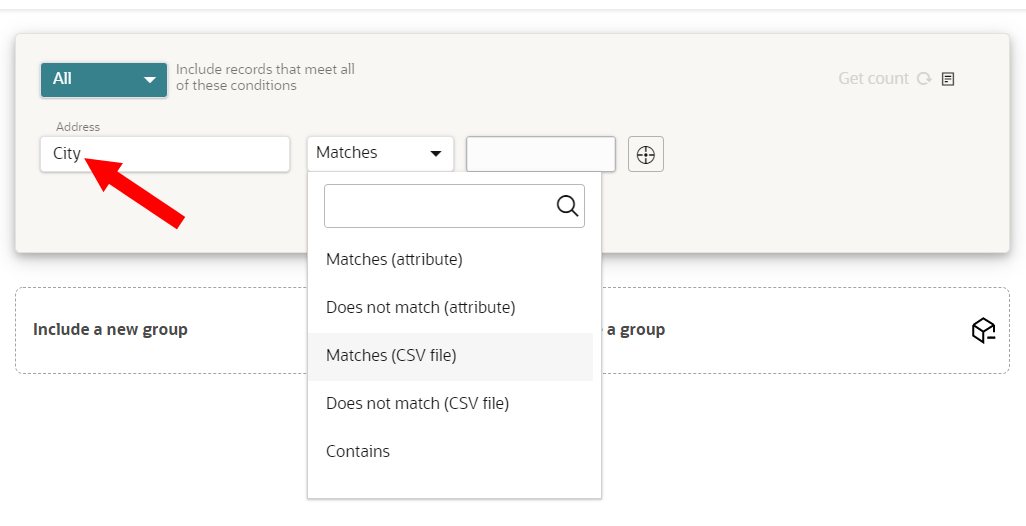
- If there are a large number of values that need to be added to a condition, you can upload a CSV file with the values and they will be automatically added.
- To upload a file of values to a segment:
- The data type of the attribute must be string , text, or a number data type such as decimal or integer. Learn more about Data types.
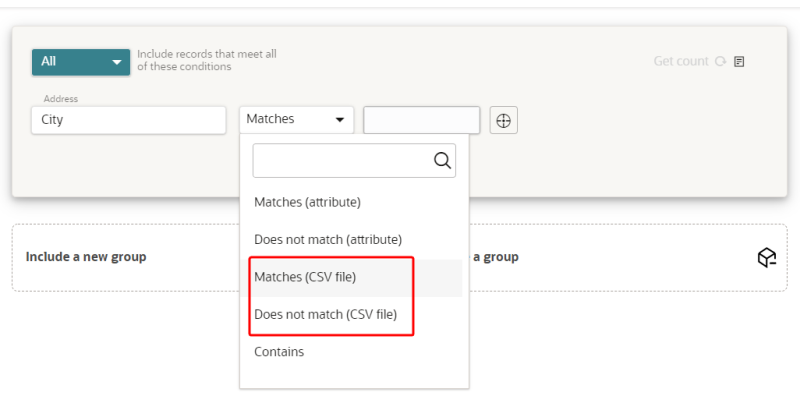
- The operator for the attribute must be Matches (CSV file) or Does not match (CSV file). Learn more about Segmentation operators.
- The CSV file must only have one column with the required values.
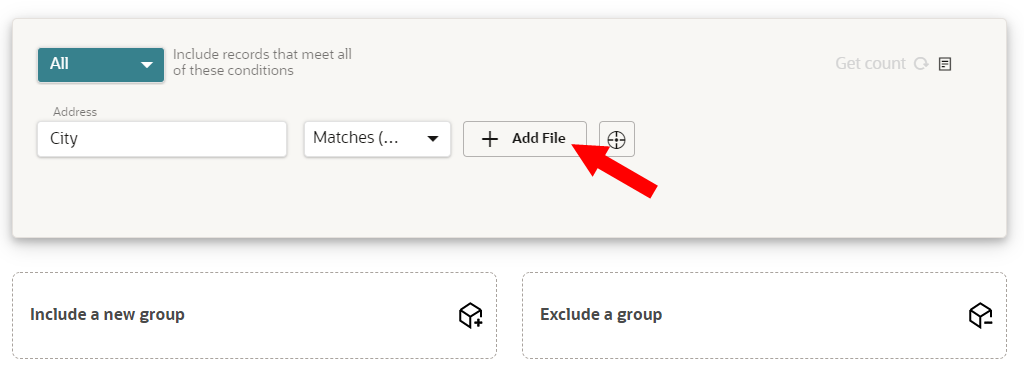
- Click + Add file and select the CSV file to upload.
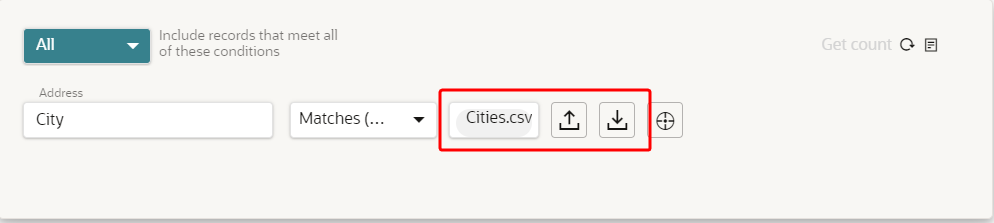
- After adding the file, the values will be automatically added to the condition. To replace the file, click Replace file
 . To download the file, click Download file
  .
.

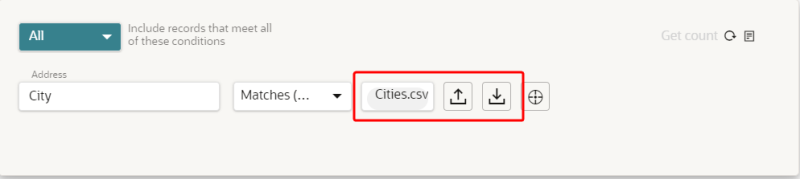

Note: The CSV file can have a maximum of 200 records.

Configuring conditions on attribute data
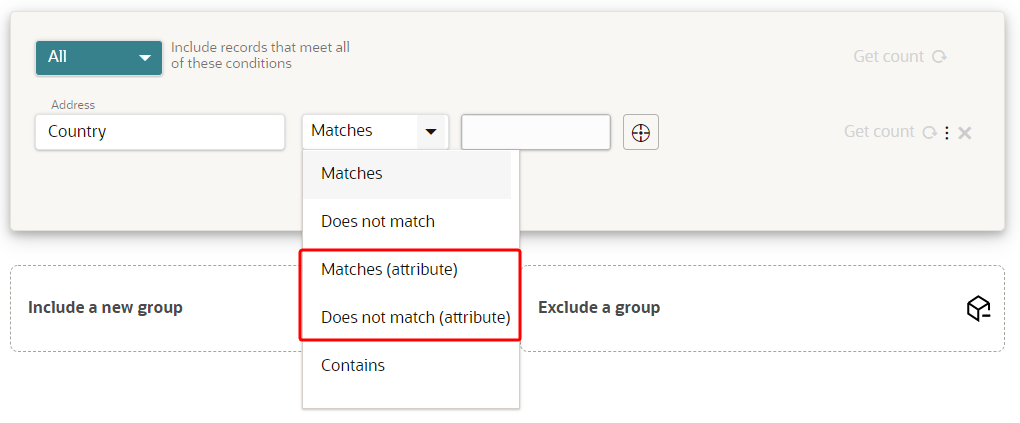
- To define a condition with an attribute instead of a value for a string, text, or number data type, select Matches (Attribute) or Does not match (Attribute). For example, if your segment has an email exclusion list, instead of selecting Does not match and entering all excluded emails manually, you can select Does not match (Attribute) and select the data object (Email suppression list) and the attribute (Email address) that has all the excluded emails.
- Only one Matches (Attribute) or Does not match (Attribute) condition is allowed in each attribute group. To create multiple Matches (Attribute) or Does not match (Attribute) conditions, click Include a new group to create multiple condition groups.
- If there are multiple conditions in a condition group with a Matches (Attribute) or Does not match (Attribute) condition, the Matches (Attribute) or Does not match (Attribute) condition must be the bottom condition in the group.
- You cannot use aggregation functions with Matches (Attribute) or Does not match (Attribute) conditions.

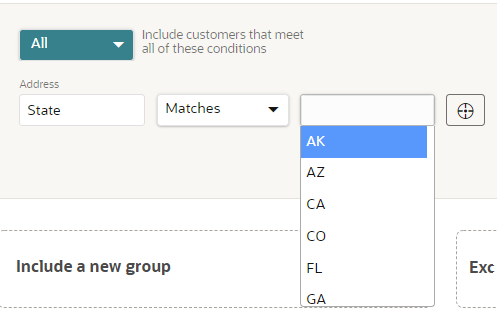
- When you work with attributes that have the data type string or text and use the operators Matches or Does not match, you can configure lookups for the attribute so that you can select from a list of unique values in the attribute, up to a maximum of 200. Oracle Unity also comes with ready-to-use lookups for many attributes. Learn more about Segmentation attribute lookups. This eliminates the guesswork of entering the specific format of the values in the attribute. For example, if you are configuring a condition for the Gender attribute, you will know if the attribute needs to match Male or M, because you will have the appropriate value to select from.
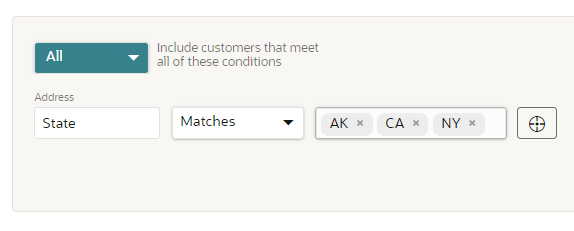
- Some input fields allow you to select multiple items. For example, if you select the State attribute, you can add as many states to the group as needed. If you select the operator Matches or Does not match, you can also copy and paste multiple comma-separated values into the input field.
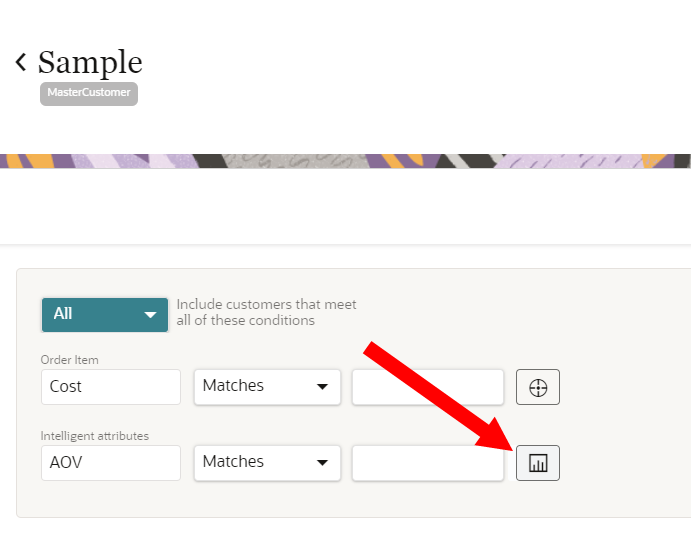
- Click the Bar graph
 for Intelligent attributes to see a distribution breakdown of all customers in your customer database.
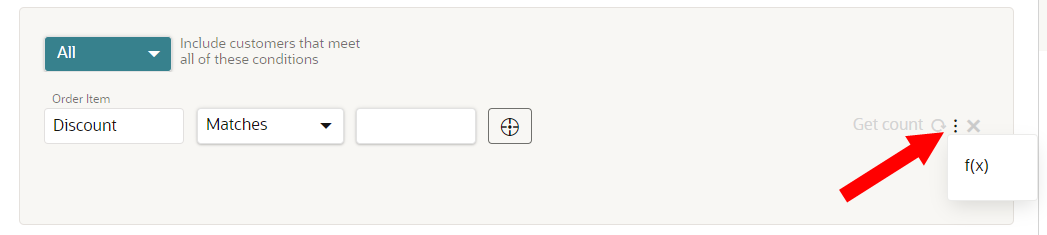
 - Click the Action menu () next to the Get count value for a condition and click (fx) to enable aggregation functions on attributes with number data types. These aggregation functions can be used to do ad hoc computations on a range of data from the data model.
- Use the sum aggregation to find customers whose purchases total at least $300 within the past two months.
- Use the count aggregation to find customers who have purchased more than three items of a specific brand within the past year.
- Use the average aggregation to find customers that have an average order value of at least $30 within the past three months.
- Use the maximum aggregation to find orders that have a total discount of no more than $10 within the past year.
- Use the minimum aggregation to find customers that have a single order value of at least $100 within the past six months.
- Each aggregation function comes with the following additional operators:
- Matches
- Does not match
- Between
- Greater than
- Greater than or equal to
- Less than
- Less than or equal to