Using the rich text editor
The rich text editor is used when creating:
The following sections discuss how to use the rich text editor and responsive validation tool.
Text
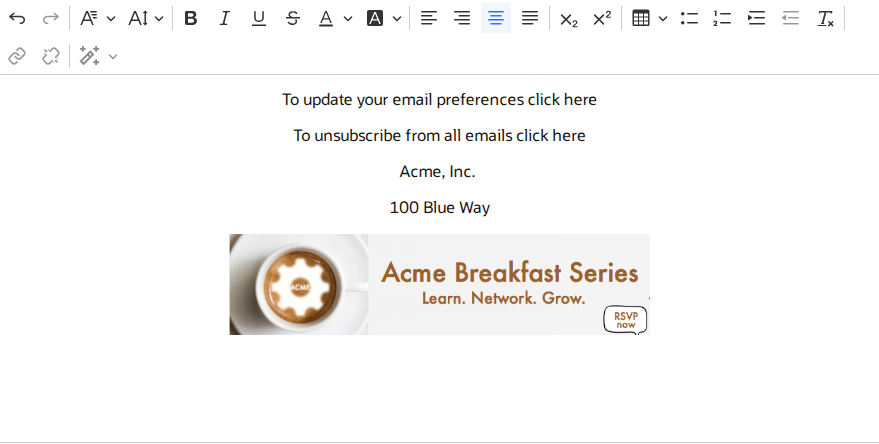
Enter the text and use the formatting toolbar to format the text.
Classic

Redwood experience
Images
To add an image using the rich text editor:
- In E10, place the cursor where you want to add the image, then click the Images tab in the right-hand pane. In the Redwood Experience, click on the Content section and drag and drop the Image component onto the canvas.
- Use an image in the rich text editor.
Classic UI

Redwood experience
In E10, double-click an image to place it at the cursor location.
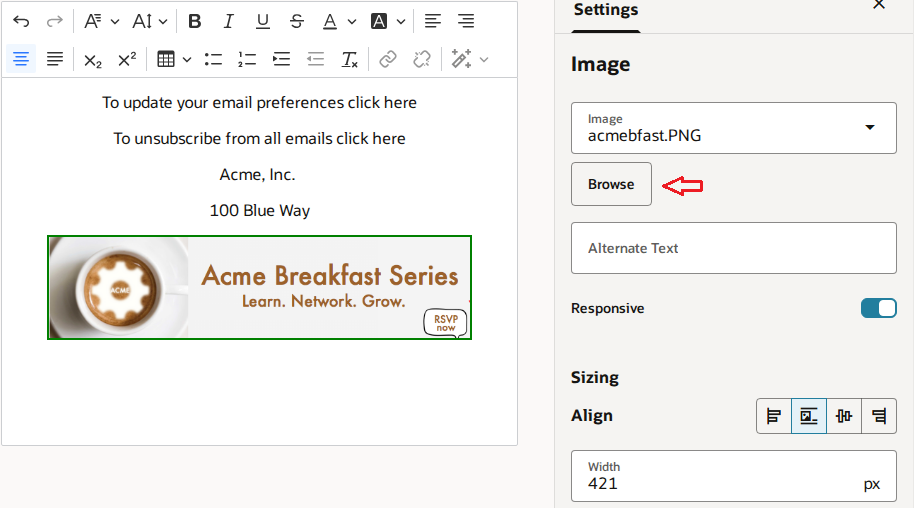
In the Redwood Experience, click on Browse and choose an image from the Image Chooser
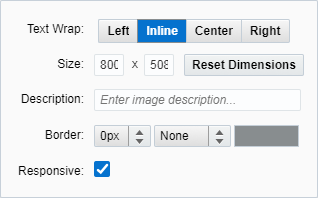
- Double-click the image you added to adjust the size, position and formatting.
Classic UI
Redwood experience
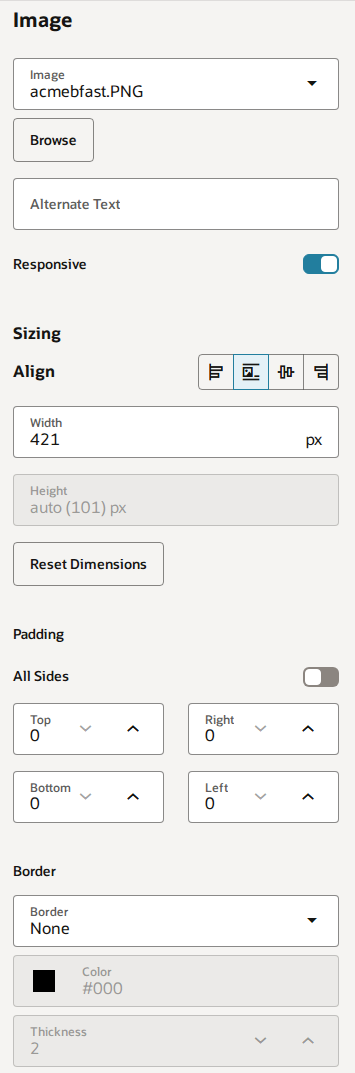
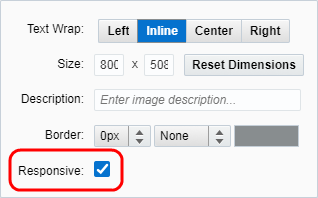
The Responsive check box automatically applies styles to the image so that it can adapt to different screen sizes. If you are familiar with HTML code, selecting this check box does the following:
- Adds the class
elq-responsiveto the image element. - Sets the image's style to
width: 100%; height: auto; max-width:<size_of_image>where the <size_of_image> is the original width of the image.
These style settings help ensure that the image scales on different screen sizes. The max-width property ensures the image never scales larger than its original size.
Field merges
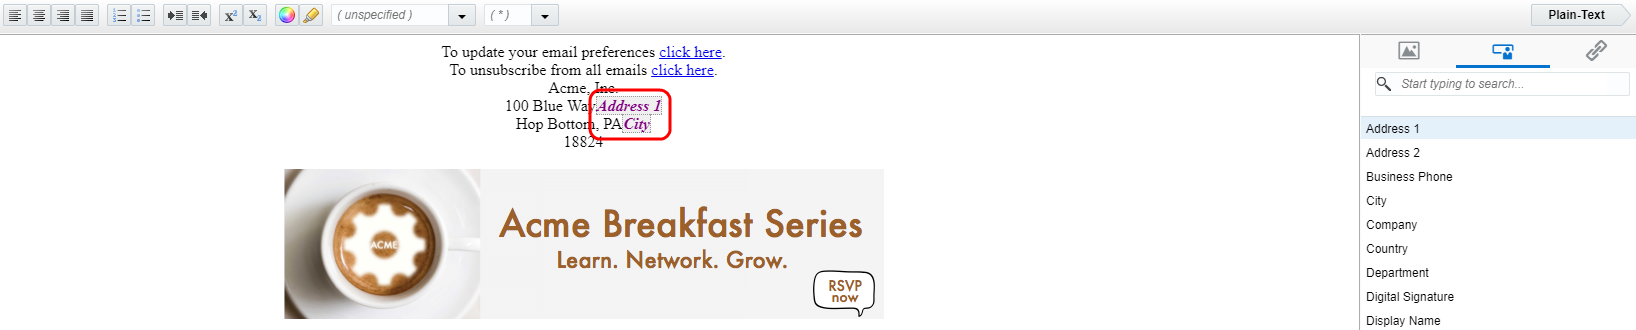
To add an field merge using the rich text editor:
- In E10, place the cursor where you want to insert the field merge, then click the Field Merges tab in the right-hand pane. In the Redwood Experience, click on the Content section and drag and drop the Field Merge component onto the canvas.
- Use a field merge in the rich text editor.
Classic UI
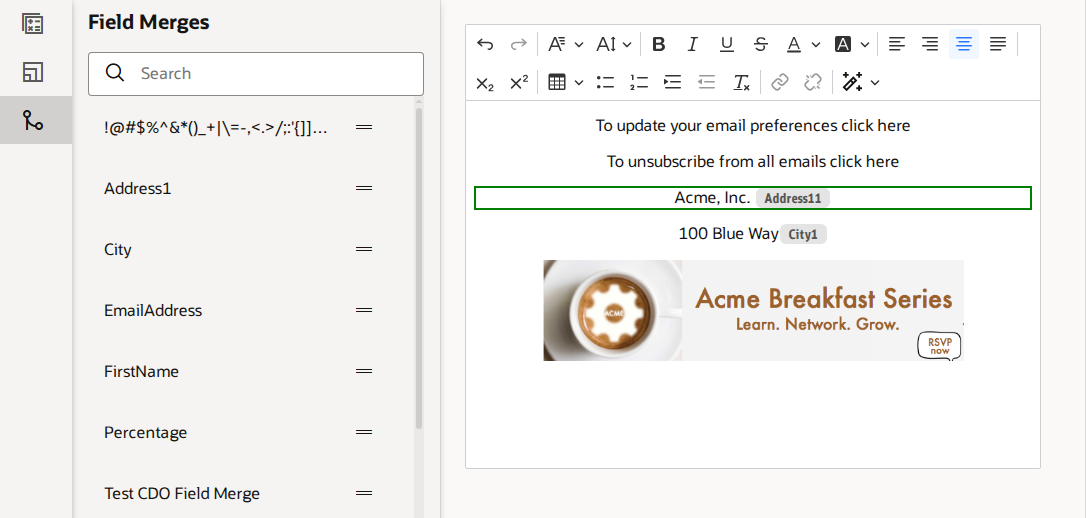
Redwood experience
-
In E10, double-click a field merge to insert it at the cursor location
-
In the Redwood Experience, click on the Field Merges section on the sidebar drag and drop a field merge onto the canvas
Hyperlinks
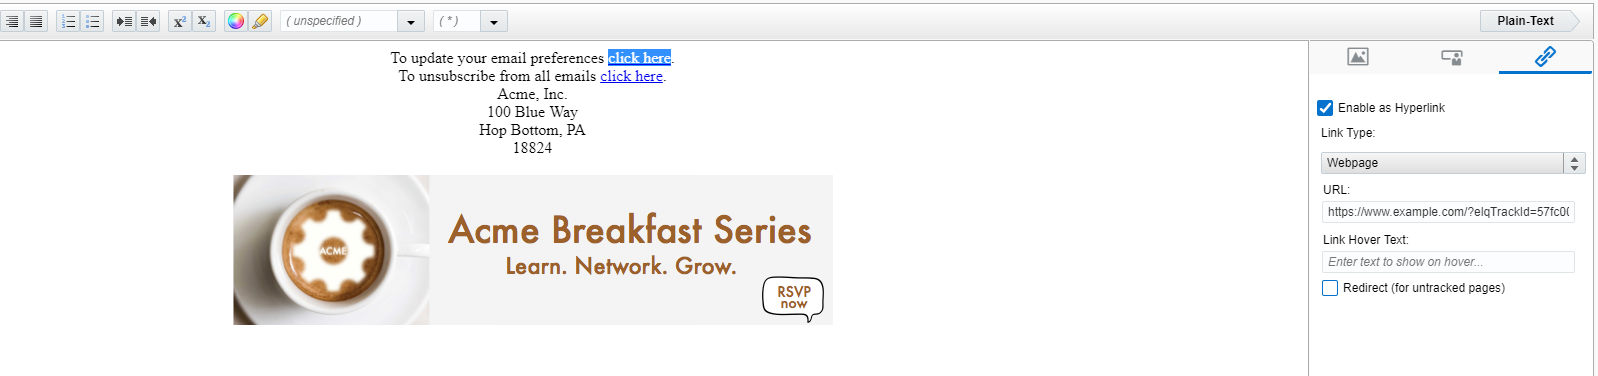
To add a hyperlink using the rich text editor:
- Select the text or image that you want to use as a link.
- Use Hyperlinks in the rich text editor
Classic UI
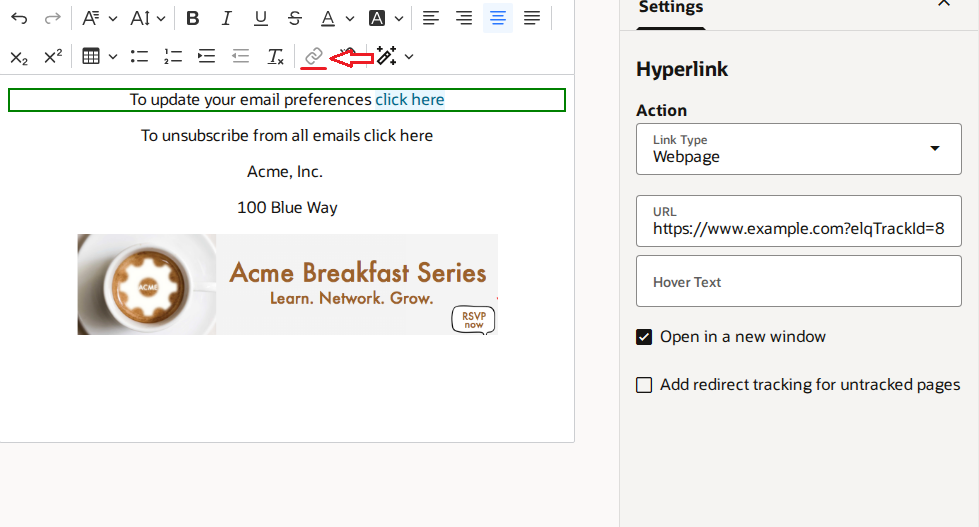
Redwood experience
In E10, navigate to theHyperlinks tab, then click the Enable as Hyperlink check box
In the Redwood Experience, click on the link icon in the toolbar menu, choose the Link Type, and add the appropriate link to the text or image
- Select the type of link from the Link Type drop-down list.
You can added the following types of links:
| Type | Description |
|---|---|
|
Landing Page |
Link to an existing landing page in the application. The landing pages that you can link to are available from the hyperlink library. Links to landing pages are tracked by default. |
|
File in File Storage |
Link to a file that has been uploaded to the file storage, such as a PDF file. Links to files in file storage are tracked by default. |
|
Webpage |
Link to an external web page. Use the Add tracking for untracked external pages or the Redirect for untracked pages check box to enable tracking on an otherwise untracked website. Note: Oracle Eloqua landing pages are tracked by default, no action is required to track landing pages. If a landing page URL is detected when adding a webpage link, the tracking option will be disabled and the URL link will not be displayed in manage links. |
|
System Action |
Link to subscription management or email viewing options. Often these links are included in the email header or footer, but can be included in the body of the email as well. System action links are not tracked. The following system actions are available:
Note: If you use Eloqua's unsubscribe system action link, and are not sending contacts to a subscription management page, we recommend that you setup an intermediate unsubscribe page. This is a landing page created in Eloqua using a template we provide. When a contact clicks an unsubscribe link, they are presented this page to confirm the unsubscribe. If you do not use this type of landing page, contacts can be unsubscribed by email scanning tools unintentionally. To enable the intermediate unsubscribe page, update your email defaults. |
|
New Email Message |
Creates a link that when clicked will open a new email message in the visitor's default email program. This is a also called a mailto link. This is not available in Oracle Guided Campaigns. |
Responsive validation tool
If your content could appear in an email, check the results of the responsive validation tool. The tool identifies issues that could prevent the content from adapting to different screen sizes. The tool checks for tables, images that might not scale, and long text strings.
 indicates that there are no responsive concerns.
 indicates that there might be responsive issues. Click the notification icon to review the issues. Learn some tips on how to keep your email responsive.
If an image was identified as not being responsive, double-click the image and choose the Responsive setting.
Learn more about keeping images responsive with this feature.