Translating Custom Role Names
If the Multi-Language feature is enabled in an account, users with the Administrator role can define translations for custom role names so they match the language of the NetSuite user interface. Note that NetSuite provides translations for standard role names.
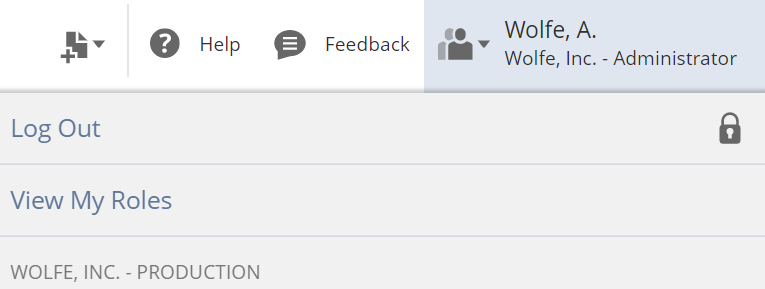
When the NetSuite user interface is set to a different language, translated role names display in roles lists, including the popup that displays when a user clicks the icon next to the current role in the upper right corner.
Before you can translate roles names, you need to select translation languages at Setup > Company > General Preferences, on the Languages subtab. For details, see Configuring Multiple Languages.
The Languages subtab at Setup > Company > General Preferences lists both system-supported languages that can be used for the NetSuite user interface (and are available at Home > Set Preferences), and additional languages that can be used for website translations only (and are not available at Home > Set Preferences ). You should only enter translations for role names in system-supported languages, because these are the only languages that can be displayed in the user interface.
After you have selected languages, you can enter translations on custom role pages, either when you first create a role, or when you later edit it.
To define translations for an existing custom role name:
-
Go to Setup > Users/Roles > Manage Roles.
-
Click Edit next to the role name that needs translations.
-
On the role page, enter translated role names on the Translation subtab.
The name of a custom role in the Name field is always displayed in the default language of your company.
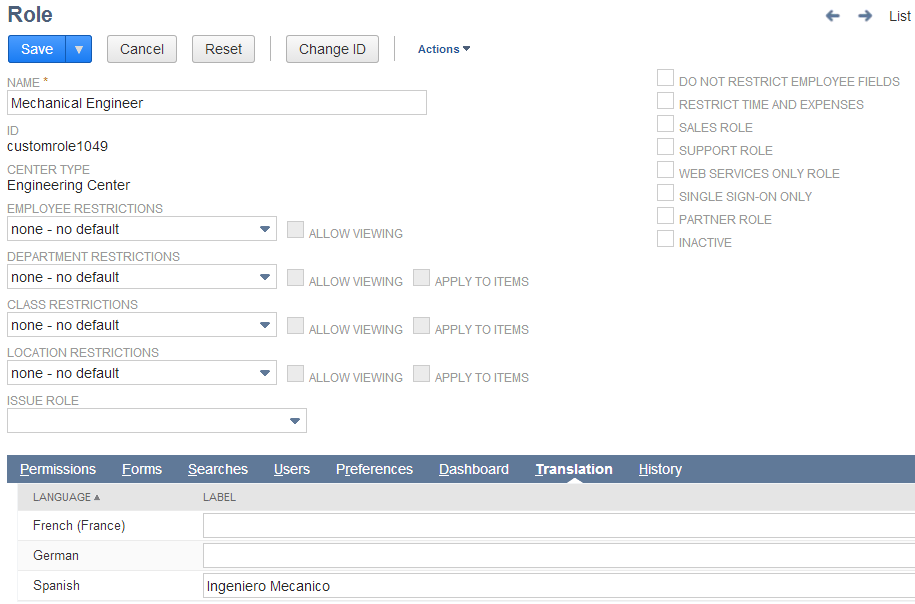
The maximum length for a role name's translation is 80 characters.
Related Topics
- Customizing or Creating NetSuite Roles
- Customizing and Creating Roles
- Assigning Core Administration Permissions
- Administrator - No HR/Employee Access SuiteApp
- Restricting Role Access to Accounting Books
- Restricting Role Access to Subsidiaries (OneWorld Only)
- Setting Employee Restrictions
- Setting Department, Class, and Location Restrictions
- Setting a Role as Issue Role for Issue Management
- Setting a Role as Web Services Only Role
- Setting a Role as Single Sign-On Only Role
- Restricting a Role by Device ID
- Restricting a Role by IP Address
- Setting Two-Factor Authentication Requirements
- Setting Permissions
- Setting Default and Restricted Forms
- Setting Search Defaults for a Role
- Setting Role-Based Preferences
- Selecting a Dashboard for a Role