Verify the UEFI Optimal Defaults
Note - If the server is newly installed and this is the first time an operating system is being installed, the UEFI firmware is probably configured to its optimal default settings and you do not have to perform this procedure.
In the BIOS Setup Utility, you can set optimal defaults, as well as view and edit UEFI settings, as needed. By setting optimal defaults, you ensure that the server is operating efficiently with a known and good configuration. You can review the optimal defaults in the Oracle Server X5-2 Service Manual.
Any changes you make in the BIOS Setup Utility using the F2 key are permanent until the next time you change them.
In addition to using the F2 key to view or edit the system's BIOS settings, you can use F8 during the BIOS start-up to specify a temporary boot device. If you use F8 to set a temporary boot device, this change is only in effect for the current system boot. The permanent boot device specified using F2 will be in effect after booting from the temporary boot device.
Before You Begin
Ensure that the following requirements are met:
-
The server is equipped with a hard disk drive (HDD) or solid state drive (SSD).
-
The HDD or SSD is properly installed in the server. For instructions, refer to Servicing Storage Drives (CRU) in Oracle Server X5-2 Service Manual.
-
A console connection is established to the server. For details, see Selecting the Console Display Option.
-
Reset or po
wer on the server.
For example, do one of the following:
-
From the local server, press the Power button (approximately 1 second) on the front panel of the server to turn the server off, then press the Power button again to power on the server.
-
From the Oracle ILOM web interface, click Host Management → Power Control, select Reset from the Select Action list box, then click Save.
-
From the Oracle ILOM CLI, type: reset /System
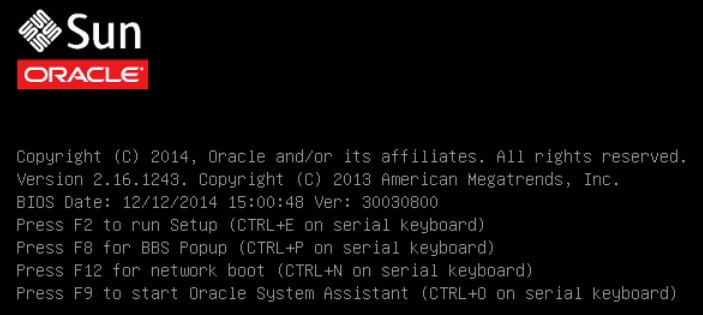
The server begins the boot process. After a few moments, the BIOS screen appears.

-
-
When prompted in the BIOS screen, press the F2 key to access the BIOS
Setup Utility.
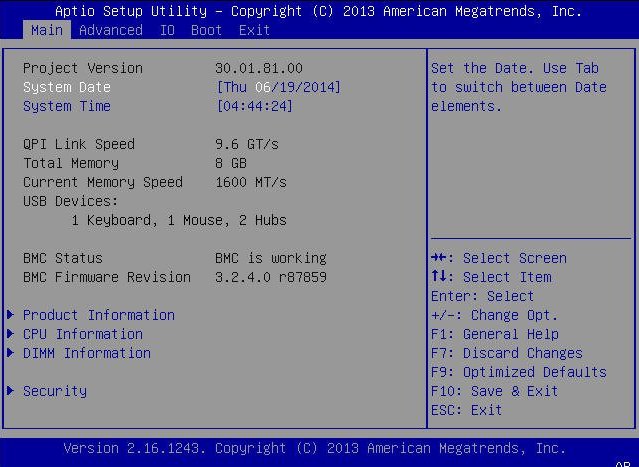
[Setup Selected] and the Boot Mode (Legacy or UEFI) are displayed at the bottom of the BIOS screen, then the BIOS Setup Utility appears. After a few moments, the BIOS Setup Utility appears.

-
Press the F9 function key to automatically load the optimal default
settings.
A message appears prompting you to continue this operation by selecting OK or to cancel this operation by selecting CANCEL.
- In the message, highlight OK, and then press Enter.
-
To save your changes and exit the BIOS Setup Utility, press the F10 key.
Alternatively, you can select Save and Exit from the Exit menu.