This section describes the basic procedure for adding to a project an asset that does not already exist in the versioning system—that is, the asset is new and unused by other projects.
The following procedure applies to all new assets regardless of how they are created.
Display the Assets tab for the target project (see View Project Assets).
Click Add Asset to Project. This option appears only if the project is open for editing. The Asset Picker appears:
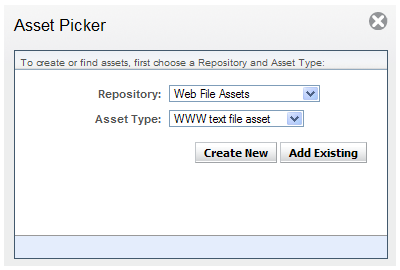
In the Repository field, choose the versioned repository that stores data for the new asset’s type.
In the Asset Type field, choose one of the Asset Types.
Click Create New. The asset’s Properties tab displays.
In the File Name field, enter the asset’s name. The following requirements apply:
The name is unique within its target folder.
Optionally, the asset has a filename extension appropriate for its type—for example,
.jpgfor a JPEG. Although not required, appending the correct extension facilitates editing the asset, by enabling the system to identify an appropriate editor.
Fill in the remaining fields for this asset as needed. The fields correspond to this asset type’s properties. For more information, see Asset Types.
In the Parent Folder Path field, specify the folder to store this asset. By default, all new assets are stored in the ATG root directory (
\). Some asset types such as scenarios require a specific folder; otherwise, you can store the asset anywhere that makes sense.Note: Assets that require a specific folder location can be added to projects through the ACC, which selects the appropriate location automatically.
Click Apply. The system creates the asset, adds it to the project, and gives it the potential version number 1 (see Asset Version Numbering).
Click Back to the Project’s Assets.
