Creating an action: Oracle Eloqua destination
Actions are configured in four steps:
- Basic Details: You’ll provide a name and description for your action so that it is easily recognized. Learn more about the Basic Details step.
- Rules: You’ll define the behaviors and filters that make up the rules you want to listen for in real-time. Learn more about the Rules step.
- Sources: Optionally, you can choose an Oracle Unity source. This means that after the action’s rule set are met, you can send additional profile data to a destination. The destination action system can use this additional profile data to personalize the content shown to customers. Learn more about the Sources step for Oracle Unity as a source.
Note: You can only send the additional source related profile details to new Oracle Responsys, Oracle Unity and Webhook connections.
- Destinations: You’ll select the specific data you want to send and to which action system you want to send it.
Prerequisites:
- You must have configured the first two screens on the Create Actions page.
- Before you can create an action, you must be assigned a role that includes the Manage Actions user right.
- A connection must be configured and enabled. When creating an action, you will be required to select an enabled connection and destination before you can save.
To configure an Eloqua destination for an action:
- Follow the the Basic Details and Rules screens.
- On the Destination screen, select a connection to Oracle Eloqua.
Note: If you haven’t yet created a connection, or if your connection is not enabled, you will not be able to continue.
- Select the Destination Type for the connection you selected in the previous step. For Oracle Eloqua connections, the Destination Type corresponds to your Eloqua instance.
- Select a Destination. The Contacts option corresponds to your contact database in your Eloqua instance.
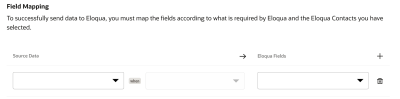
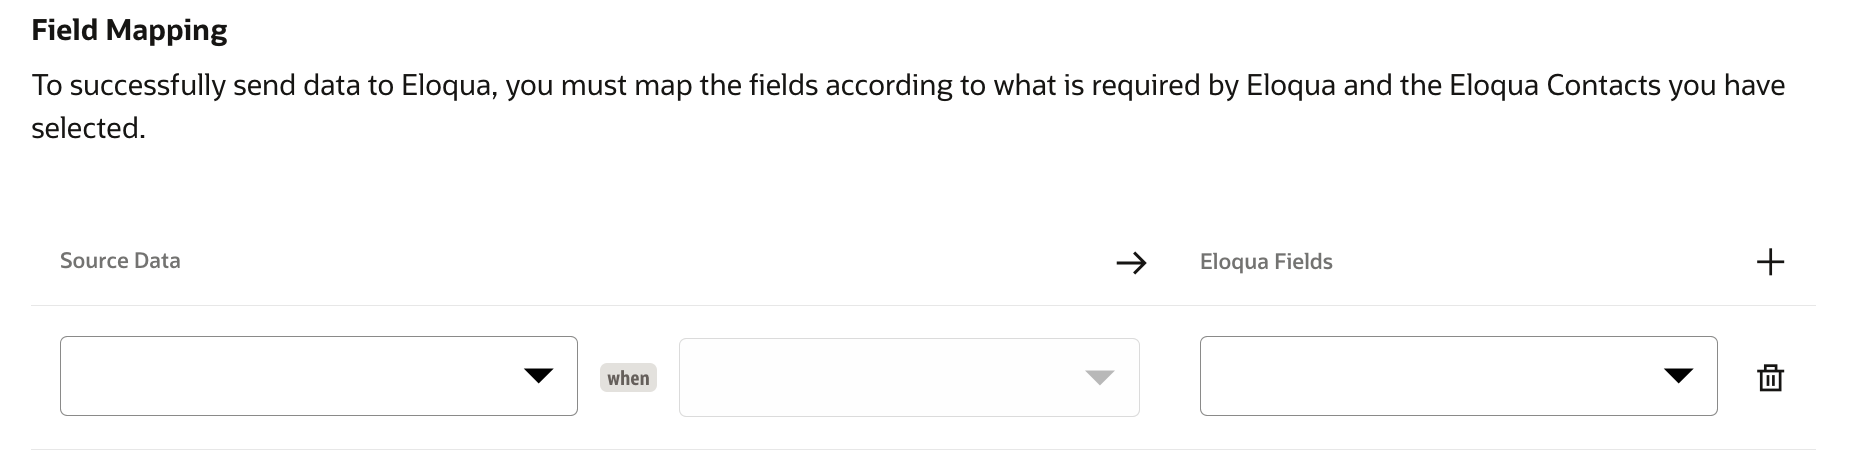
- Under Field Mapping, select and map the Infinity data you want to send to the fields in your selected destination.
Tip: If you don't see a parameter, navigate to Settings and check the Analytics and Actions option to include the parameter in Actions.
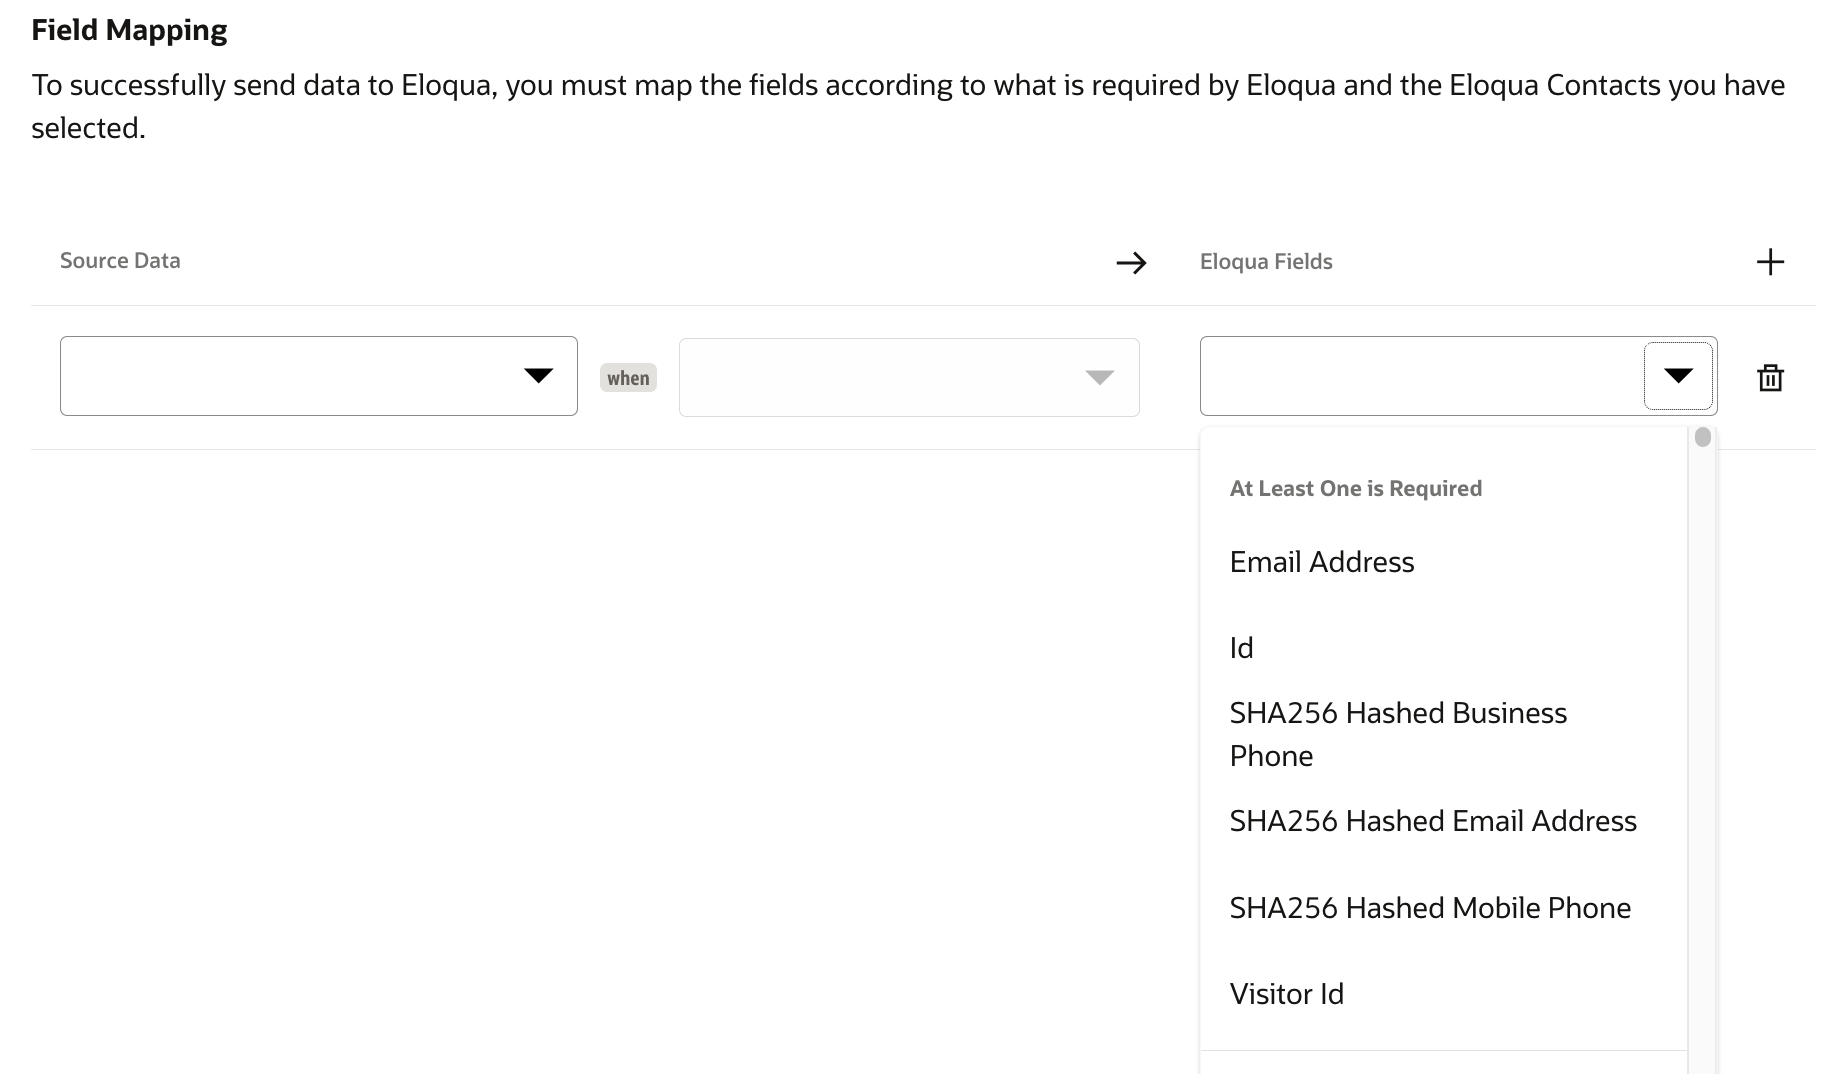
You must map at least one Eloqua field that will match Contacts in Eloqua.

You can select any Infinity field for this mapping.
You can use one of the following Eloqua fields:
ID
Email Address
SHA256 Hashed Email Address
SHA256 Hashed Business Phone
SHA256 Hashed Mobile Phone
Visitor ID
We recommend mapping the ID, Email Address, SHA256 Hashed Email Address, SHA256 Hashed Business Phone, or SHA256 Hashed Mobile Phone Eloqua field because these fields don't require a link to a Contact object, while the Visitor ID field does.
Learn more about Installing, configuring, and using the Infinity Action Center app.
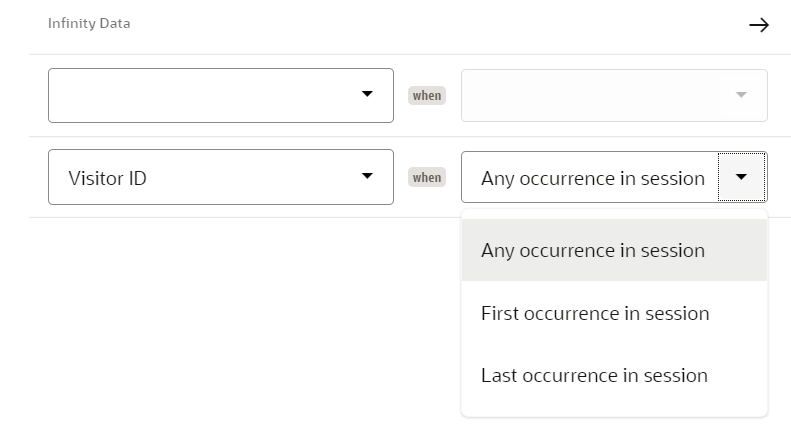
- Under the Infinity Data column, select the Behavior Attributes or Parameters you want to map to your destination fields.
- When choosing a behavior attribute or a parameter from the
drop-down menu, the corresponding source will be dynamically
displayed below the selected options.
Tip: You can choose behavior attributes for the behaviors you included in the Rules screen. For example, if you choose to include the View Form and Submit Form behaviors, you will see them here, and you can choose from a set of behavior attributes, such as Form Name.
You can also choose from your set of parameters. - (Optional) If you're selecting a Parameter, you can select the occurrence of the parameter in the session: any occurrence in session, first occurrence in session, or last occurrence in session.

- Click Save.
When an action is saved, by default it is disabled. The action will not begin to run until it is enabled. Learn how to enable an action.
Error retries
If any error is returned from the destination when sending data, the action will try to resend the data after one second and then retry in intervals that double the time for subsequent retries. Retries will continue until the interval of two hours is reached. After retrying at the interval of two hours, the event will stop retrying and the action will continue to send all events that occurred following that event.
If errors persist for an action, you can access the History tab to review errors that may require your attention. For example, a password change may require an update to the authentication fields for the action. Once an event has been sent successfully after a retry, the error status will clear from the action.