To add a new content targeter to the Content Targeters panel:
Click the New Content Targeter toolbar button in the top right corner of the Content Targeters window. The New Content Targeter dialog box appears.
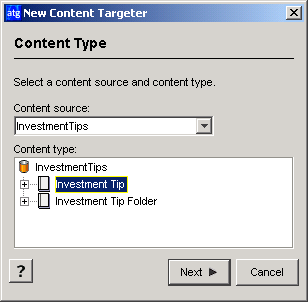
Select a repository from the Content Source drop-down list. The repository you select determines the content items, content type, and content properties you can target against. The targeter will apply only to items in this repository.
From the Content Type list, select the type of content you want to target against. The type corresponds to the subset of items defined by the item descriptor type in the content repository definition file. Each item type has its own properties. For more information, refer to the ATG Repository Guide.
Click Next. The following dialog box appears:
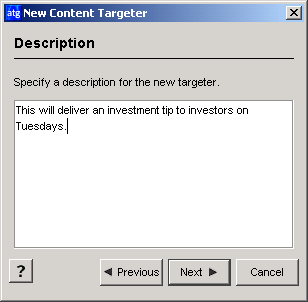
Type a brief description of this content targeter. (You can edit this description later if necessary.) When you have finished, click Next. The following dialog box appears:
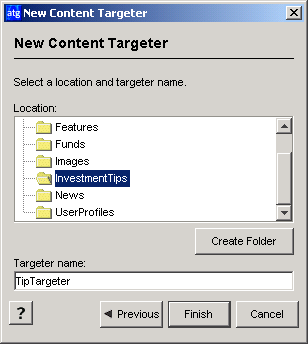
Select the folder where you want to store this content targeter. Any folders already created to store targeters for your Web site appear in the list. Note that these folders are internal to the ATG Personalization module, which tracks them through an ATG-specific path called a Nucleus address (for more information on Nucleus, refer to the ATG Platform Programming Guide.) The address for a targeter folder is
/atg/registry/RepositoryTargeters/<folder name>. For example, the Investment Tips folder shown in the example is located at the Nucleus address/atg/registry/RepositoryTargeters/InvestmentTips. Any new folders you create will be located at a similar address.In the example, the folder names correspond to the content repositories in the Quincy Funds demo, but it is not required that you use the same names as your content repositories.
Type the name of the new targeter. Do not include spaces in the name. Targeter names must be unique within a folder, but in addition it is suggested that you make all targeter names unique (regardless of their folder), so that page developers who insert targeters into site pages can distinguish them easily.
Click Finish. The new targeter appears in the Content Targeters window.
Next, you need to set up the business rules for this targeter. For more information, see Setting Up Targeting Business Rules.
