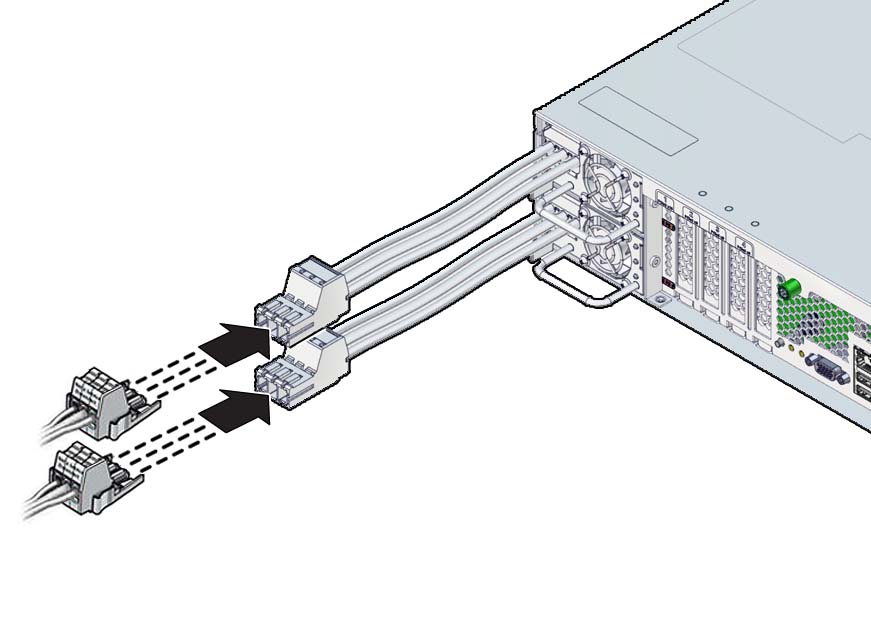
Connect DC Power Cords
-
Prepare the power cords by routing them from the power source to the
server.
Note - The server goes into Standby mode and the Oracle ILOM SP initializes as soon as a power cable connects a power supply to an external power source. System messages might be lost after 60 seconds if a terminal or terminal emulator is not connected to the SER MGT port before power is applied.
Note - Oracle ILOM will signal a fault if power is not applied to both supplies because, that is a nonredundant condition. -
Ensure that the input cables are de-energized with no DC power
present.

Caution - Do not proceed with these instructions until you are sure that there is no voltage present on the DC power cables.
- Route the power cords from the power source to the rear of the server and secure the cables.
- Connect the chassis ground wire to the facility ground and ensure that the connections are properly tightened.
-
Connect the -48V or -60V Return and Source wires to the circuit breaker or
fuse panel if they are not already connected.

Caution - Do not turn on the circuit breakers at this time.
-
Connect the power wiring to the server by plugging each power cable into
the power supply units.

-
When you are ready to apply power, energize the input cables and verify
that the green DC input LED is illuminated on each power supply.
Power is immediately supplied to the SP, and the front panel SP OK/Fault LED flashes (see Front Panel Components (Installation)). The SP then runs diagnostics and initializes the Oracle ILOM firmware.
After the Oracle ILOM firmware initializes, the SP OK/Fault LED remains lit, the main power OK/Fault LED slowly flashes, and the SP login prompt displays on the terminal device. However, the host is not initialized or powered on yet.
- Power on the server.