Setting Up the Profiling Project
This tutorial will use the ProfilingDemo sample project. To create this demo:
-
Choose File > New Project (Ctrl+Shift+N).
-
In the New Project wizard, expand the Samples node and select the C/C++ category.
-
Select the Profiling Demo project. Click Next and then click Finish.
To configure the project and enable profiling:
-
Right-click the ProfilingDemo_1 project node in the Projects tab, and select Properties.
-
Select the Build node in the Categories panel, and make sure the Tool Collection is set to Oracle Solaris Studio .
-
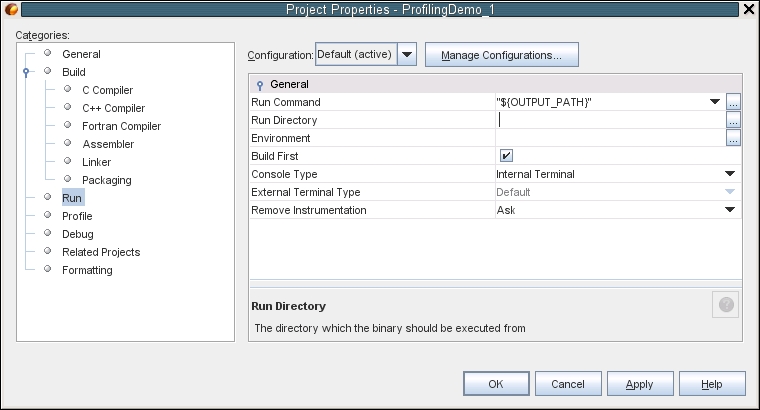
Select the Run node in the Categories panel, and make sure the Console Type is set to Internal Terminal. This enables you to see the program output in the IDE's Output window instead of an external terminal window.

-
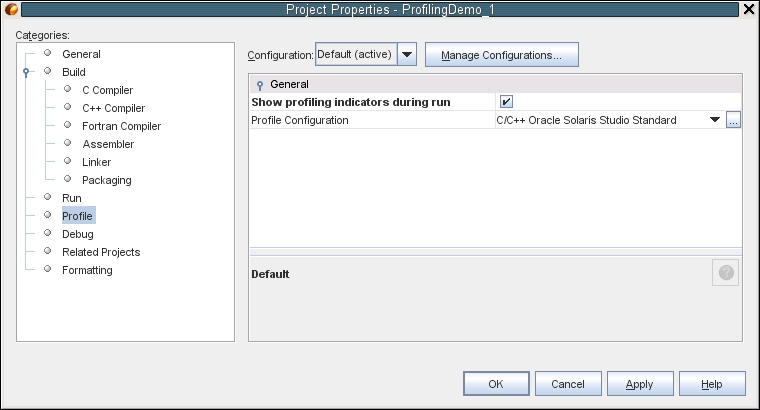
Select the Profile node in the Categories panel. Notice that the Show profiling indicators during run option is checked. You can check this option in any of your projects to show the Run Monitor Tools tab.

-
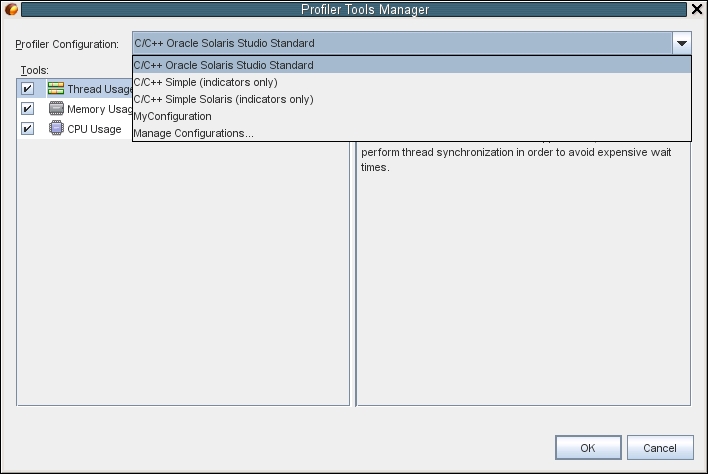
Select C/C++ Oracle Solaris Studio Standard in Profile Configuration. Click the ... button next to the Profile Configuration list.
-
Notice the tools selected for the C/C++ Oracle Solaris Studio Standard are Thread Usage, Memory Usage, and CPU Usage.

Note - If you select CC++ Simple (indicators only) or C/C++ Simple Solaris (indicators only), then only the indicators in the Run Monitor window will display. Clicking the details buttons in each indicator window will give the following message: Detailed information is not available in the current profile configuration. To see details, select a different Profile Configuration in your project properties and run the project again. -
Click OK in the Project Properties dialog box.