Install a DIMM
Use this procedure to install DIMMs for a memory upgrade or a configuration change or as part of a DIMM reset (removal and installation).
Before You Begin
-
For component information, see About System Components.
- Prepare the server for warm or cold service. See Prepare the Server for Warm Service or Prepare the Server for Cold Service.
- Remove the CMOD. See Remove a CMOD.
-
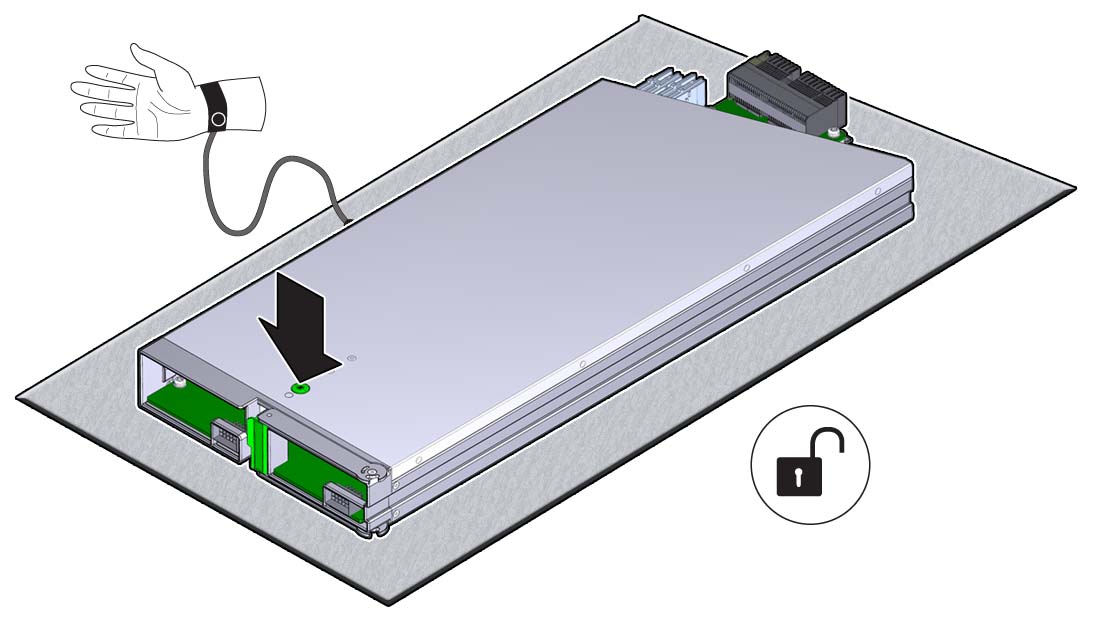
To remove the CMOD top cover, push the release button, slide the CMOD
cover toward the back of the CMOD, and lift it away.
See Remove and Install the CMOD Cover.

Caution - Component damage. CMOD components are extremely sensitive to electrostatic discharge. Wear a wrist strap and use an anti-static wrist mat.

- Locate the DIMM slot.
-
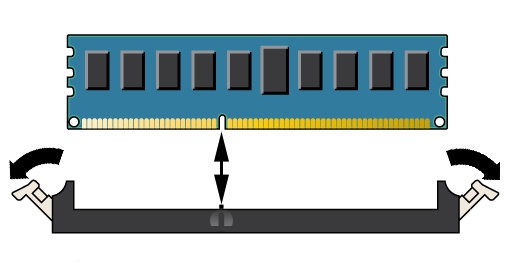
To align the DIMM in the slot, ensure that the notch on the DIMM connector
lines up with the key in the DIMM slot.

-
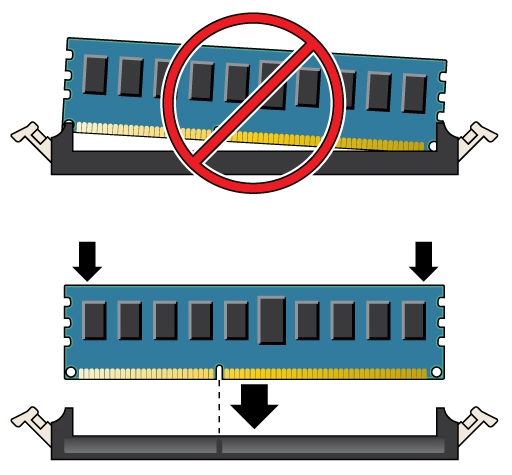
To install the DIMM in the slot, simultaneously press down on both edges
of the DIMM.
This action forces the DIMM into the slot and causes the two slot levers to rise and lock the DIMM in the slot.

-
Verify that the DIMM sits evenly in the slot and is locked.
Both levers should be in their fully closed and vertical position. In this position the levers lock the DIMM in the slot.
-
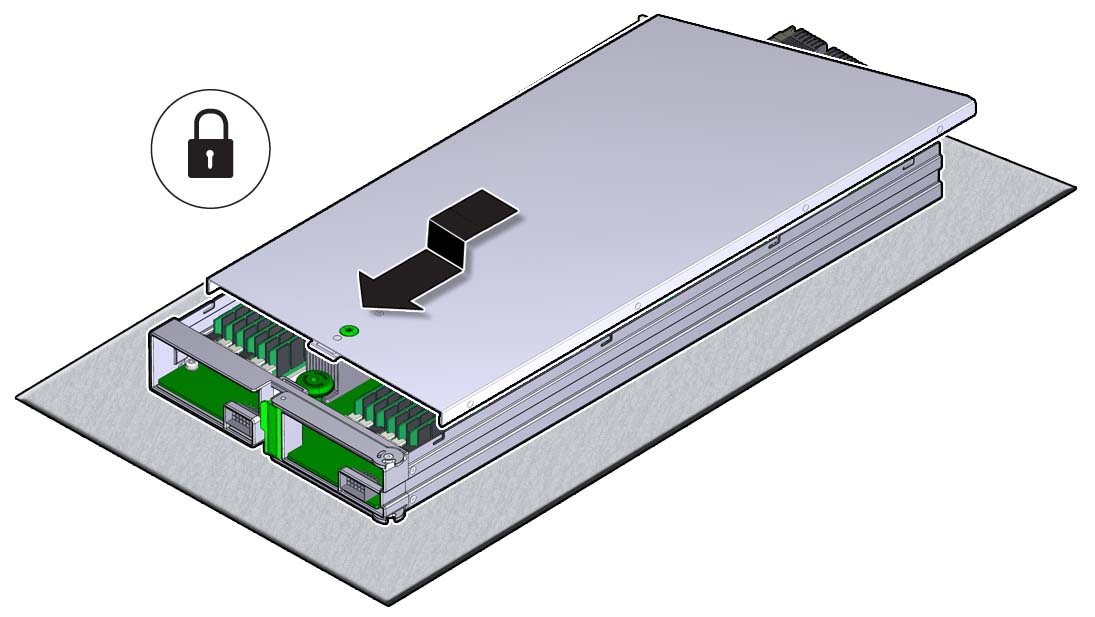
Install the CMOD cover. See Remove and Install the CMOD Cover.

Next Steps