Creating an Email Campaign
Important: This information applies to the Email Campaign Workbook. If the Campaign Designer has been rolled out to your account, see Launching an Email campaign with the Campaign Designer.
To see how the new Campaign Designer differs from the old campaign workbook, see Email Campaign Designer changes. For a breakdown of the new Campaign Designer's visuals, see Email Campaign Designer visuals overview.
You can use the Email Message Designer to create your email campaign. The Email Message Designer provides an easy-to-use interface to build your campaign content and easily add advanced features like personalization tokens and dynamic content.
To create an email campaign:
- On the side navigation bar, click
 Campaigns and select Manage Campaigns.
The Manage campaigns page opens.
- Click Create Campaign.
- In the Create campaign dialog, select Email. Learn more about these settings.
- Provide the basic information about the email campaign. Click Done.
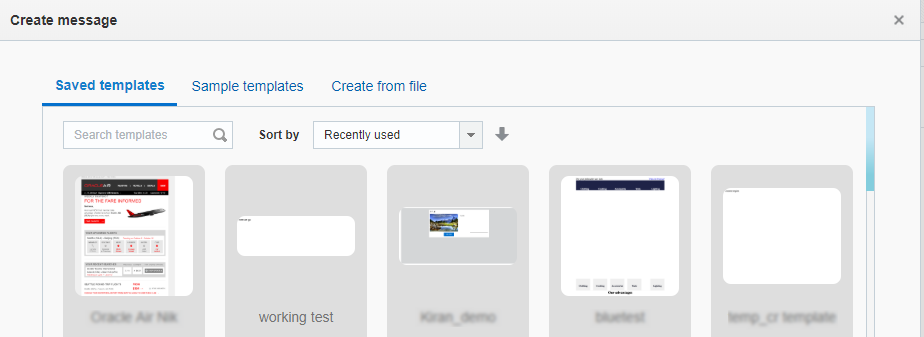
- Choose an email template or click Create from file. Learn more about creating an email using a file. Learn more about creating templates in the Email Message Designer or in the Visual Template Designer.
Tip: In the Saved templates tab, you can sort templates by Name, Recently used, Created on, or Last modified. You can also search for specific templates.

If you have the rich text editor enabled, you will not see templates. Learn more about the rich text editor settings.
- Build your email message.
- Add dynamic content or content widgets.
- Create the Link Table.
- Save your changes.
After you have finished, you can mange the campaign from the campaign workbook. You can also proof and test your email campaign.
Campaign settings
Important: If you change a campaign’s name, folder, marketing program, marketing strategy, subject line, or external campaign ID, then historical and new launches for both triggered and standard launches will take these new values in Insight. It does not impact CED behavior as CED retains an unchanged ‘snapshot’ of values.
- Name: Required. The unique name for the campaign
The campaign cannot have the same name as an existing campaign or form in any folder. The name must be no longer than 150 characters and can include only the following characters: A-Z a-z 0-9 space ! - = @ _ [ ] { }
- Description: Any description or notes
- Purpose: select Promotional or Transactional from the drop down list
Transactional campaigns, which are typically used for purchase confirmations and similar communications, have no automatic suppression, no footers, and no automatic opt-out mechanism.
- Marketing Strategy: The marketing strategy
Marketing strategies are defined by the Account Administrator from the Account management page.
Note: Prior to 19A, if you changed a campaign’s marketing strategy for a standard launch, then historical launches would keep the old values in Insight, while new launches would take the new values. Post 19A, Insight will display the new marketing strategy values for both historical and new standard launches. This update applies to all channels. It does not impact the CED behavior.
- Marketing Program: The marketing program
Marketing program values are defined by the Account Administrator from the Account management page.
Note: Prior to 19A, if you changed a campaign’s marketing program for a standard launch, then historical launches would keep the old values in Insight, while new launches would take the new values. Post 19A, Insight will display the new marketing program values for both historical and new standard launches. This update applies to all channels. It does not impact the CED behavior.
- Folder: Required. The folder for the campaign.
- List: The list for the campaign. If you do not select a list, you can select one later using the campaign workbook.