This chapter describes how to create a campaign. It includes an example that is similar to the one in the previous chapter – it sends an e-mail inviting a targeted segment of customers to register at a Web site. The campaign in the example is structured as follows:
Send an e-mail to a specified group of people. The e-mail includes a link to a registration page. Customers who register receive a “Thank You” e-mail.
Wait for two weeks and then send an e-mail prompt to those customers who have not yet responded. In addition, publish a reminder on the Web site.
The following image shows the campaign design page (the Structure tab):
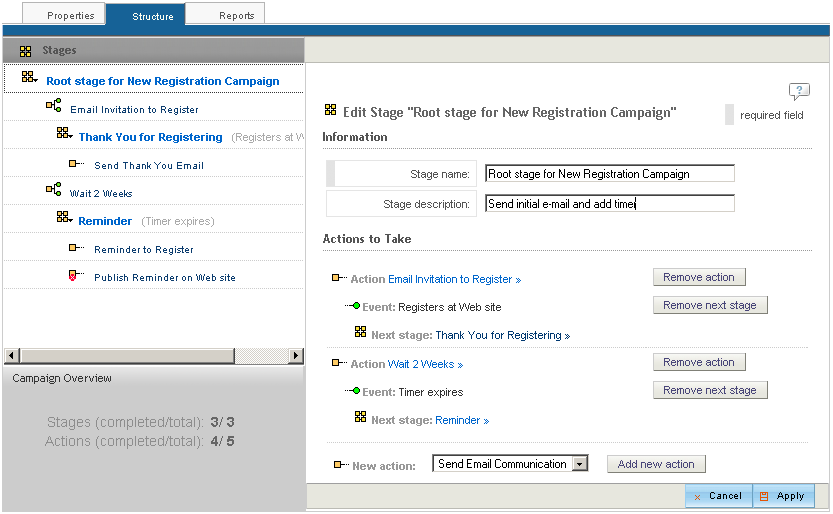
The left pane of the window contains the Stages list, which shows the stages that make up this campaign. It is also a navigation tool, allowing you to display details and an editing window for any stage or any action by clicking the item’s name. In the image, the root stage is selected in the left pane, and the editing window for this stage appears on the right.
The Stages list displays stages and actions in a hierarchy or tree:
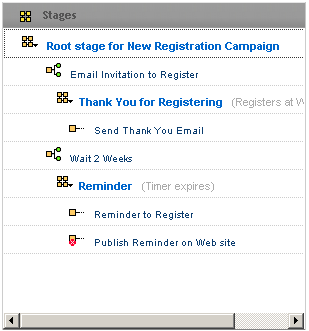
The list uses icons to indicate stages and actions and their state of completion:
Icon | Indicates |
|---|---|
| Stage |
| Stage that is incomplete, meaning that one or more required elements are missing. |
| If an action contains an event that triggers another stage, the stage name includes the name of the event in parentheses. |
| Action |
| Incomplete action |
| Action that has an associated event |
| Action that has an associated an event. Either the action or the event is incomplete. |

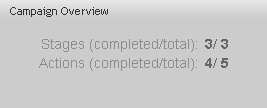
Below the Stages list is the Campaign Overview, which shows the total number of stages and actions and the number that need to be completed before the campaign can be deployed.