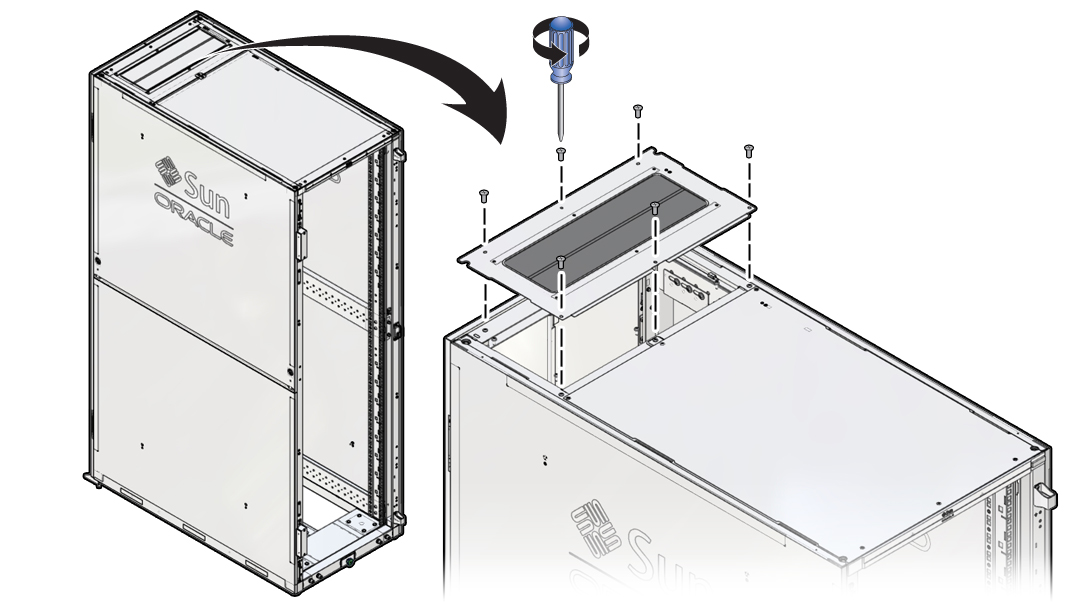
Remove and Replace the Top Cable Window
The top cable window consists of a metal panel with a window through which you can pass cables. The window is equipped with metal brushes that can be pushed aside to accommodate cables, but fill in any empty spaces to prevent Electromagnetic Interference (EMI) leakage.
Before You Begin
This procedure requires a step stool or ladder and a T-25 Torx screwdriver.
-
Power off the rack.
Caution - Do not operate the rack without the top cable window in place.
See Power Off the Rack.
- Remove all cables that pass through the top cable window.
-
Use the T-25 Torx screwdriver to remove the screws that secure the top
cable window to the rack.
Use a step stool or a ladder to reach the top of the rack.

- Remove the top cable window from the rack.
- Set the replacement cable window in position on top of the rack.
- Use the T-25 Torx screwdriver to replace the screws.
- Replace any cables that passed through the top cable window.
-
Power on the rack.
See Power On the Rack.