Follow these steps to create a new test in ATG Campaign Optimizer.
Click on the New Test button in the ATG Campaign Optimizer home.
Note: If you are not in the home screen, click on the View Tests button to return to the home screen.
The Create New Test screen displays.
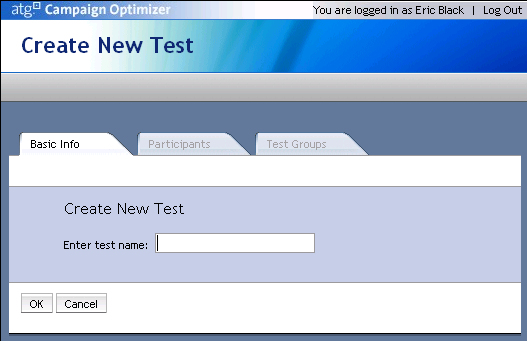
Enter a name for the new test and click on OK. The Basic Info tab for the new test displays.
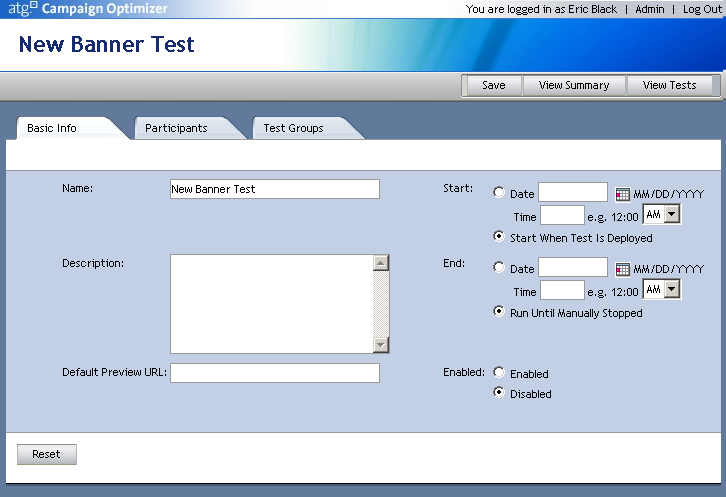
Enter the following information into the Basic Info tab and click on Save.
Name
A name for the test.
A description of the test. (optional)
The setting that determines how the test will start. You can enter a date or select Start When Test Is Deployed. (optional)
The setting that determines how the test will end. You can enter a date or select Run Until Manually Stopped. (optional)
The URL that will be used to preview this test before running. When you initiate a preview, you are given the opportunity to override this value with another URL. (optional)
Click on the Participants tab to open it.
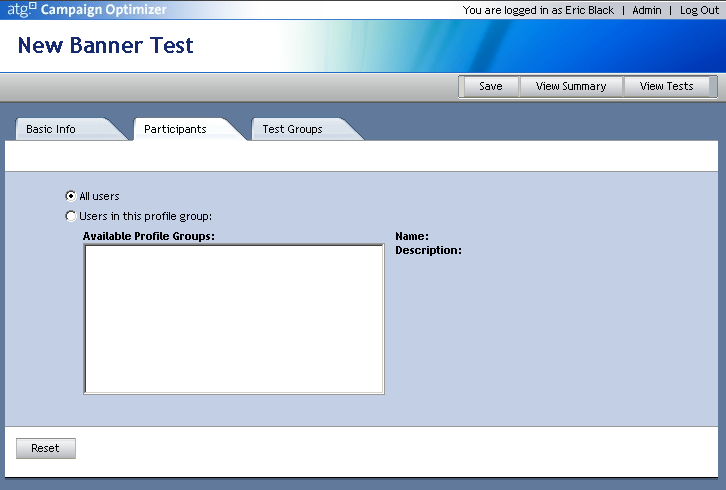
Select a specific profile group to participate in the test or select all users. Test Participants are users who are eligible for the test. Test Participants are divided into different test groups when they view the site.
A profile group represents a segment of your site’s target audience. Profile groups are created in the ACC. For more information, see Creating Profile Groups in the ATG Personalization Guide for Business Users.
Click on the Test Groups tab to open it.
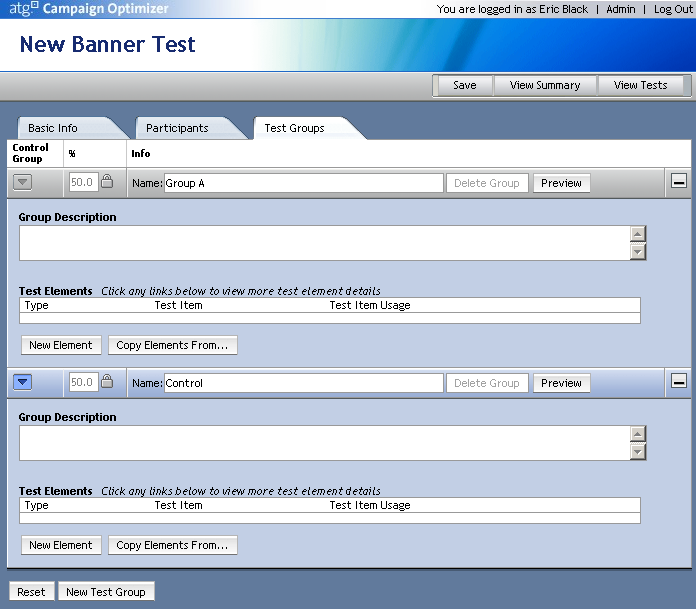
Create groups for your test. For more information, see Defining Test Groups.
Configure test elements for each group. For more information, see Configuring Test Elements.
Click on Save or save the test automatically by moving to another page. For information on running tests, see Starting Tests.
