You can use the Registry Administration UI to create, view, and add assets to the various types of custom registries that can be stored in the AssetRegistry repository.
To access the Registry Administration UI, you must be logged in to the ATG Campaign Optimizer UI. See Accessing the ATG Campaign Optimizer User Interface. You can then access the Registry Administration UI at one of the following URLs, depending on your application server:
JBoss Application Server:
http://<hostname>:8080/ABTest/admin/registryAdmin/index.jspBEA WebLogic Server:
http://<hostname>:7001/ABTest/admin/registryAdmin/index.jspIBM WebSphere Application Server:
http://<hostname>:9080/ABTest/admin/registryAdmin/index.jsp
Note: Specify the port that your application server uses to listen for HTTP requests. The ports provided here are the ports used by default.
The Registry Administration UI displays a list of the custom registries in the AssetRegistry repository, including their asset types and asset sources.
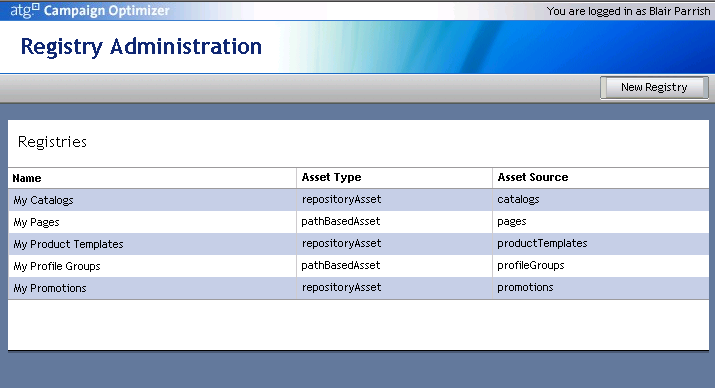
To edit a registry, click on its name. Or place your cursor over the name, and then click on the arrow that then appears to the right of the name. This brings up a menu with options for editing, renaming, or deleting the registry.
To create a new custom registry:
Click on the New Registry button. This brings you to the Create New Registry page.
Enter a name for the new registry.
From the drop-down menu, select the type of asset the registry will hold.
Click on OK to create the registry. This opens the registry editor, where you can add assets to the registry.
To create a new folder within a registry:
In the left panel of the editor, select the folder that you want the new folder to be a subfolder of.
Click on the Create Folder button.
Enter a name for the new folder.
Click on OK to create the folder.
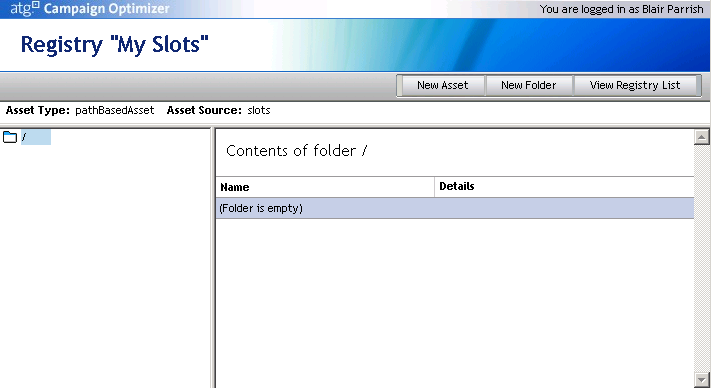
To open a folder, click on its name in the right panel of the editor. Or place your cursor over the name, and then click on the arrow that then appears to the right of the name. This brings up a menu with options for opening, renaming, or deleting the folder.
If there are already assets in the registry (i.e., if you’re editing an existing registry rather than a new one), you can modify an asset by clicking on its name in the right panel of the editor. Or place your cursor over the name, and then click on the arrow that then appears to the right of the name. This brings up a menu with options for editing or deleting the asset.
Adding Assets to a Custom Registry
To add an asset to a registry, select the folder that you want to create the asset in, and click on the New Asset button. This brings up a page that is tailored to the specific type of asset. For example, for a page registry, the page displayed looks similar to this.

For all asset types, the page has fields for asset name and description. The name is required, and can be any value you like. The description is optional.
The other fields in the page differ depending on the type of asset. However, in all cases, the bottom field is a selection box that you can use to select an item to add to the registry. The contents of the selection box depend on which ATG modules are currently running and the type of item being selected. For example, for page assets, the selection box is a tree browser, with a separate node for each web application currently running, plus a node for the JHTML document root. For promotions, the selection box shows an alphabetically ordered list of available promotions.
When you select an item in the selection box, the field above the selection box is filled in with either the repository ID (for repositoryAsset items) or path (for pathBasedAsset items). This field is editable, and is the actual field used to specify the item when you click on OK. This means that if you know the repository ID or path of the item, you can fill it in directly without using the selection box. (Note that the selection box does not update automatically to reflect the value you enter.) You can also fill in the repository ID or path for an item that cannot currently be selected in the selection box (e.g., because the associated ATG module is not currently running). Keep in mind, however, that if you make any erroneous entries this way, the registry may not work properly; the Registry Administration UI does not prevent you from entering invalid values.
