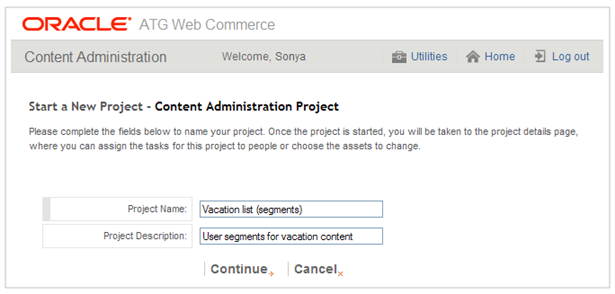
As described for targeting assets in later chapters of this guide, the first step when you create an asset is to specify the project that will manage the creation, versioning, and deployment of the item. The following image shows the fields you use to create a project. This dialog box appears after you select the Targeting and Segmentation option on the Home page.
To complete this screen, follow the steps below:
Enter a name and description for the project. The name is used to identify the project in various places in the UI, for example in the To Do list on the Home page. Making this name distinctive is recommended so that you and other users can distinguish it from other projects in your system. Project names do not have to be unique, however. The description is optional but can be helpful where many projects have similar names.
Click Continue when you have finished.
At this point, the project’s Author task becomes active, and you can start creating assets. For targeting items, the creation process is described in detail in later chapters of this guide:
For other types of assets, refer to the documentation for the ATG application that manages them. For more detail on projects, refer to the ATG Content Administration Guide for Business Users.
